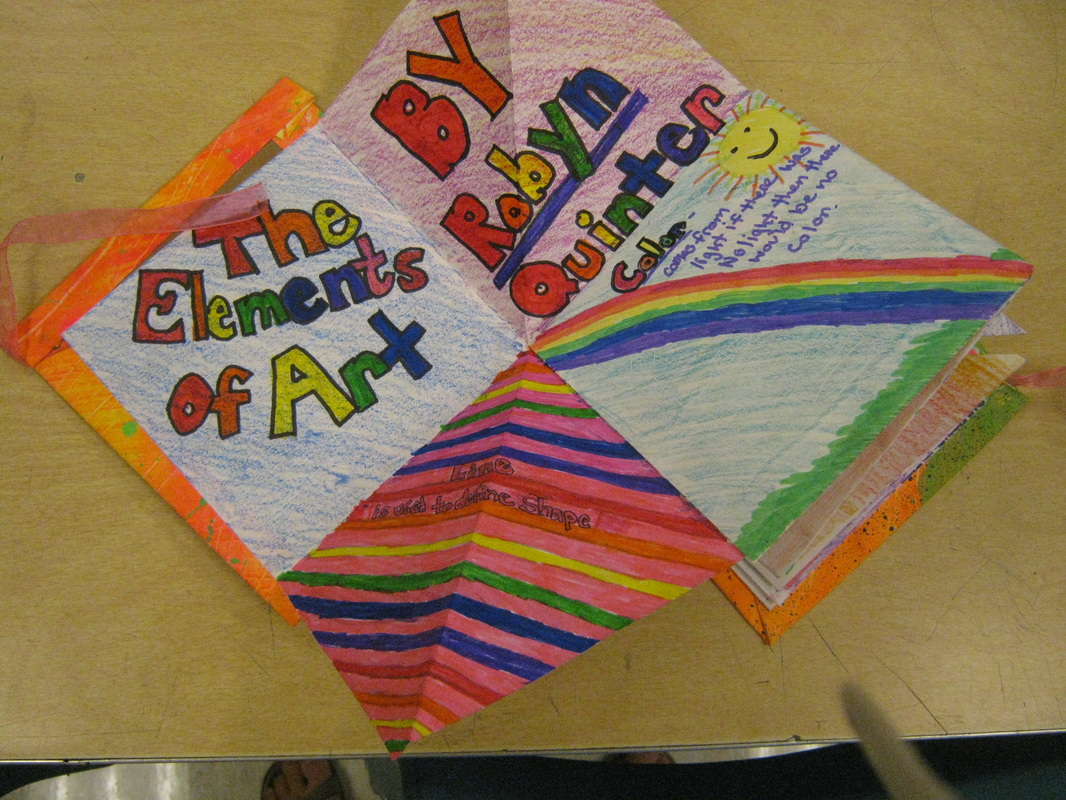
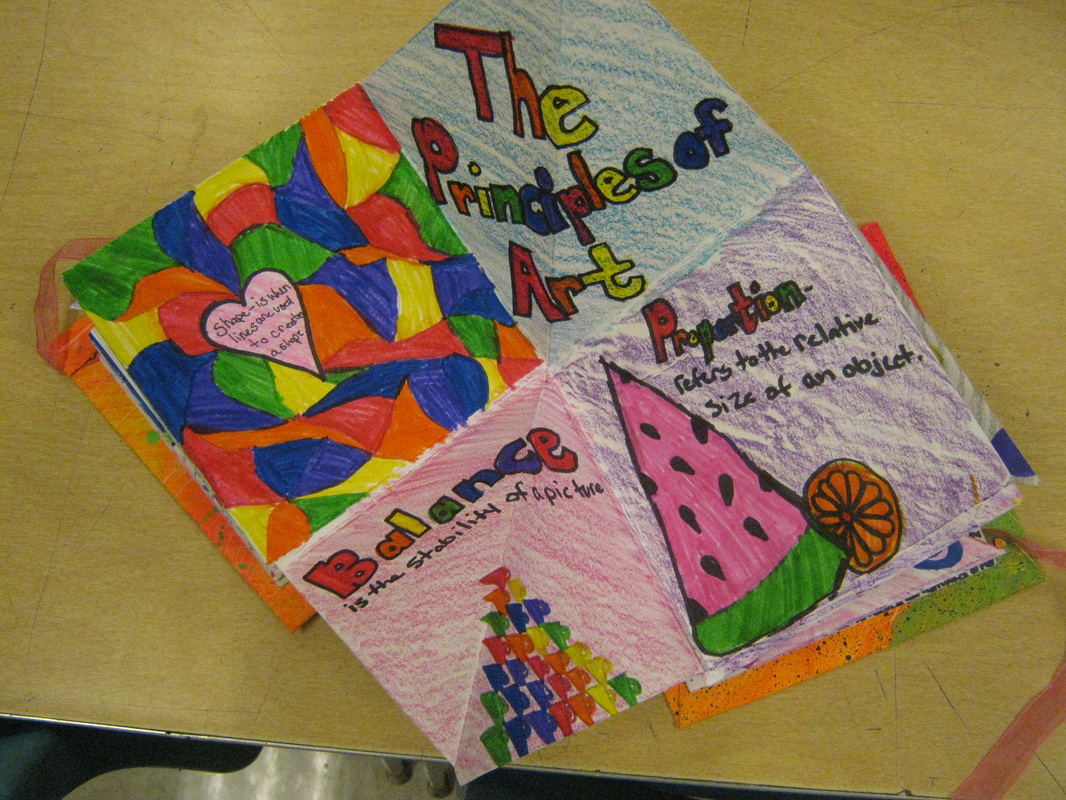
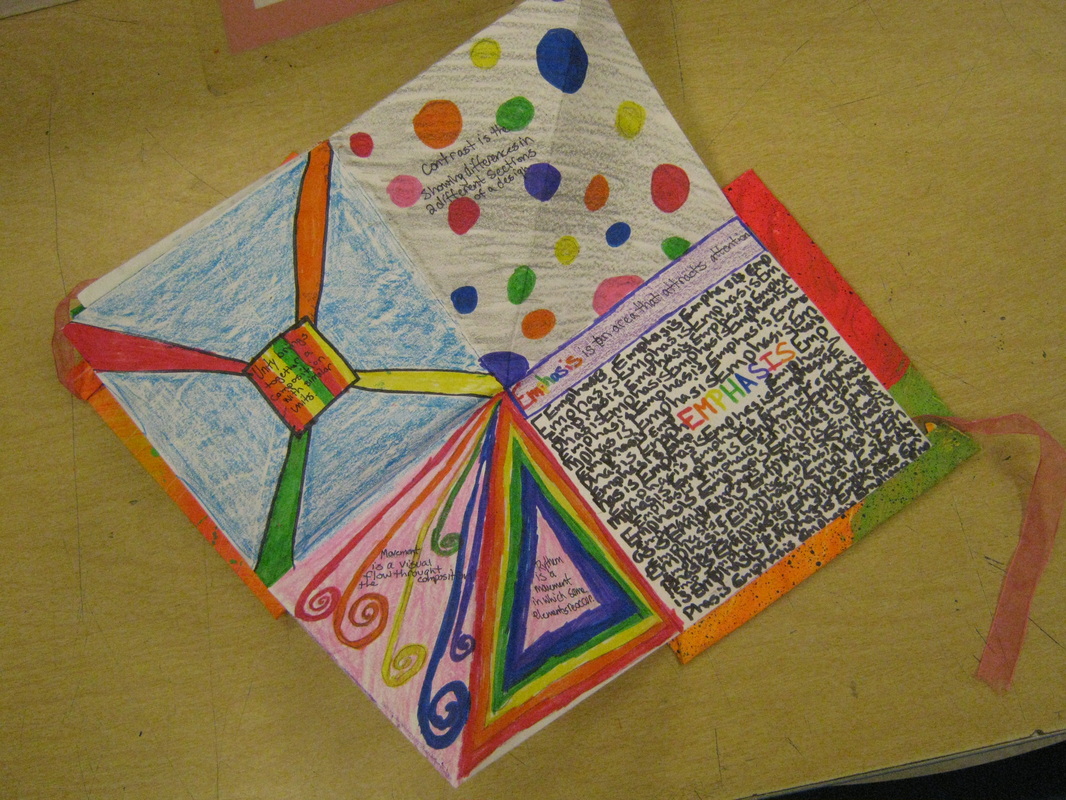
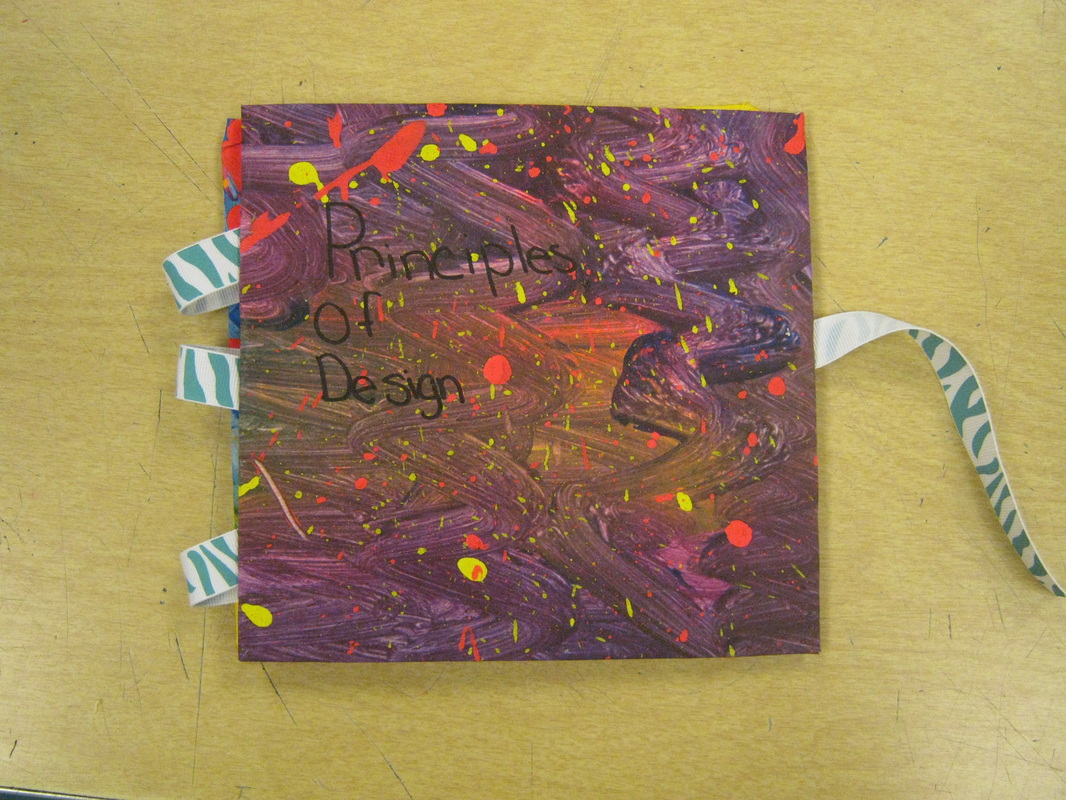
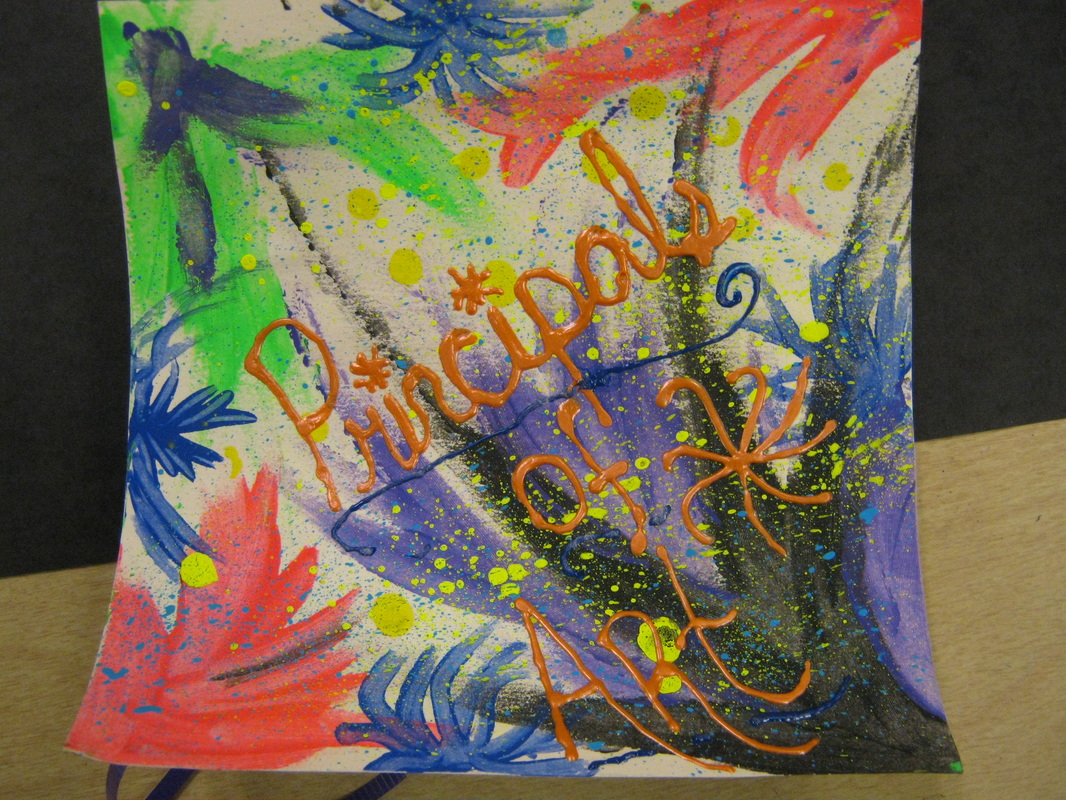
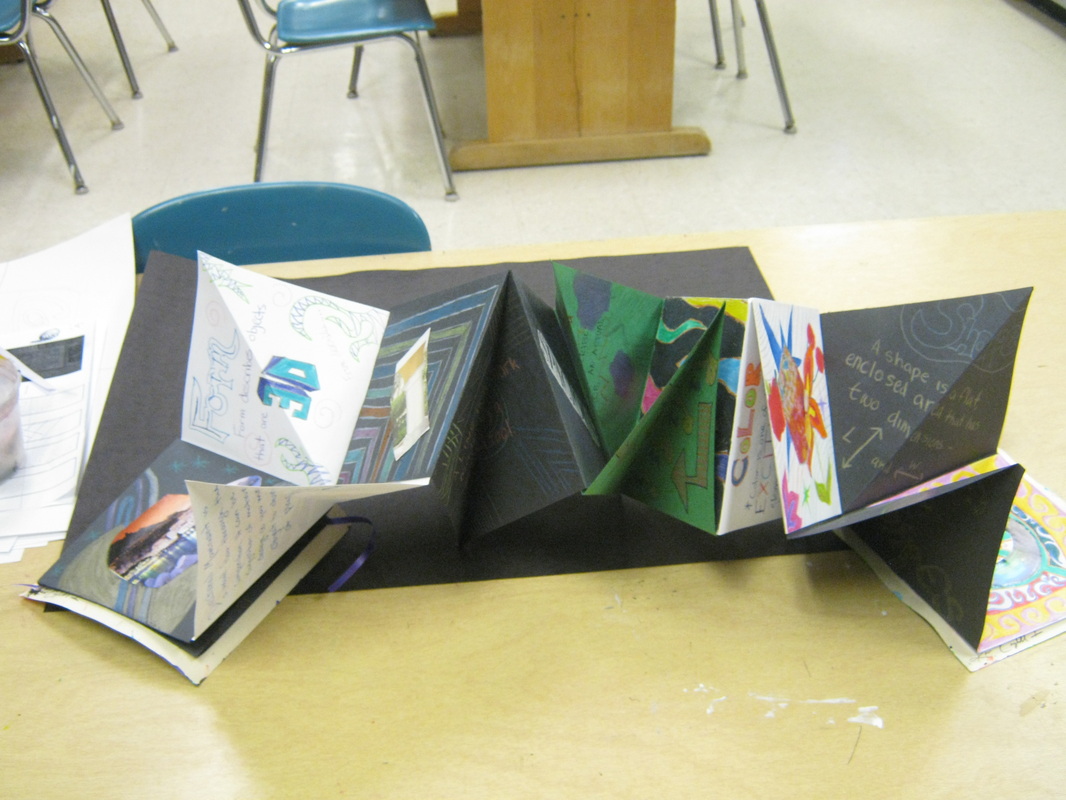
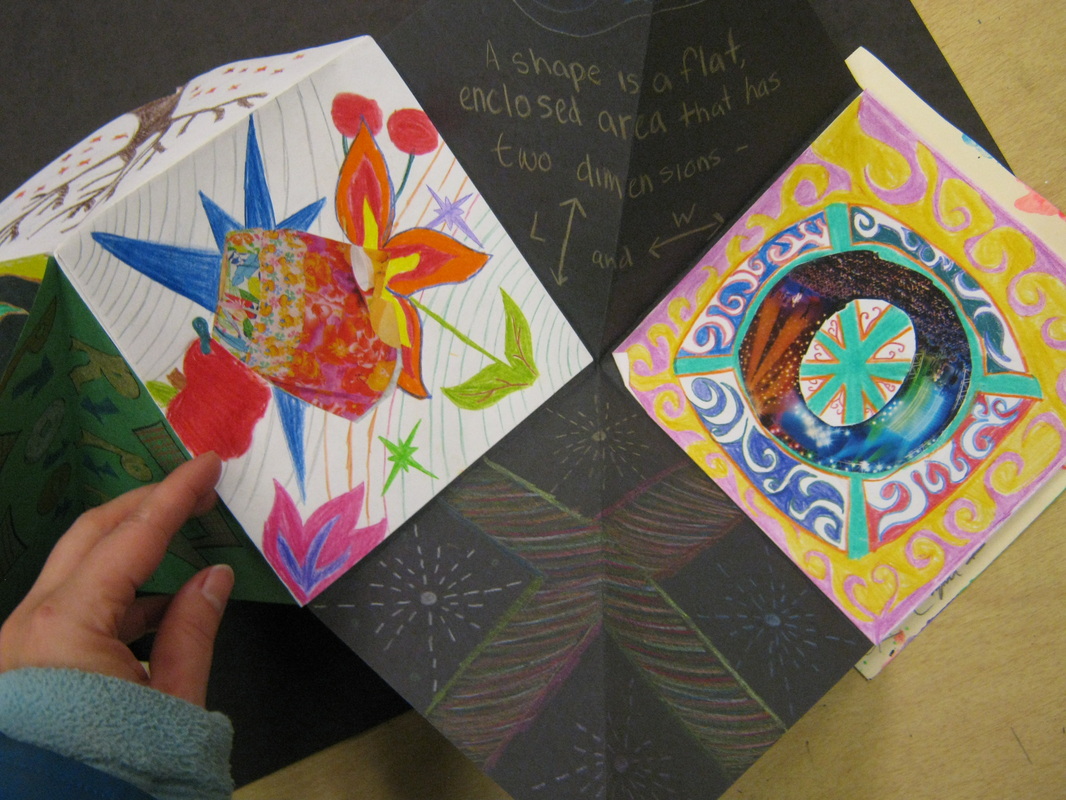
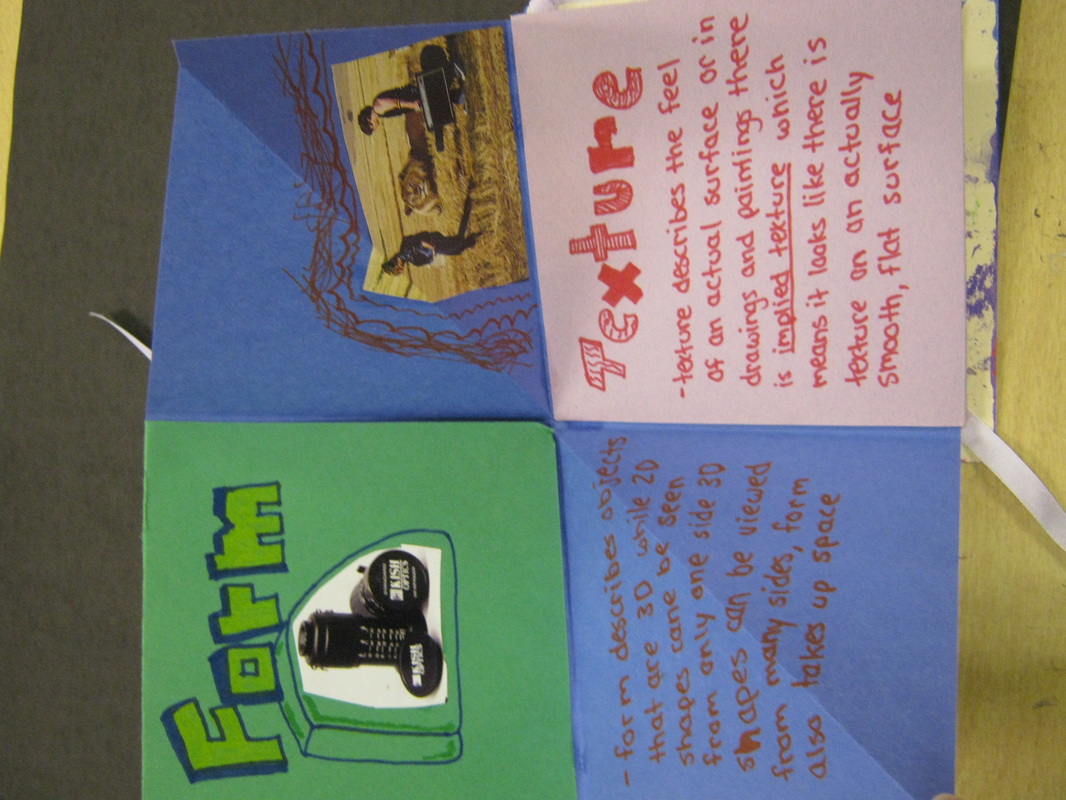
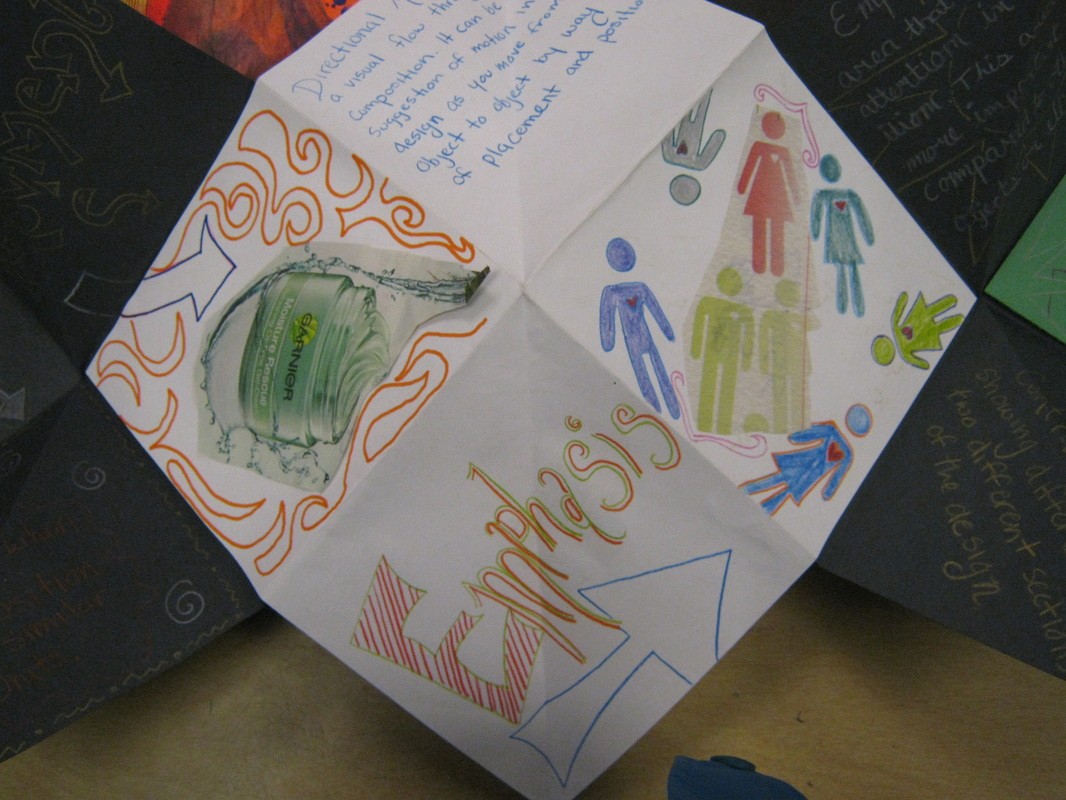
Project 1: Elements of Art and Principals of Design: Creating an Accordian Book: 8/29/2011
Homework: Date TBA: How are the Elements and Principals of Art and Design Essential to a Compostion? How are they illustrated in your accordion book?
Our goal with this first lesson is to introduce you to the Elements and Principals of Art and Design. These 12 concepts are the building blocks for making an aesthetic work of art, and are key features in developing your art skills. Baised on these elemens and princials, your job is to create an Accordion Book with inspiration from the EPAD you have studied in class. Here you can access images of altered books, classroom handouts, and the powerpoint as reference material if you need it.
| elementsandprincipals_of_art_book.docx |
| elements_and_principals_of_art_and_design.pptx |


|
http://www.wonderhowto.com/how-to-make-amazing-book-art-folded-page-art-276654/ Book Folding Tutorial: Flag book |
|
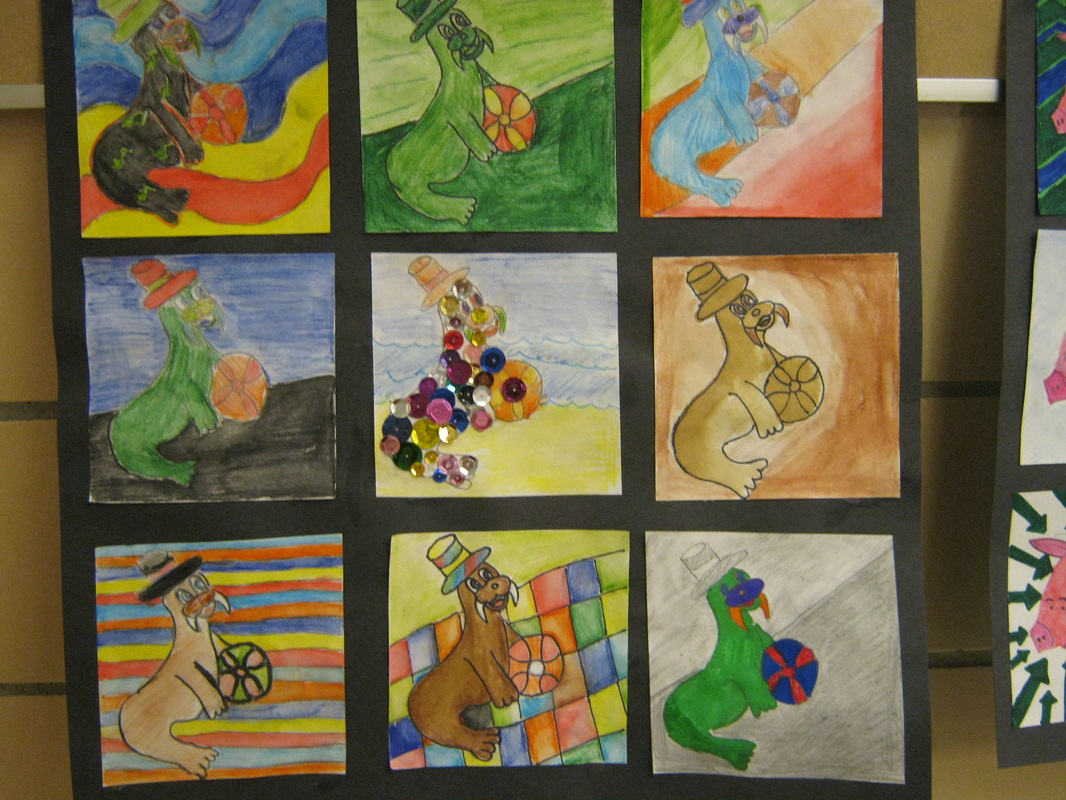
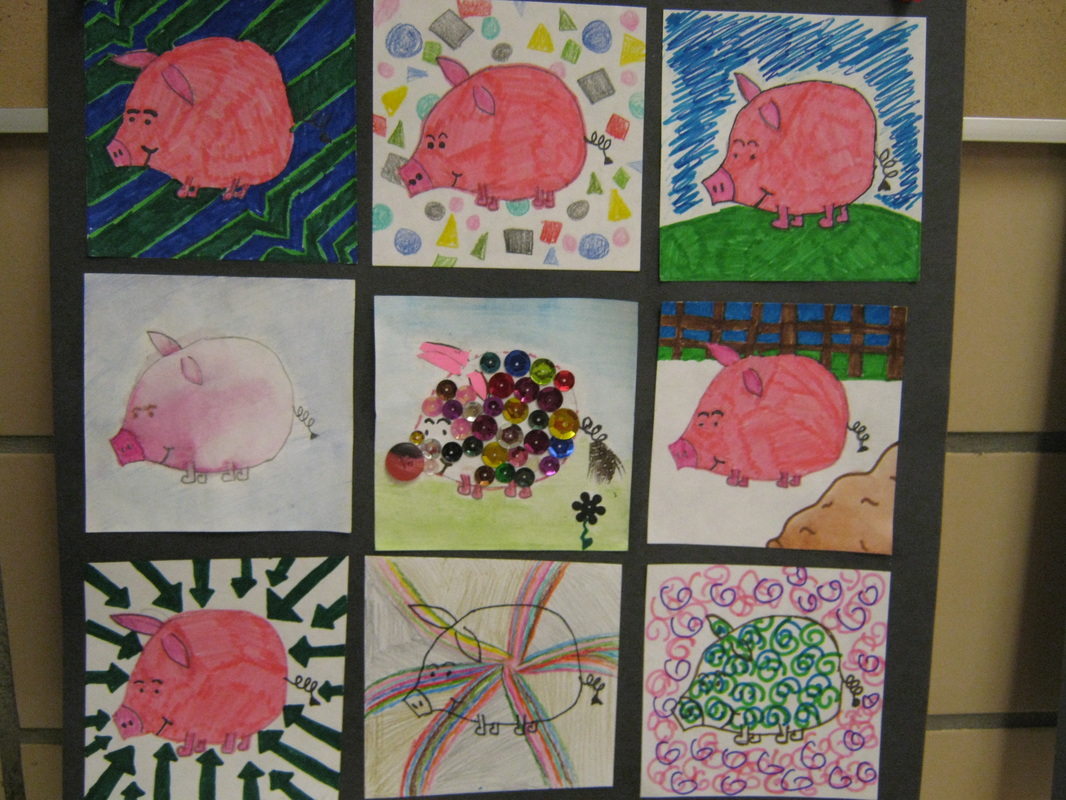
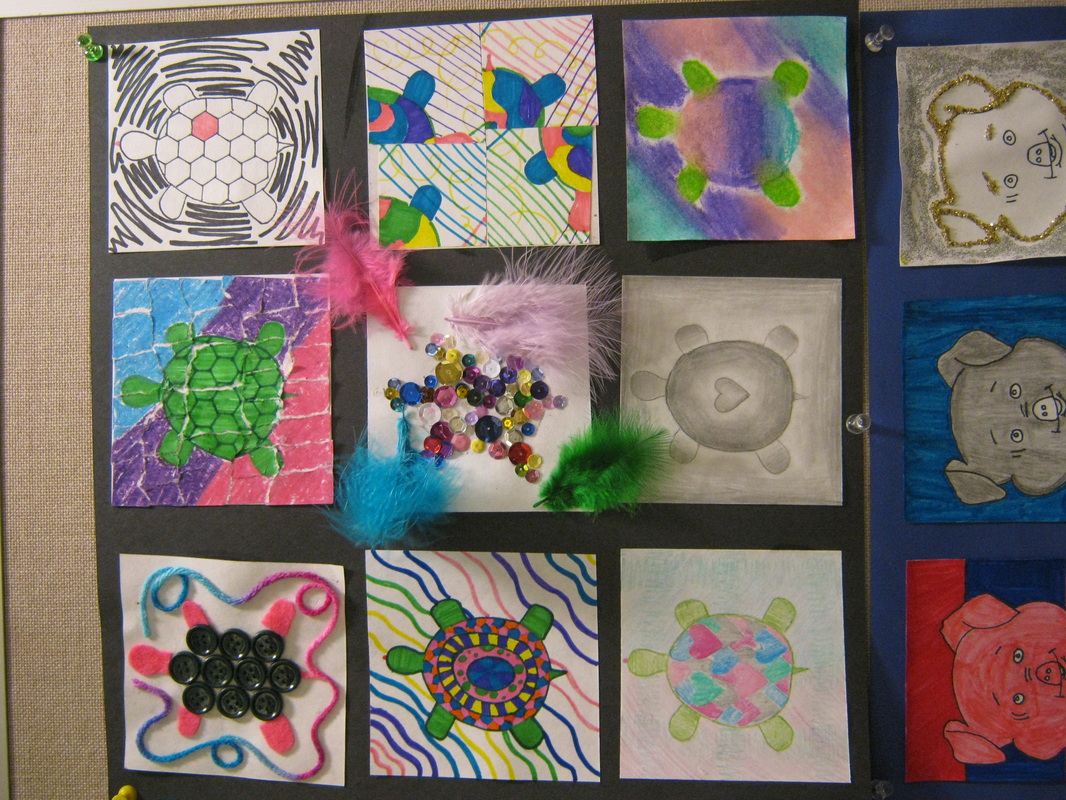
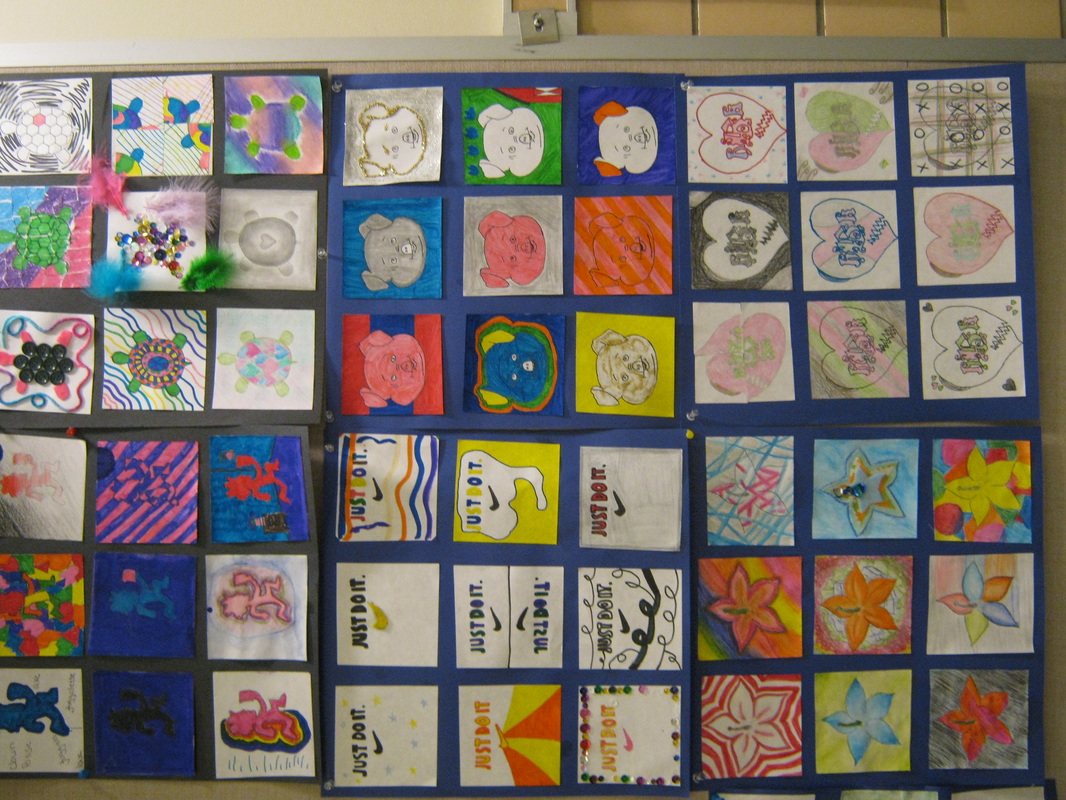
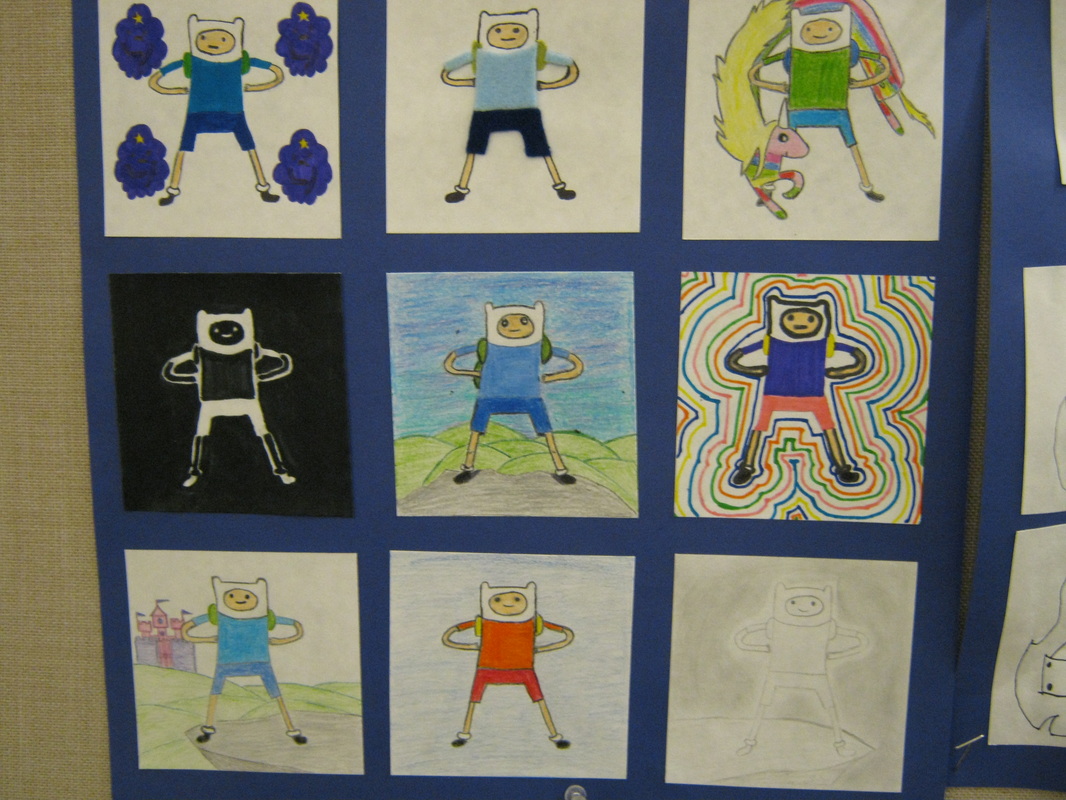
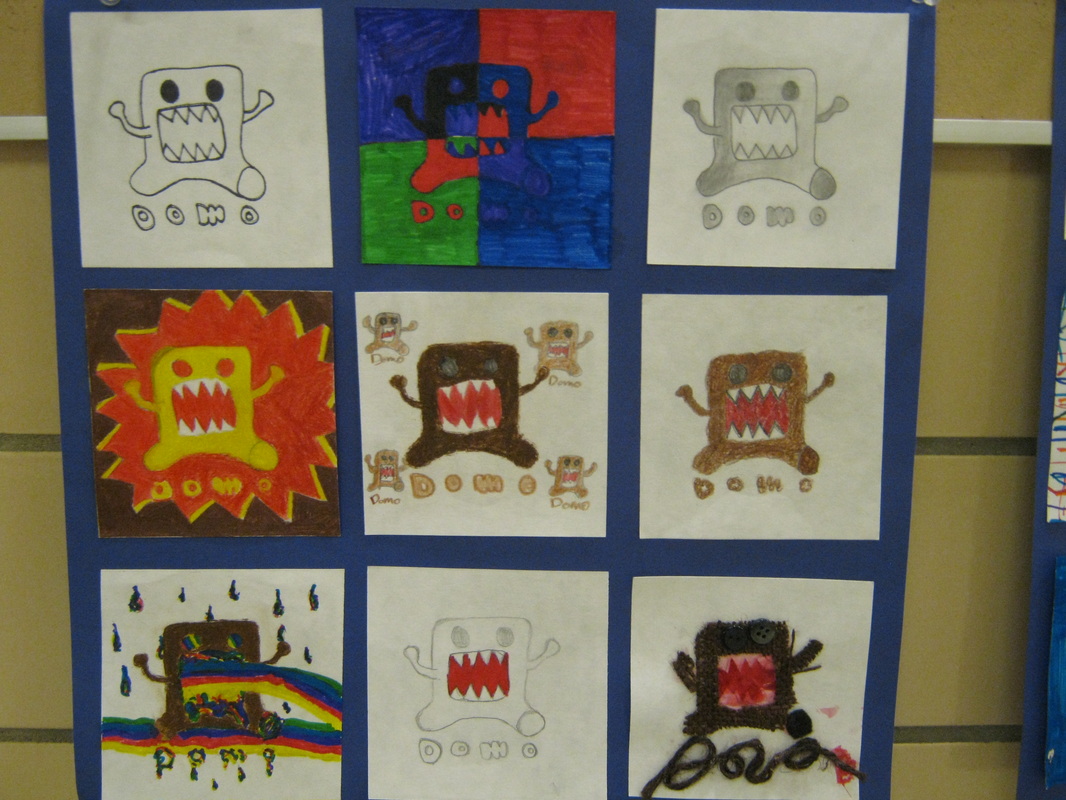
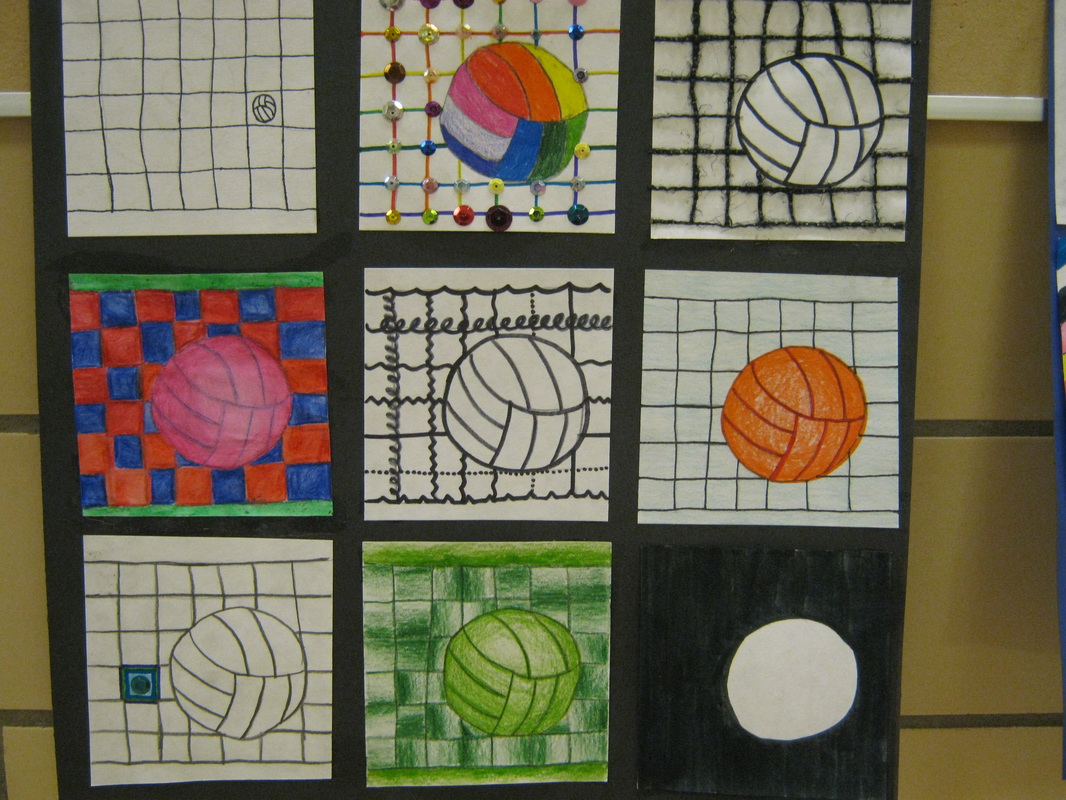
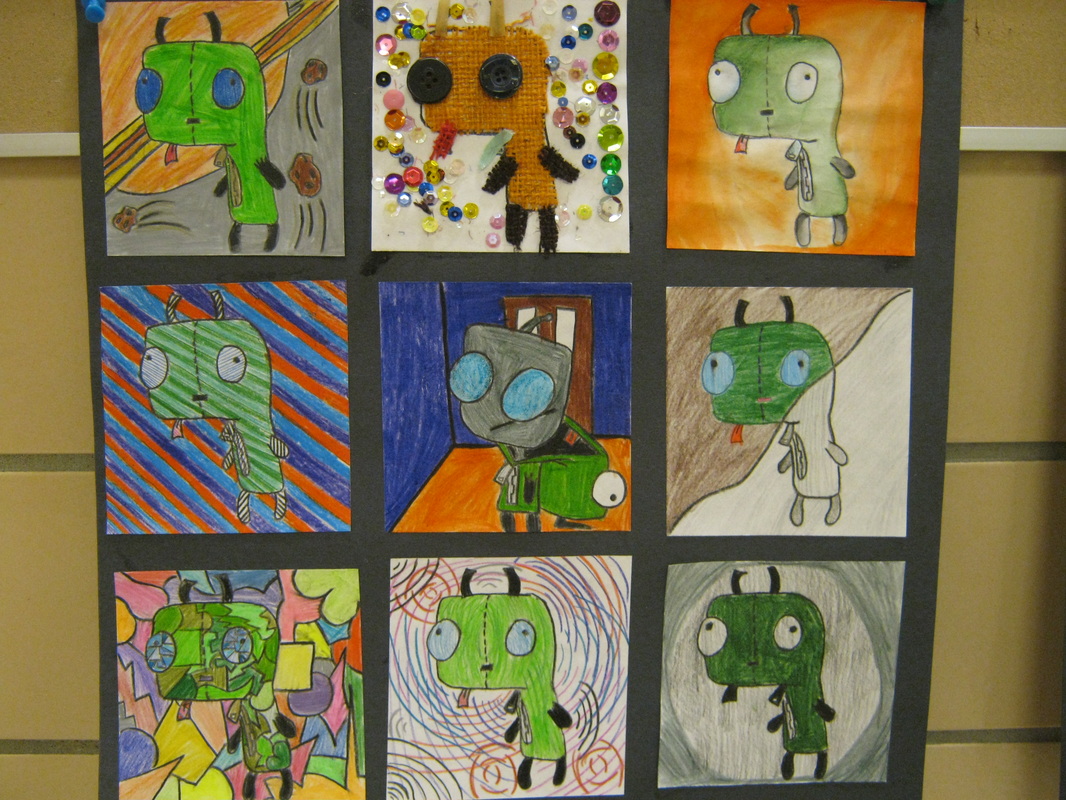
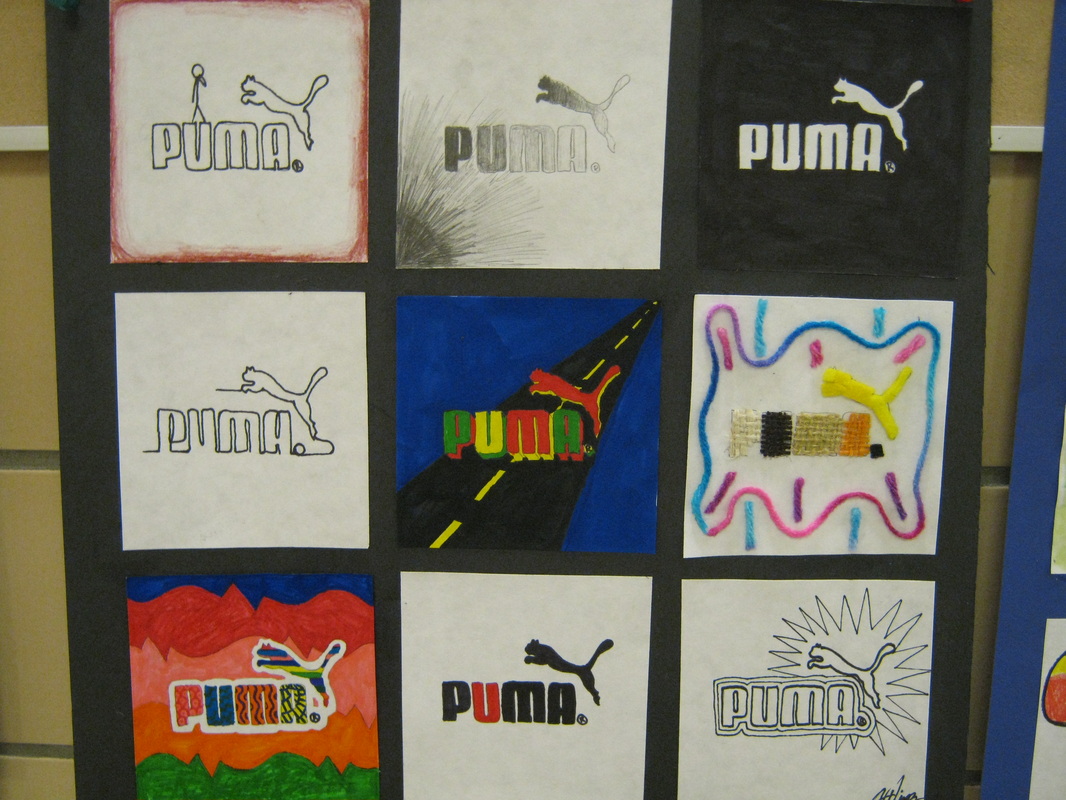
Elements and Principles of ART and DESIGN cont...9x9 variation drawing
In this lesson, students applied previous knowledge from their book on the definitions of the Elements and Principles of Art and Design and applied them to a variation drawing. Students picked an image and created a different version around an Element or Principle.
| elements_and_principles_collage.docx |


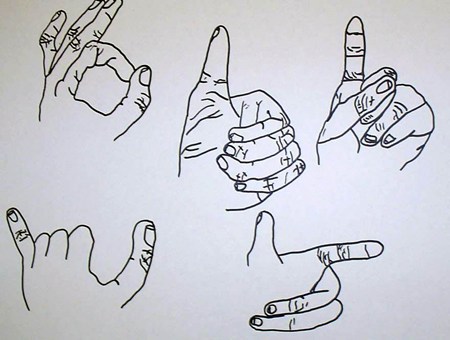
Contour Hands Studies: 9/12/2011
Hands have been an important part of artist’s studies for drawing. By exploring the anatomy of the human hand through contour line, you will grasp a further understanding of this complex form.
Project 1: Contour hands studies
· Show 5 examples of contour line drawing hands
· Arrange hands in a composition on the paper
· 20pts
Project 2: Contour hands with String
· Choose and arrangement of hands using a string
· Draw your hand once with the string, tension the line, and move your hand to a new position to draw
· 30pts
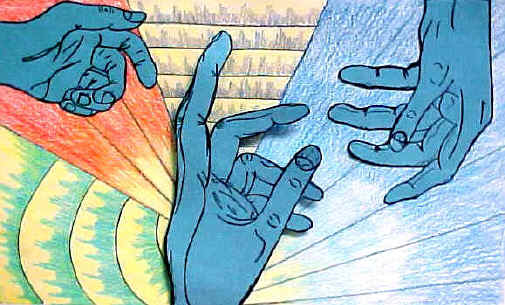
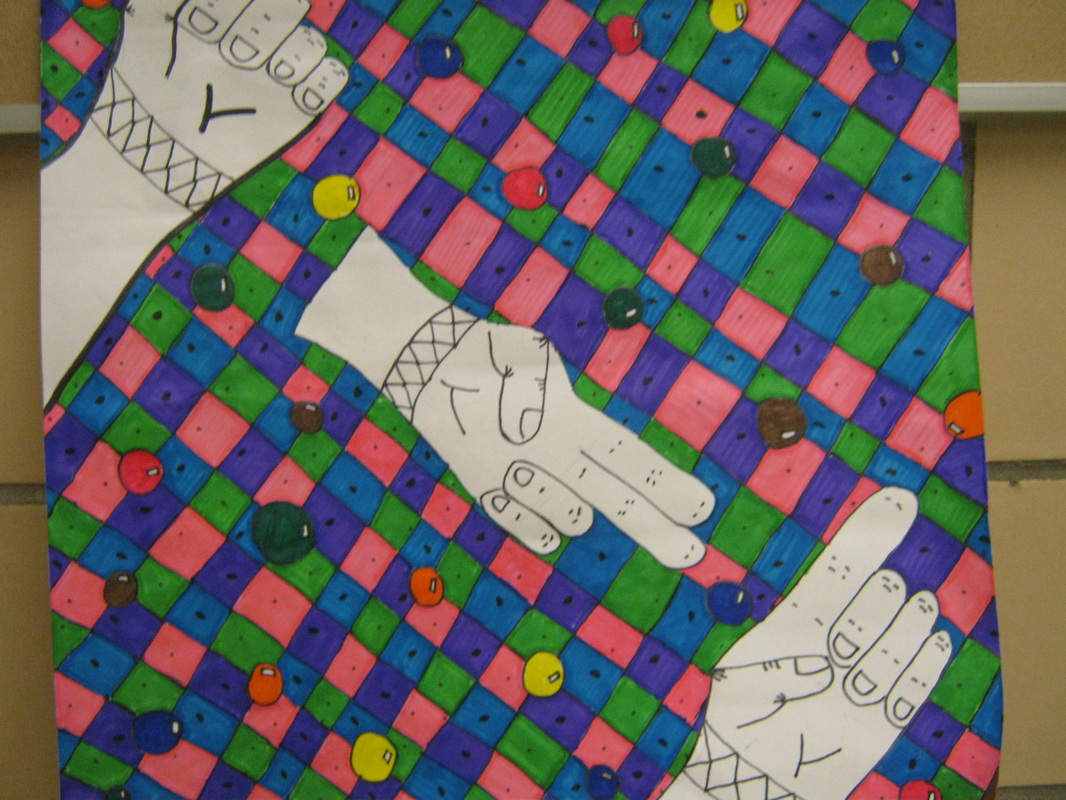
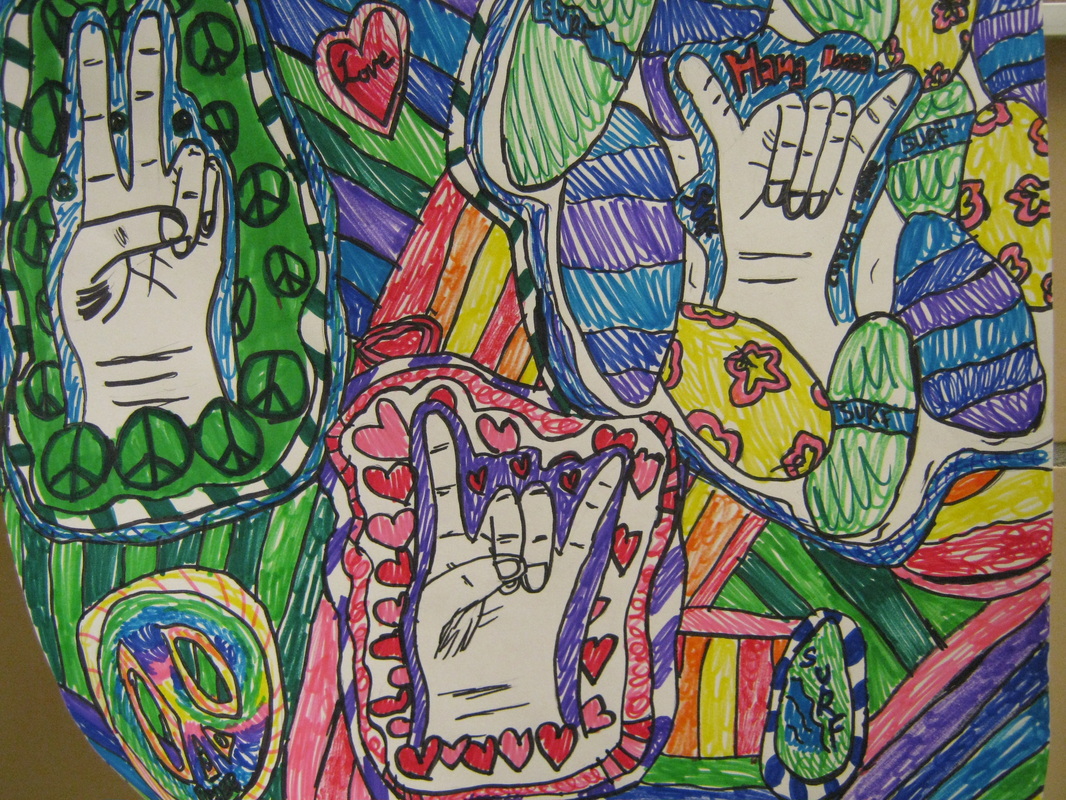
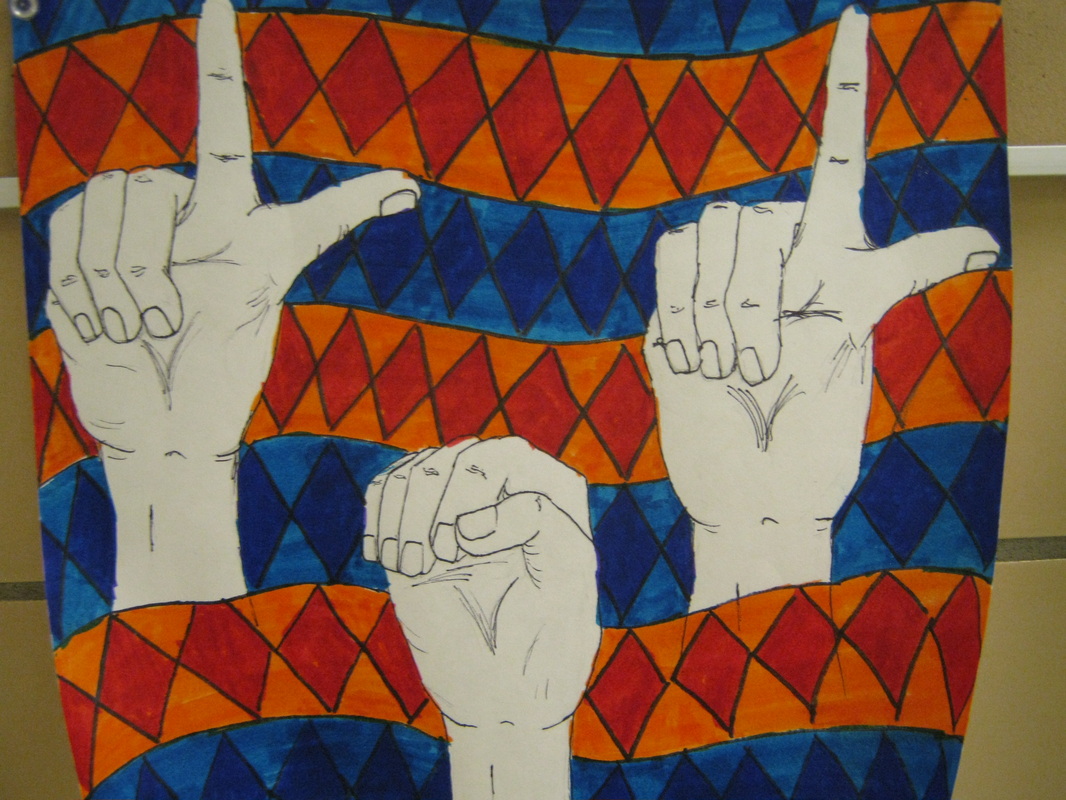
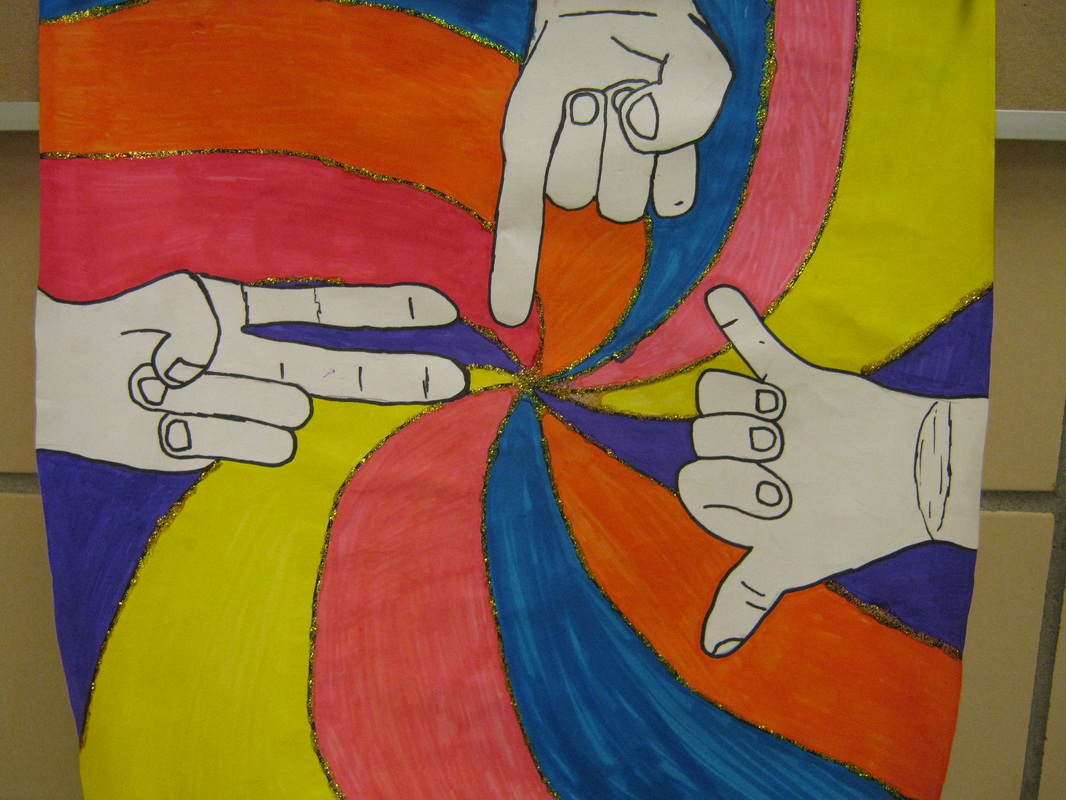
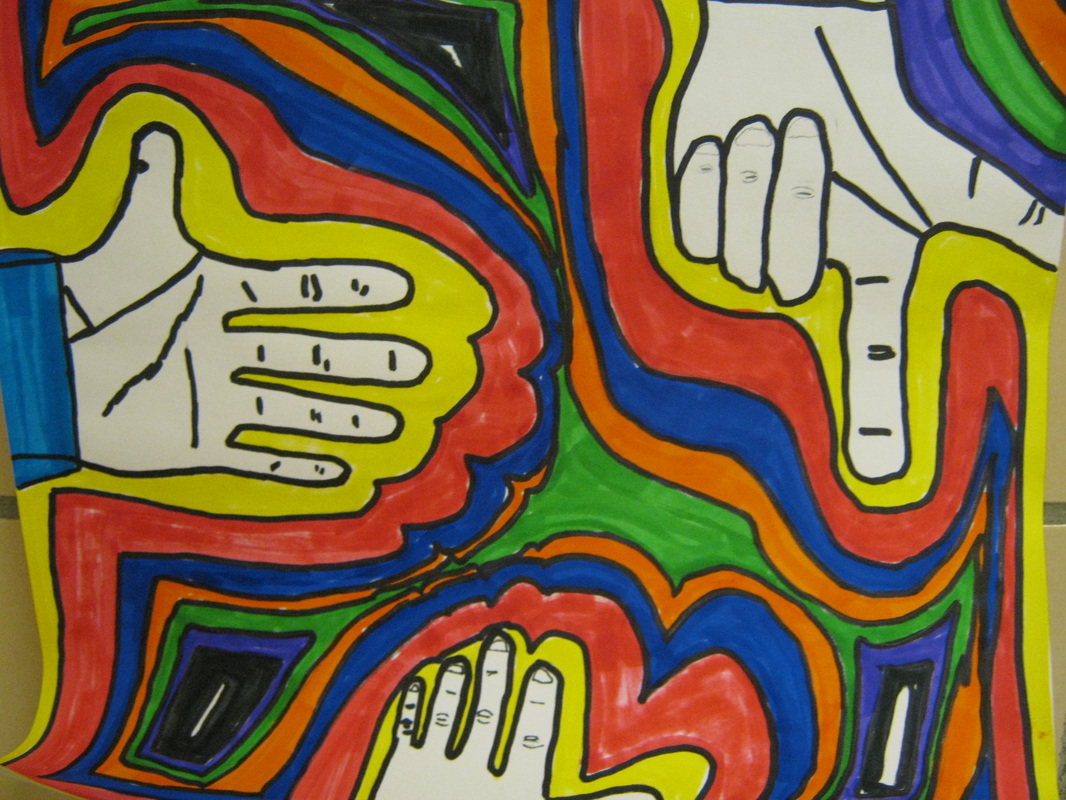
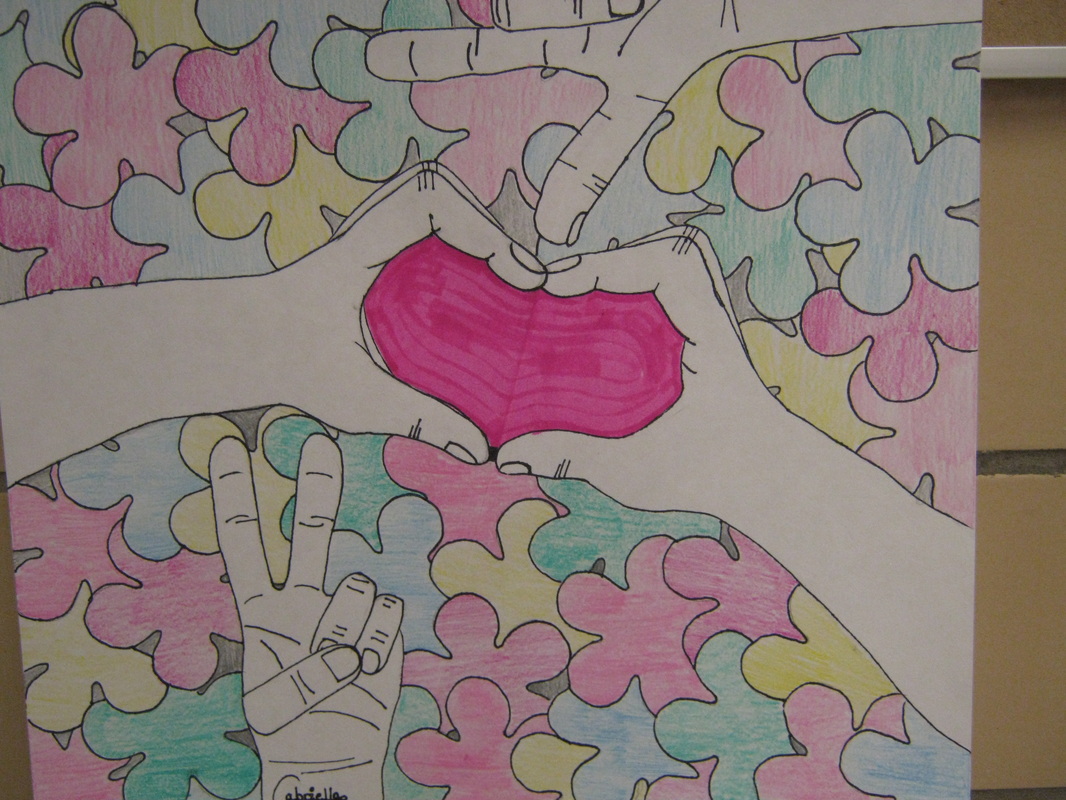
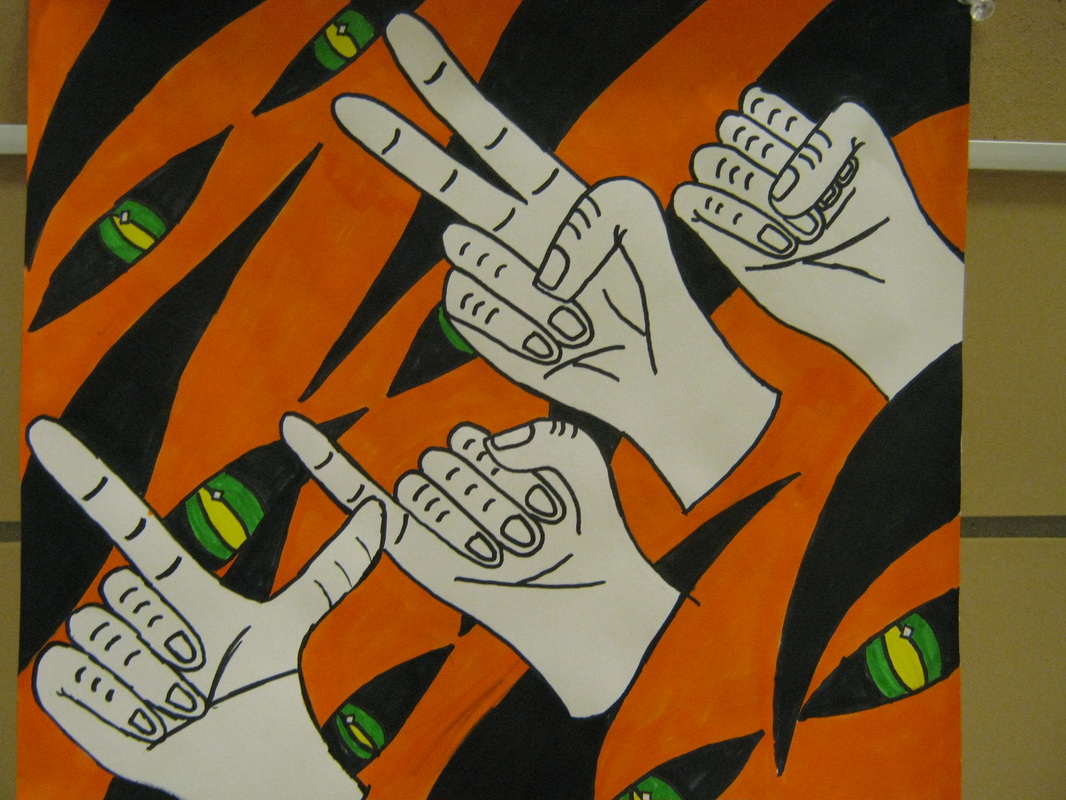
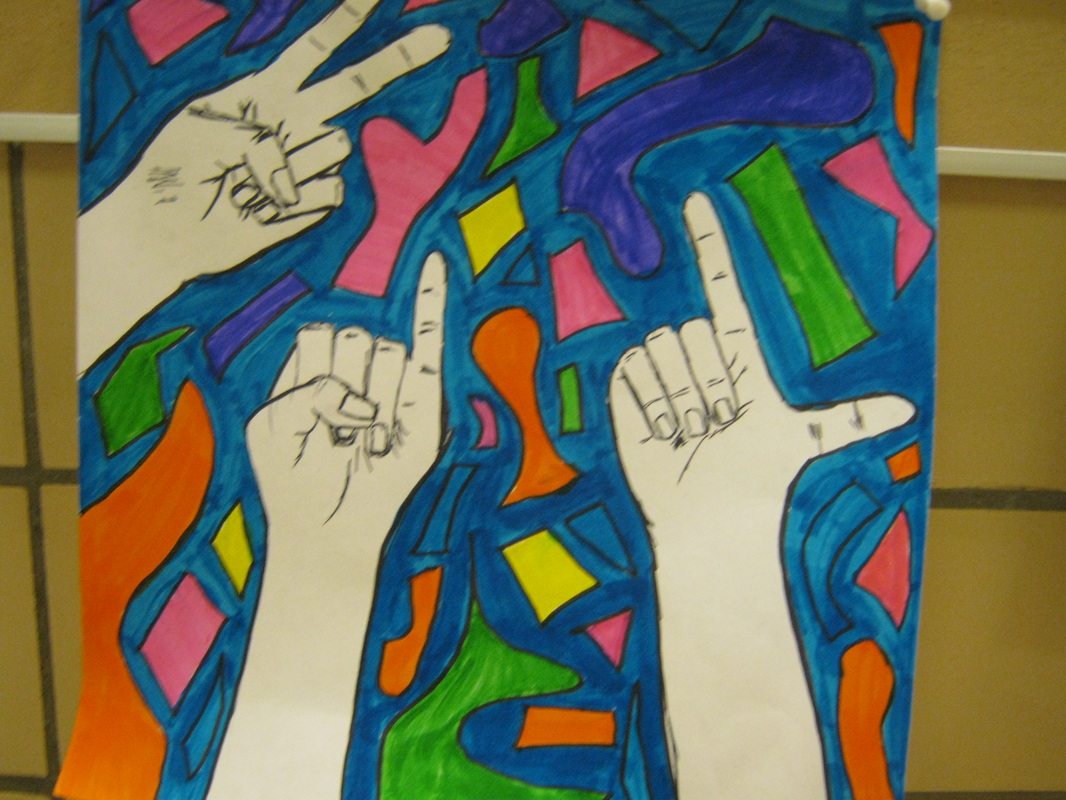
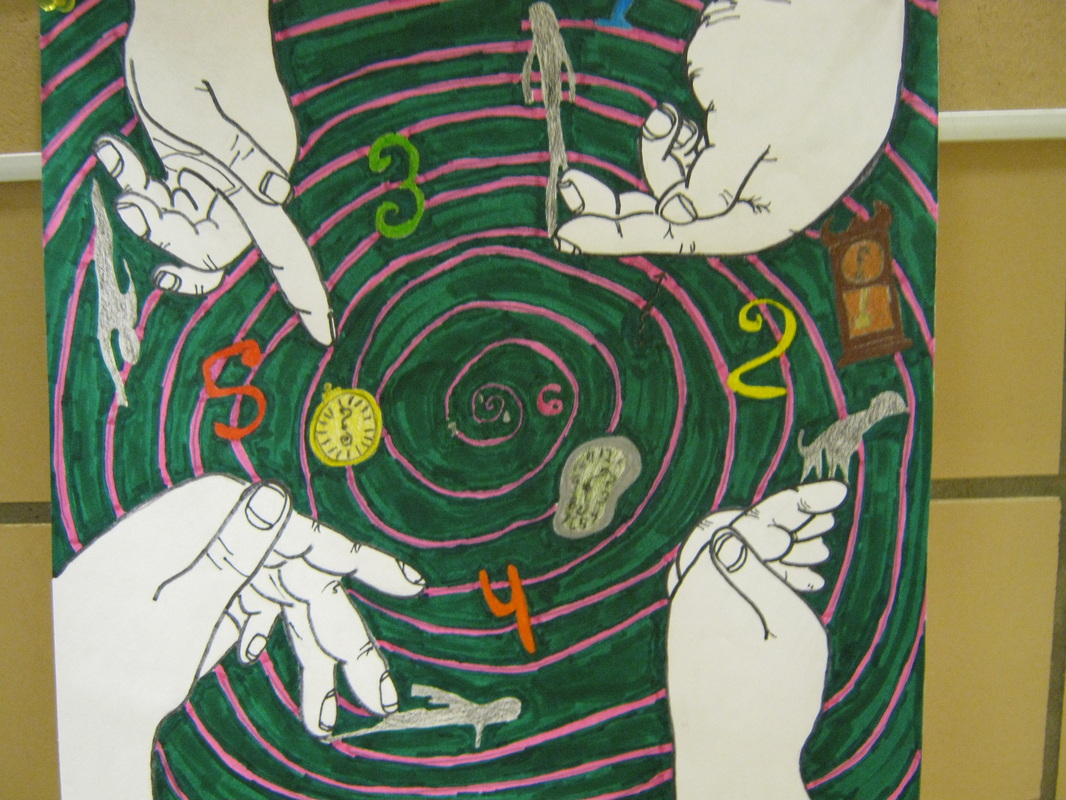
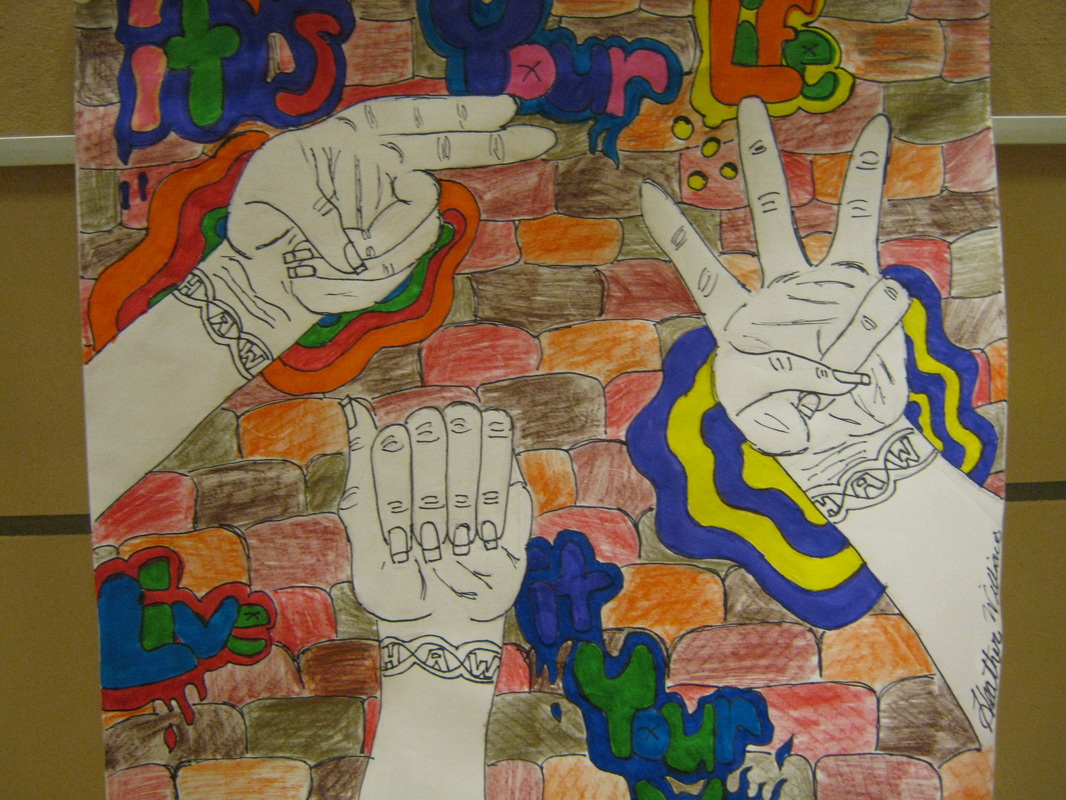
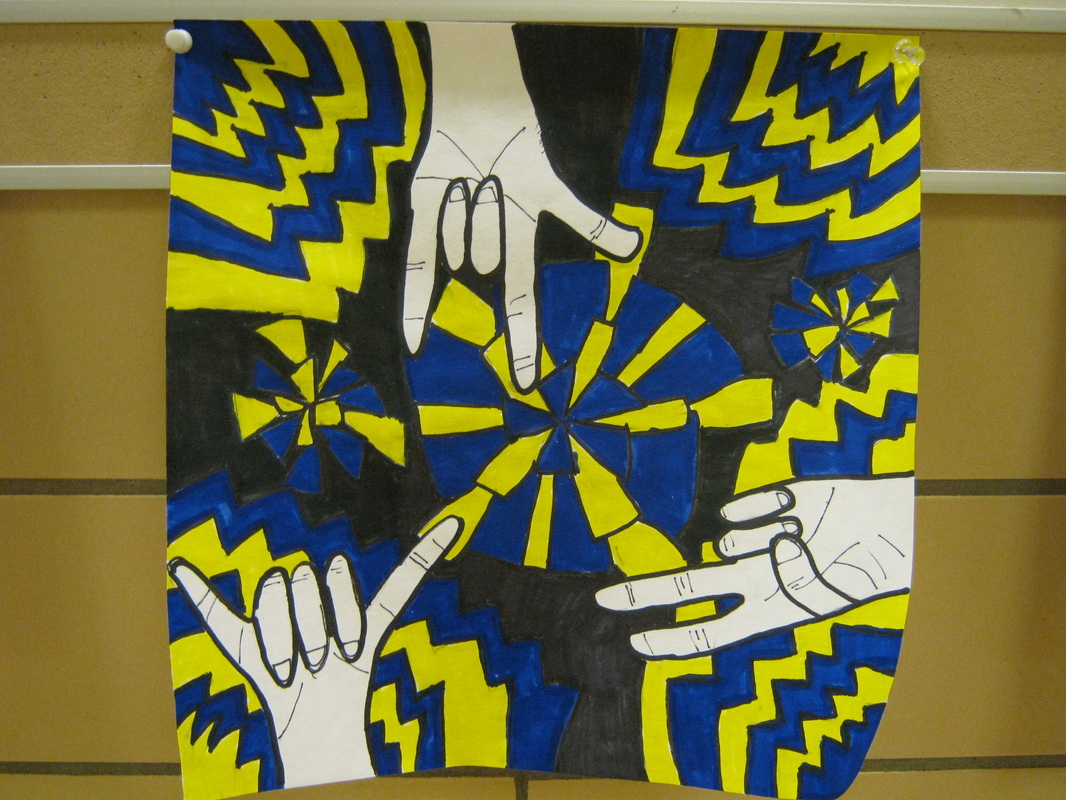
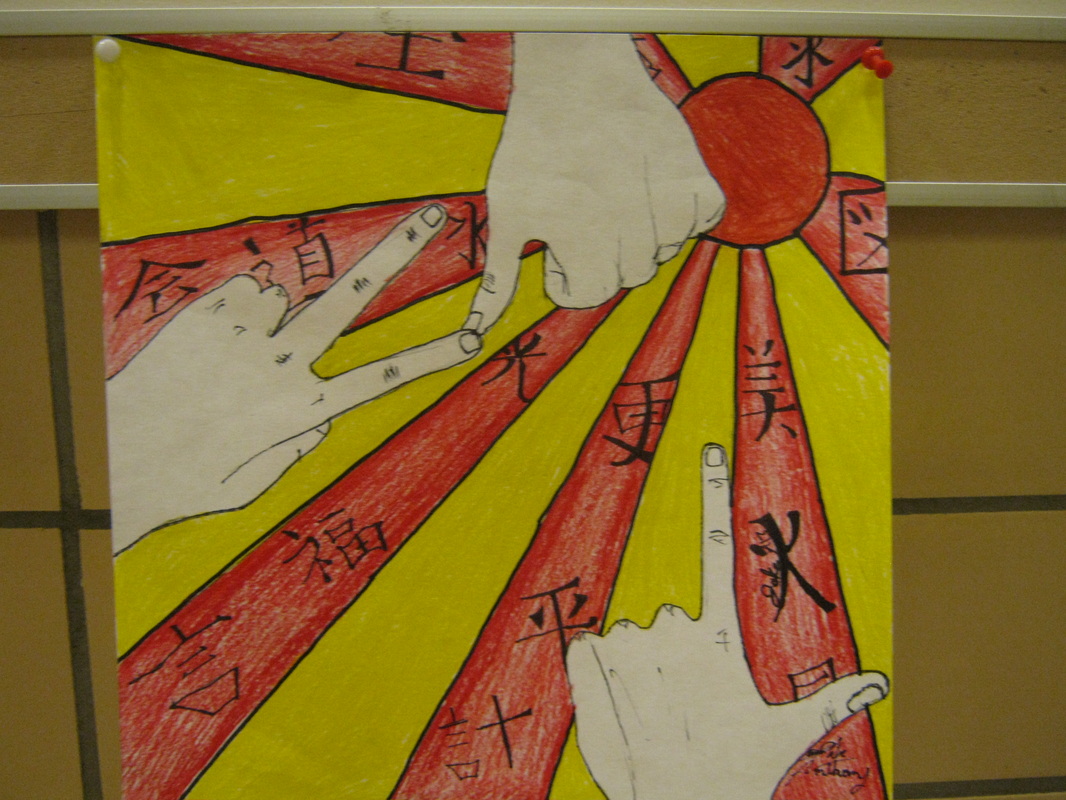
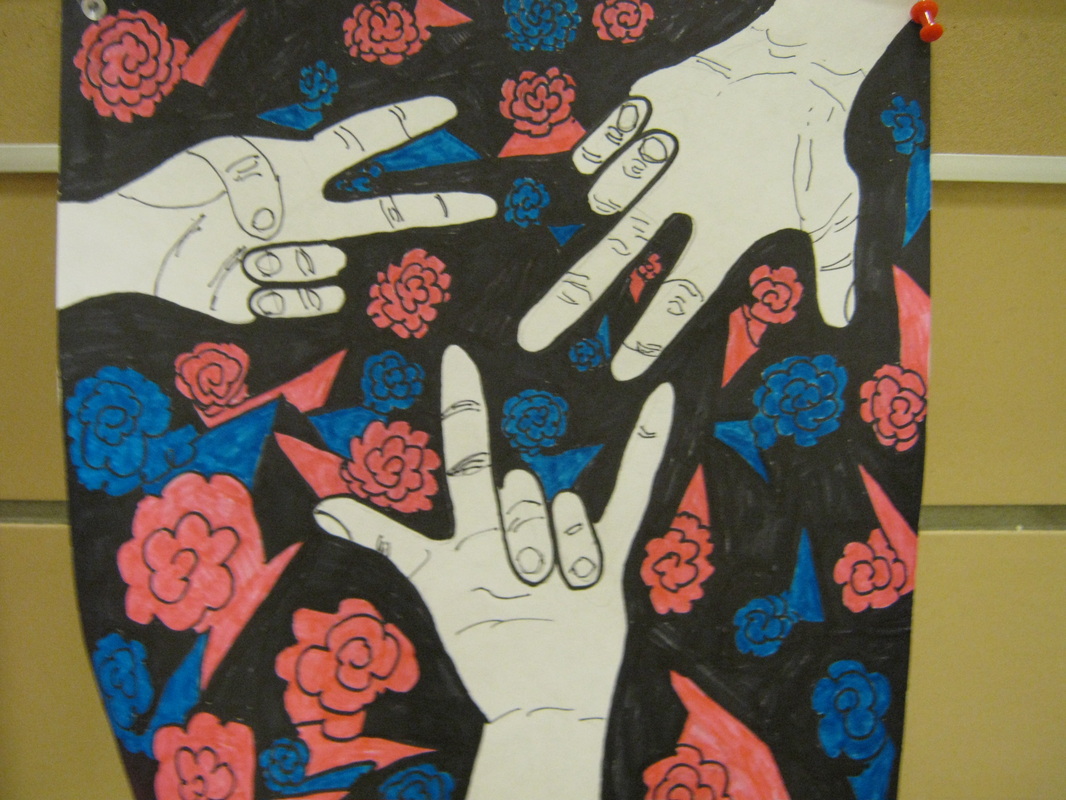
Project 3: Sign Language Hands
· Choose three poses for hands using the American Sign Language forms
· Must choose up to three different poses for hands
· Using elements of art: COLOR and principles of design: EMPHASIS and RHYTHEM create a pattern of some kind the background to make the contour line hands ‘stand out’ and connect throughout the piece
· 50pts
| Contour hands lesson AND Homework |
| hand_drawing_studies.pptx |


| Picasso Lesson and Homework |
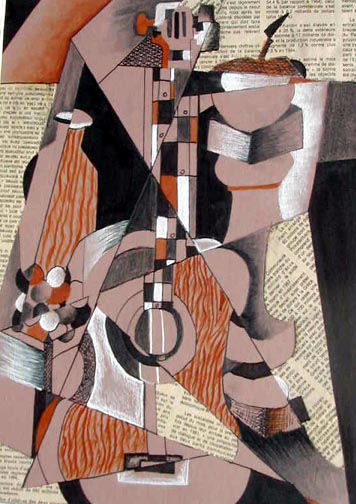
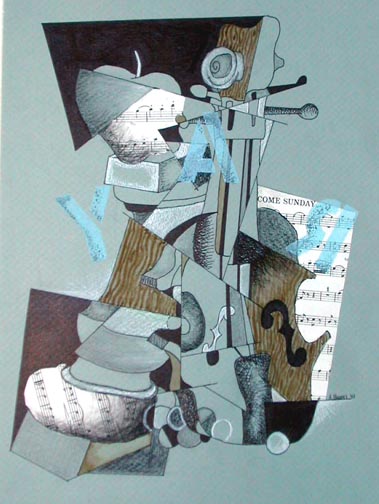
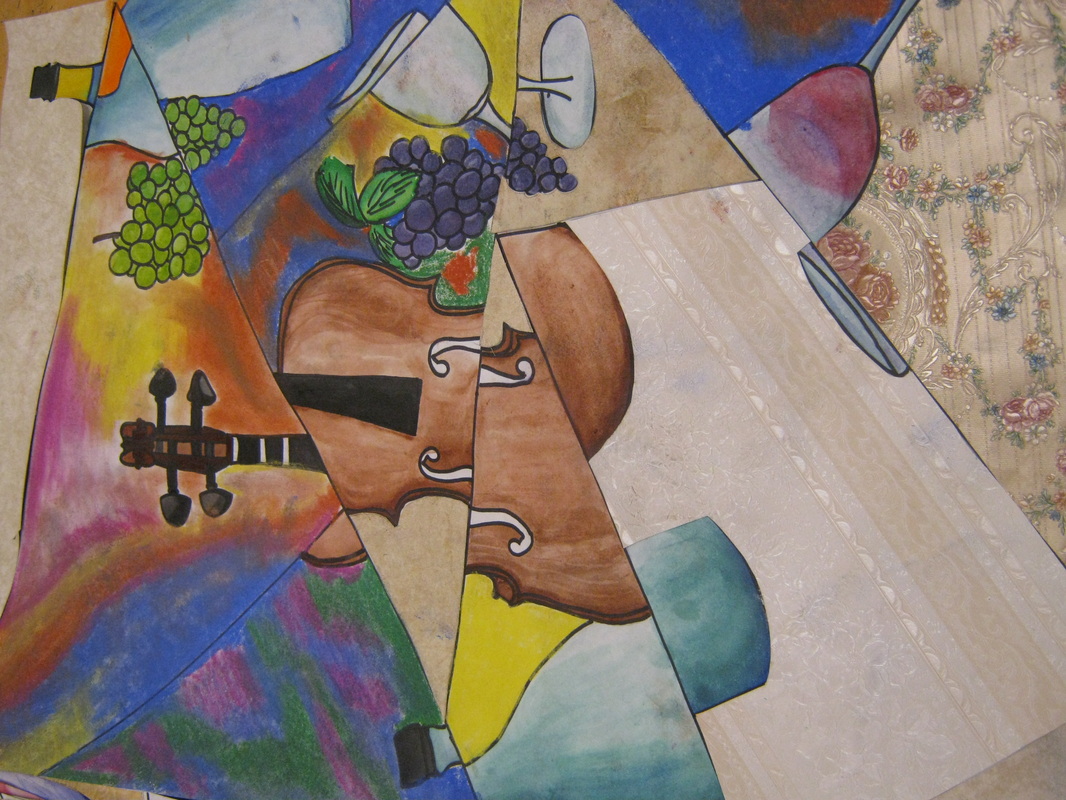
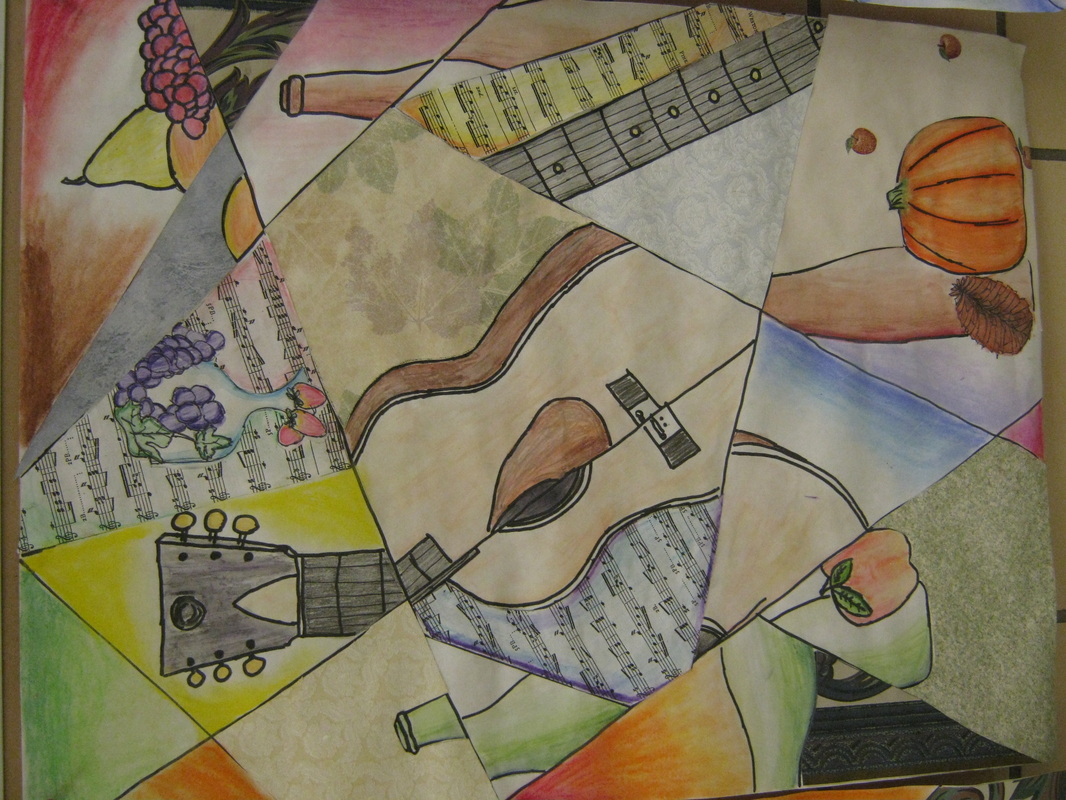
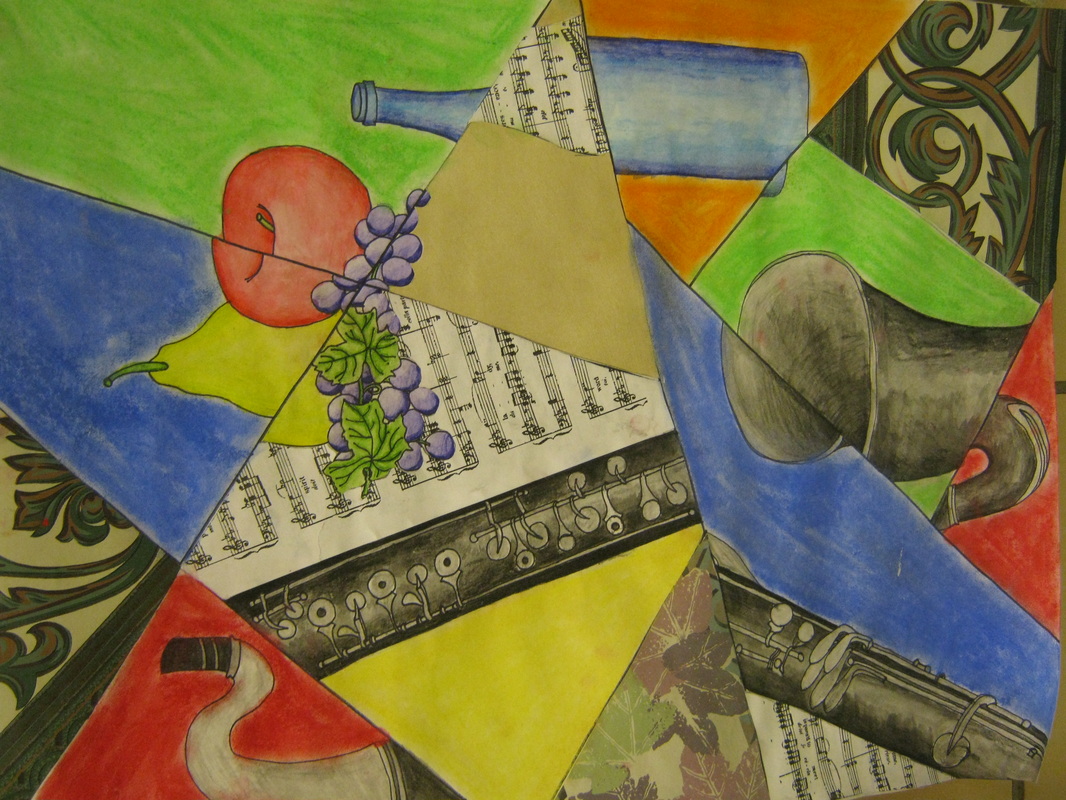
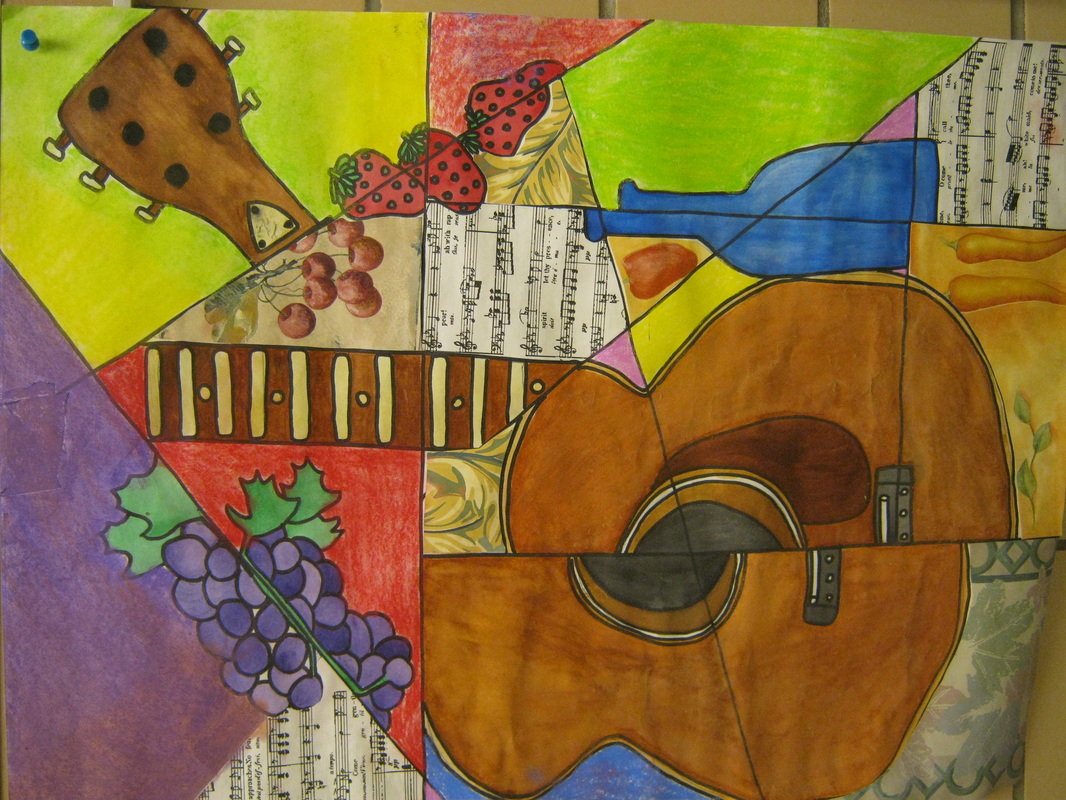
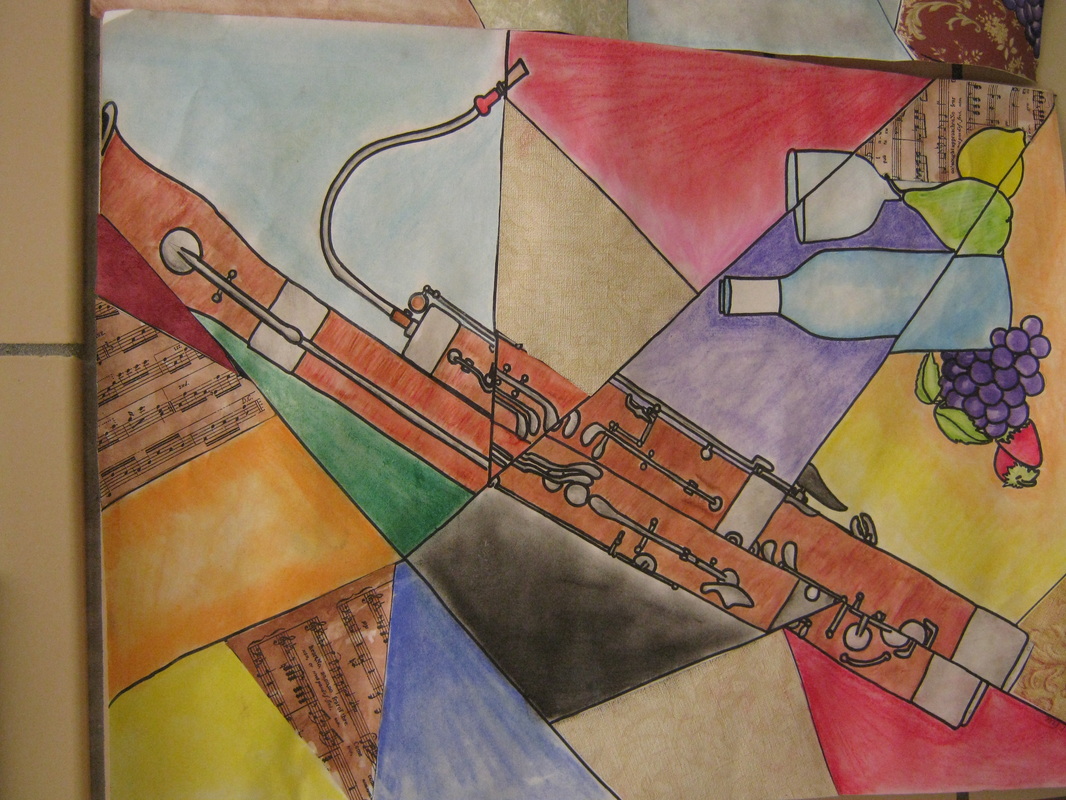
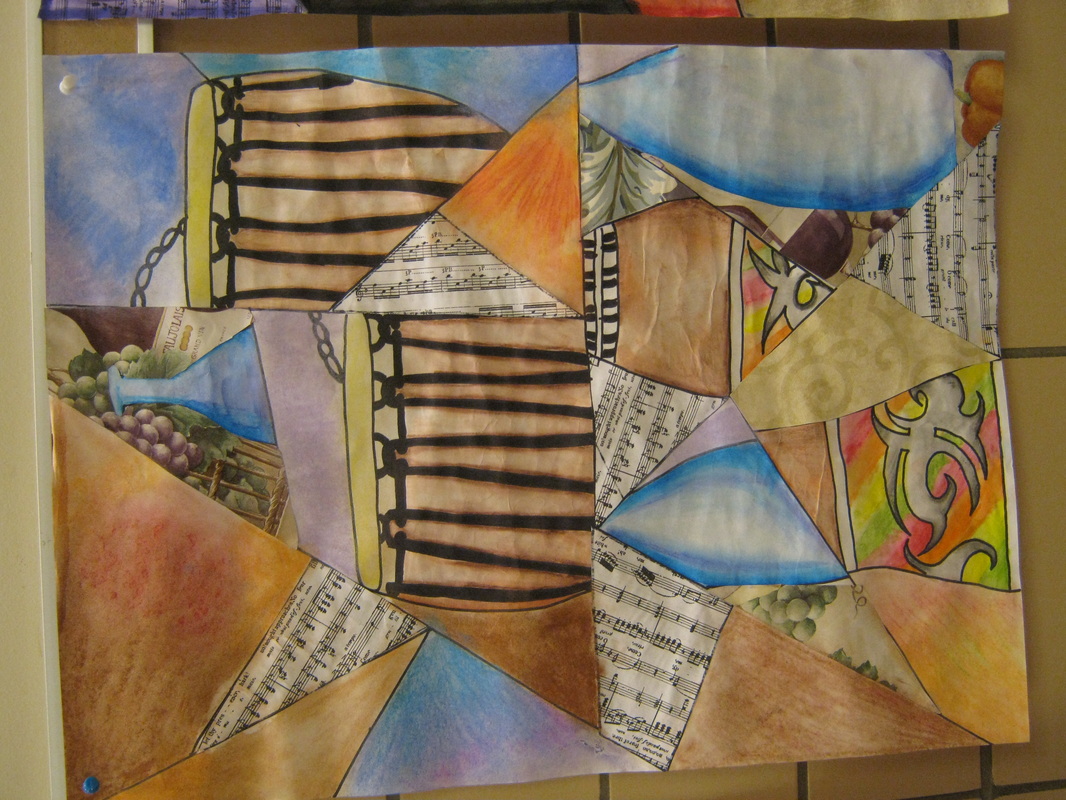
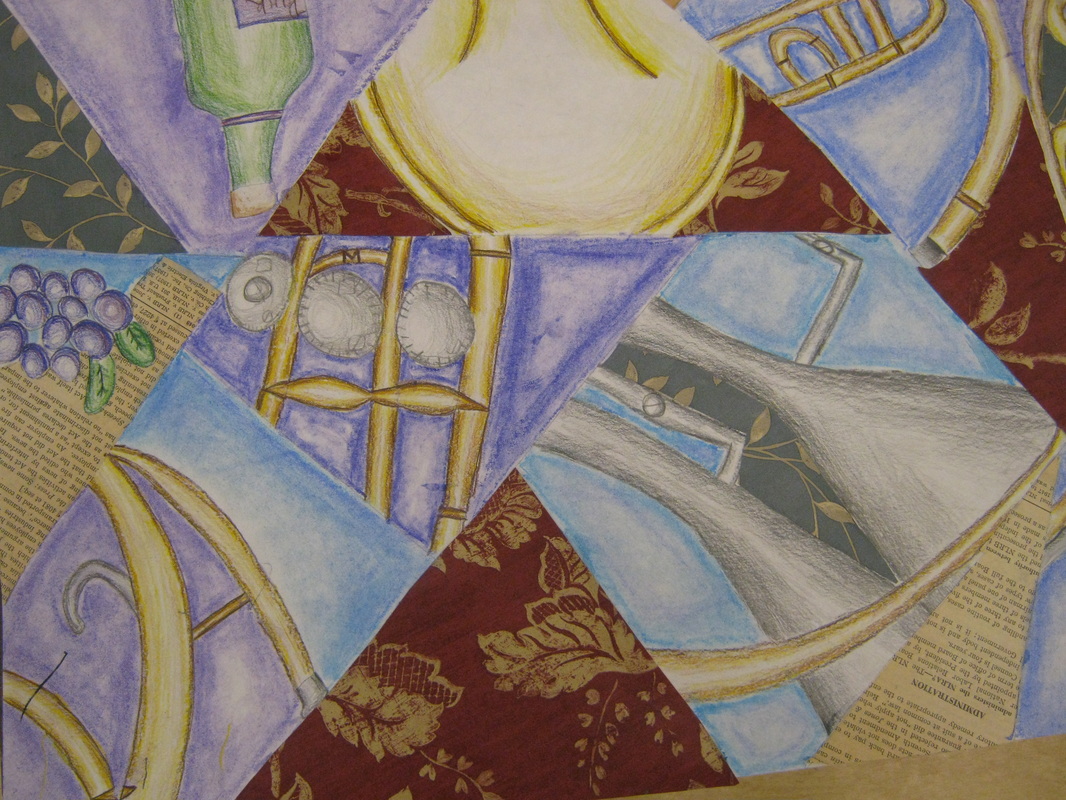
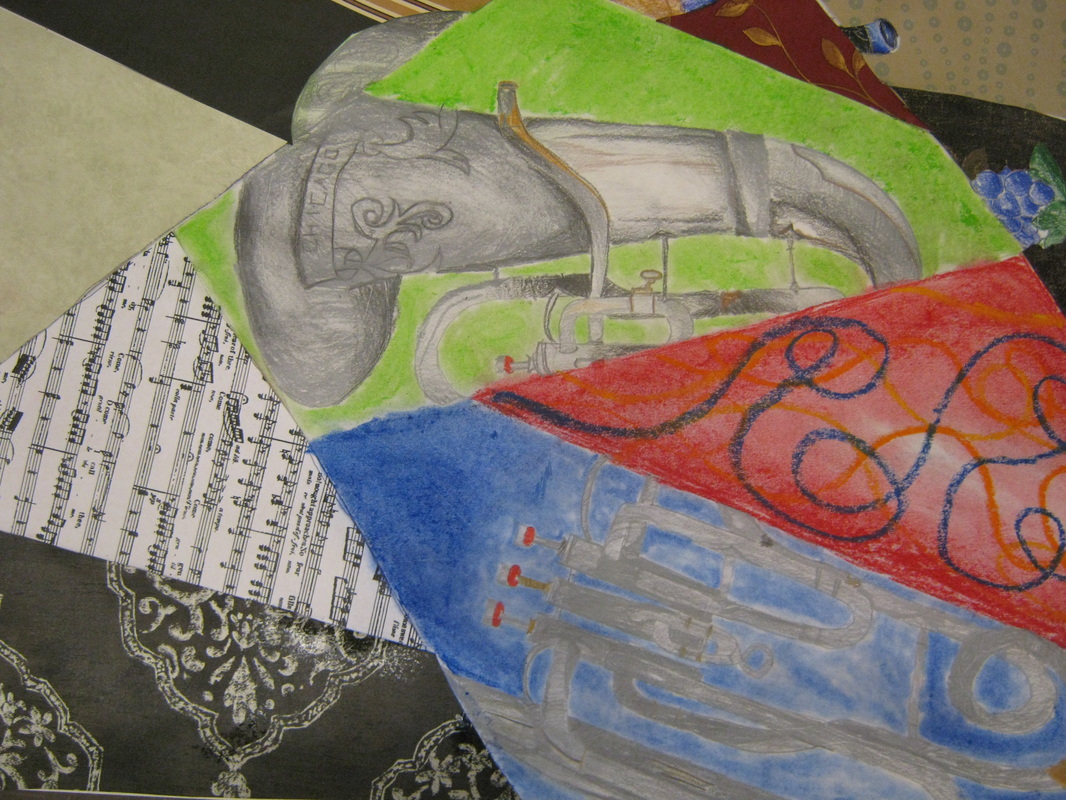
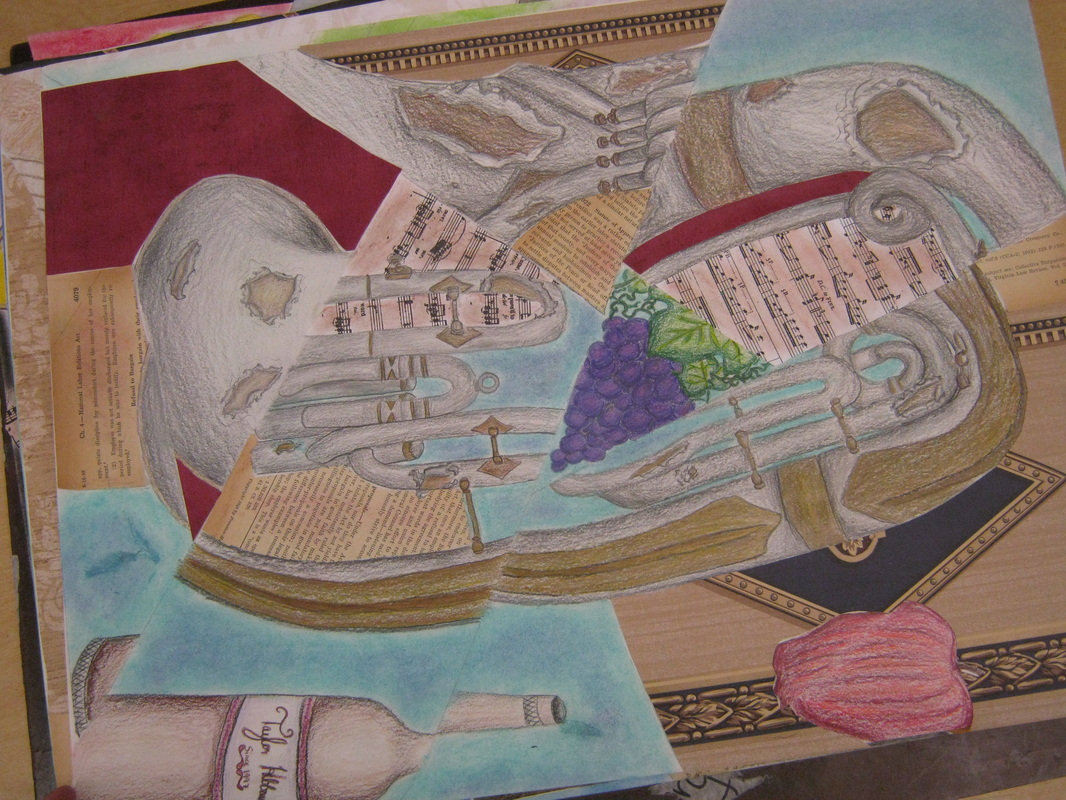
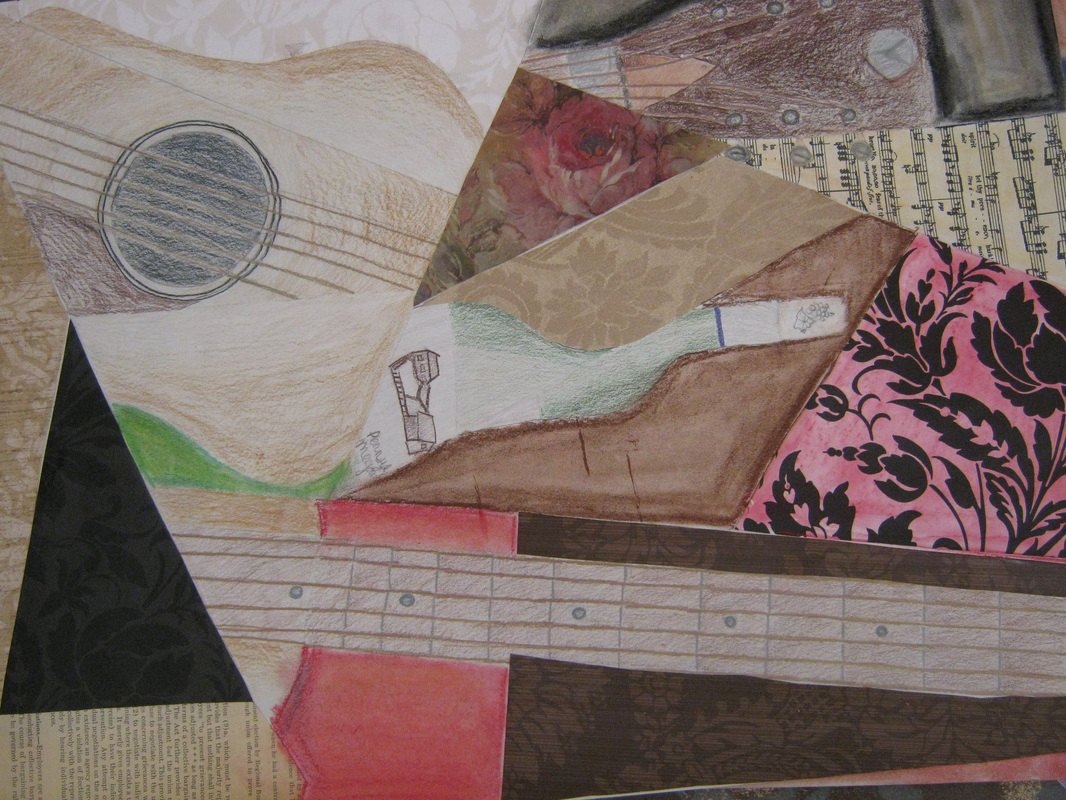
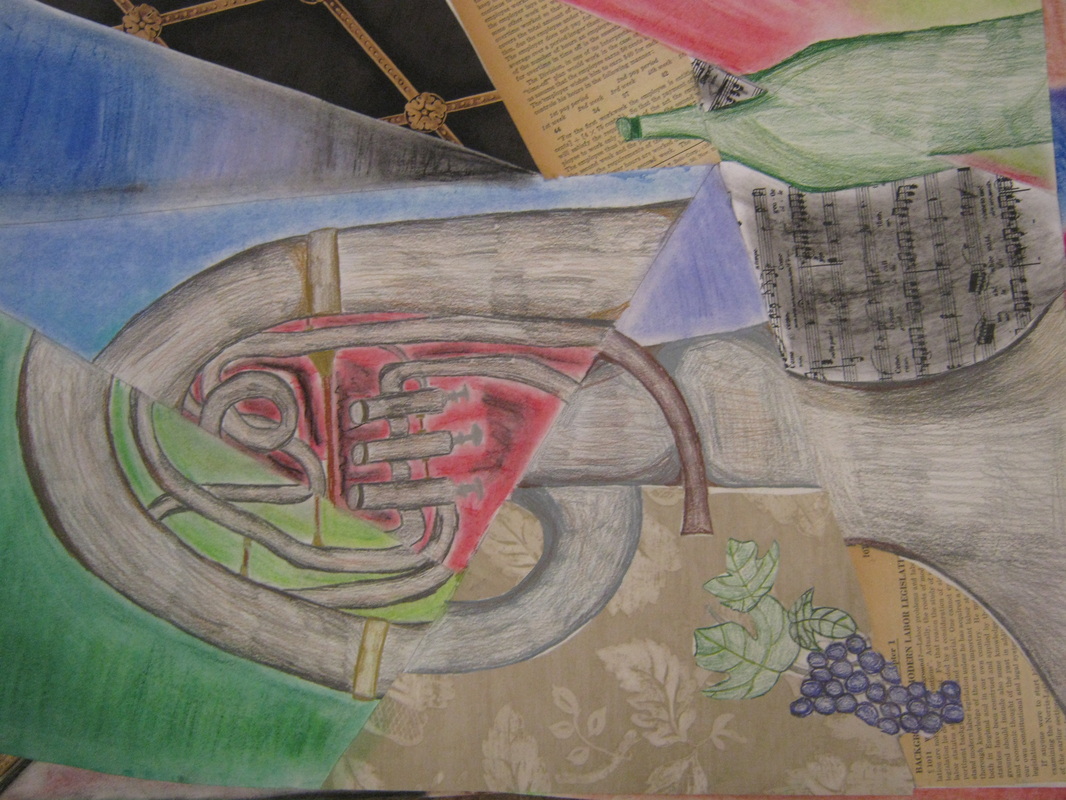
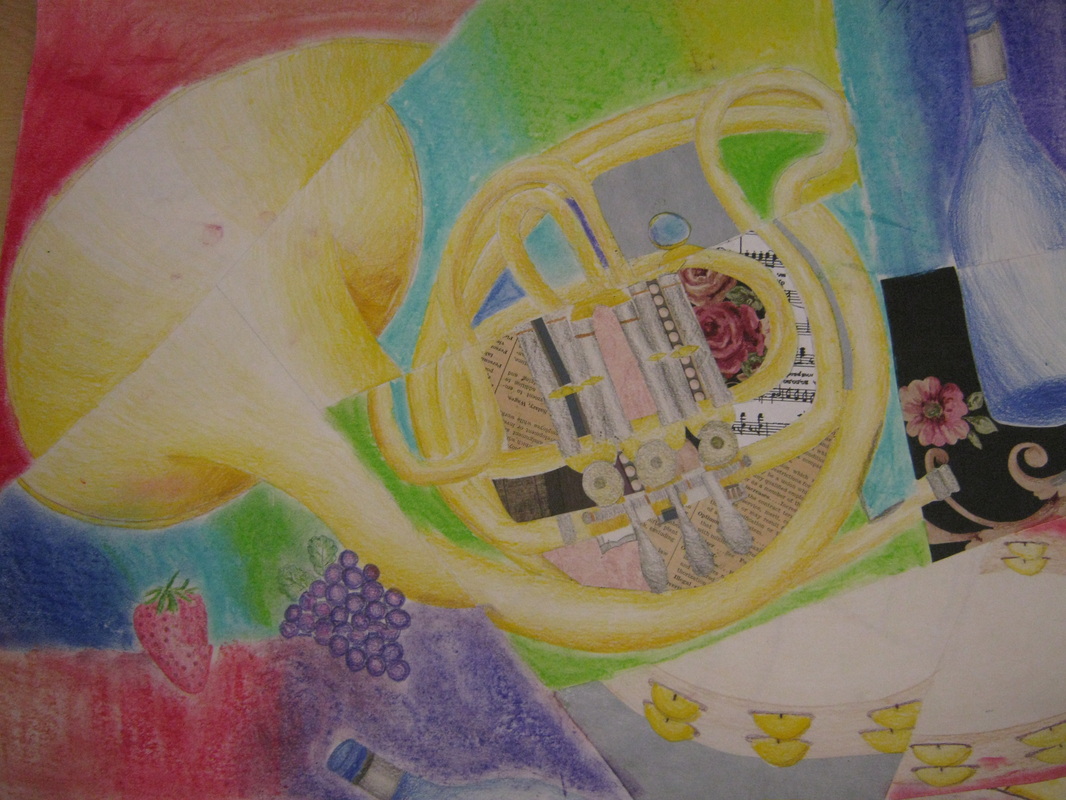
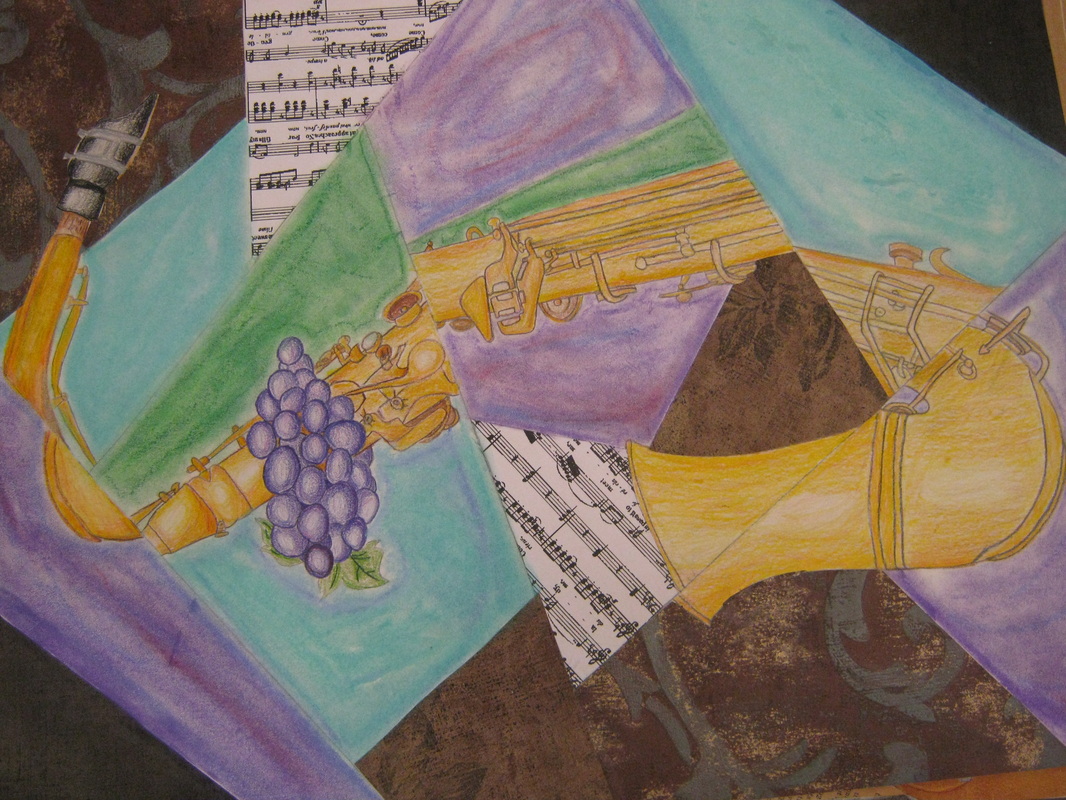
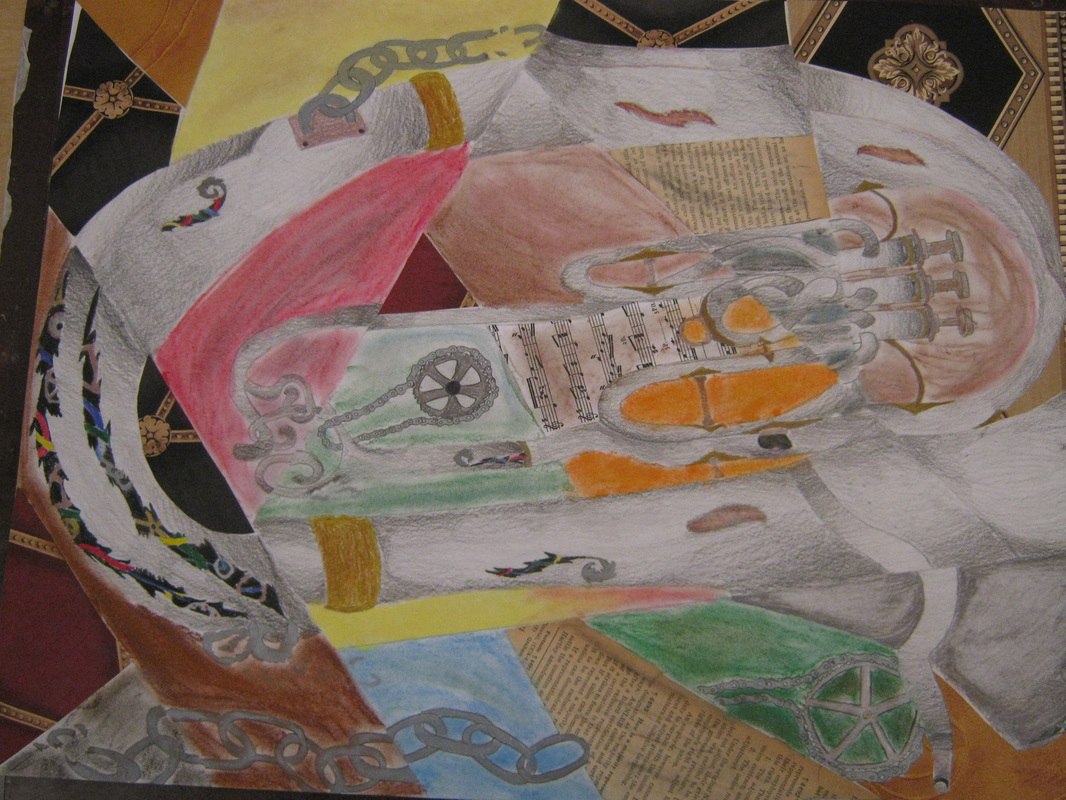
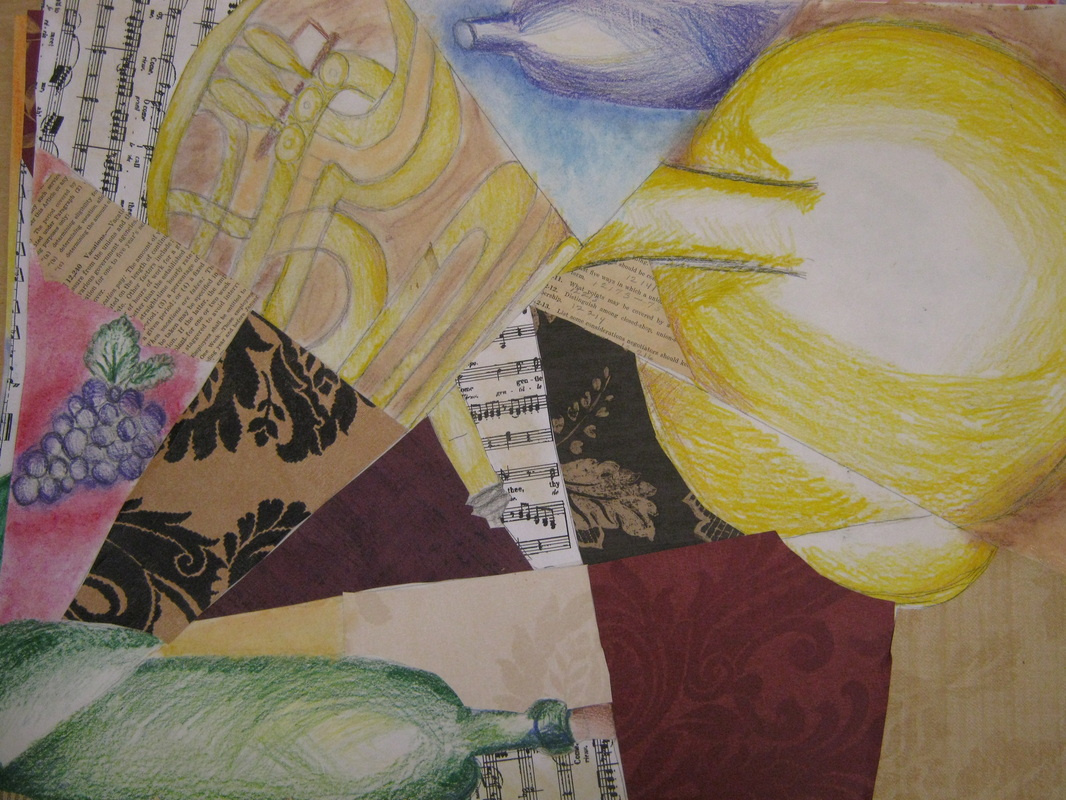
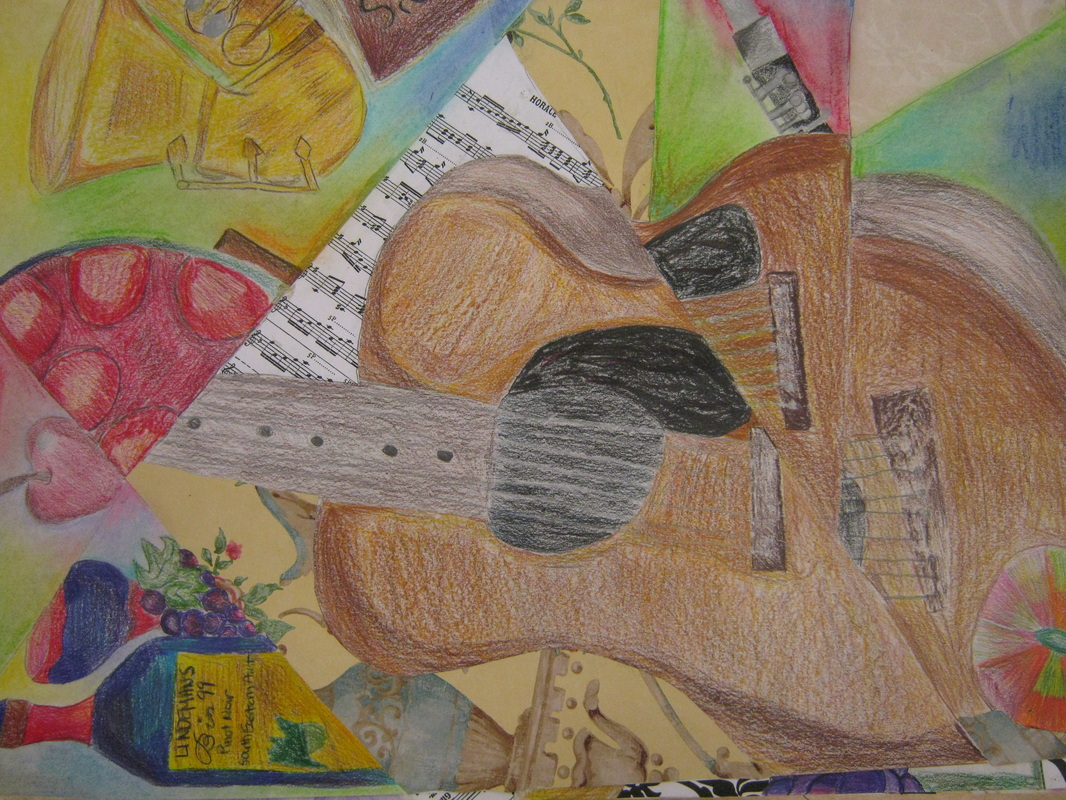
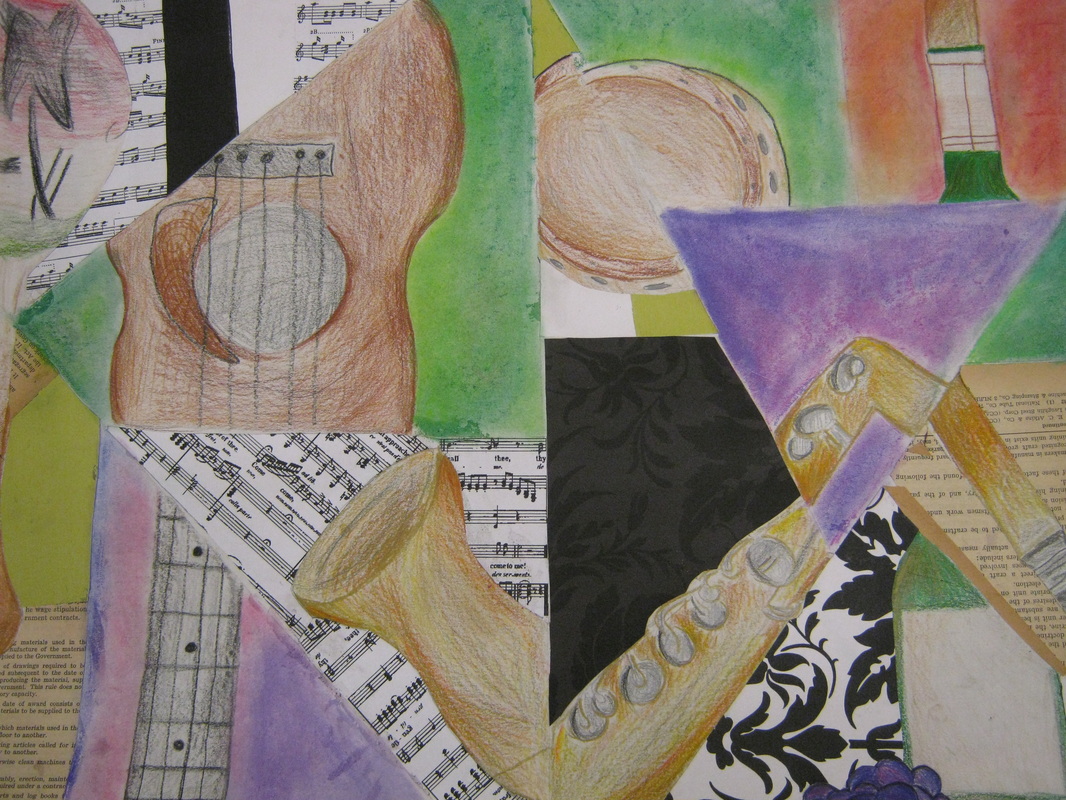
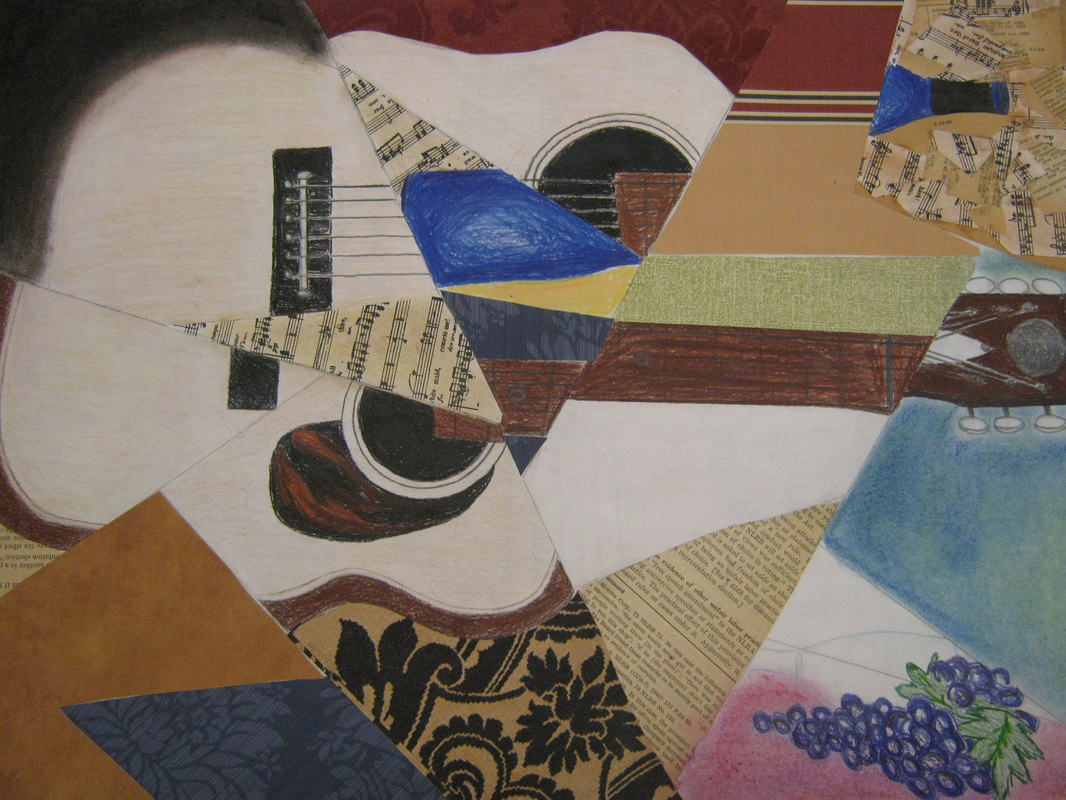
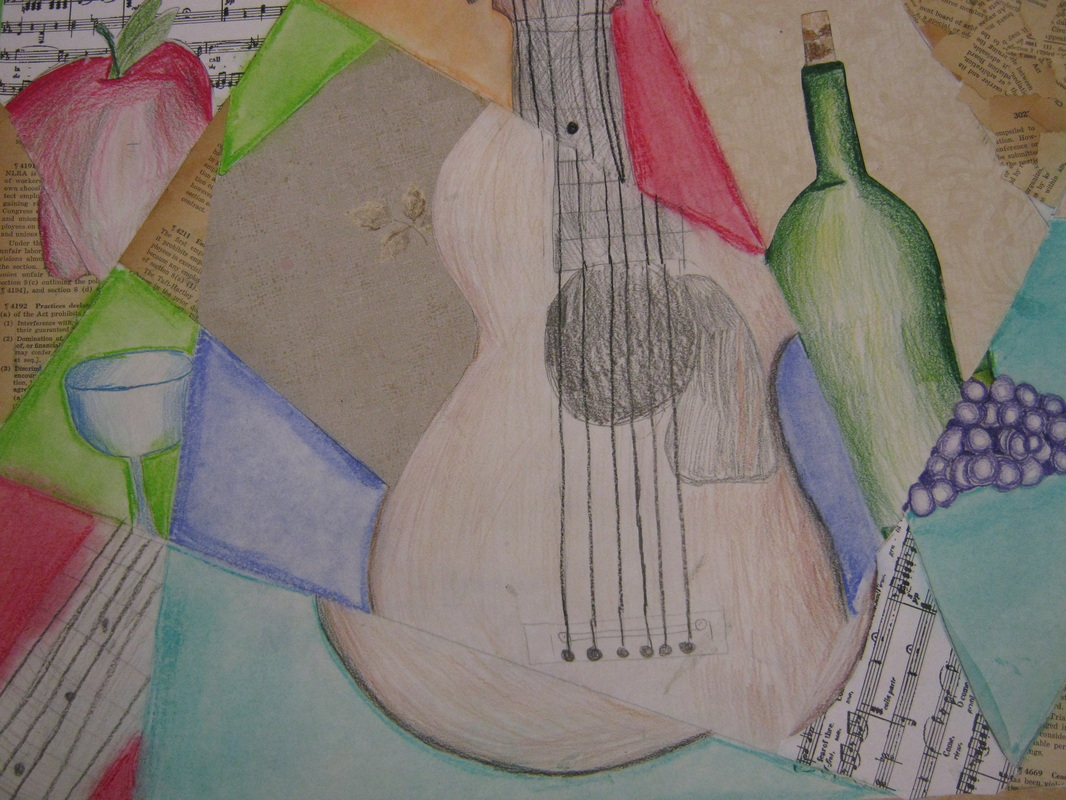
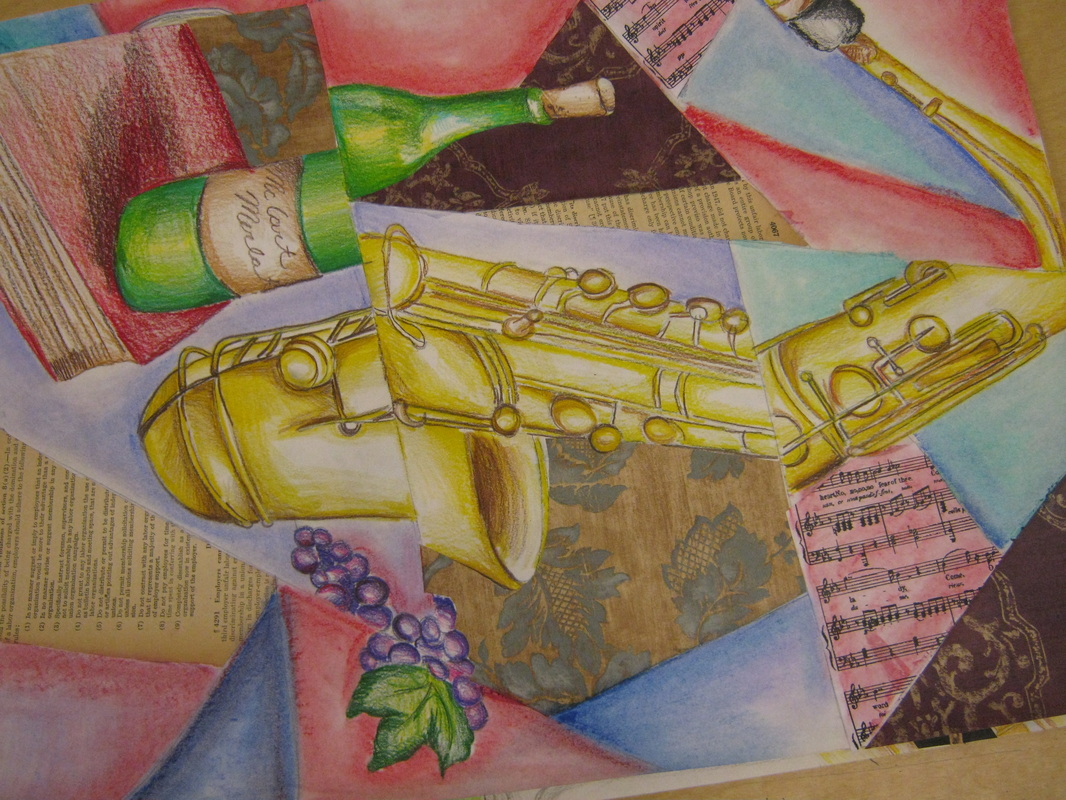
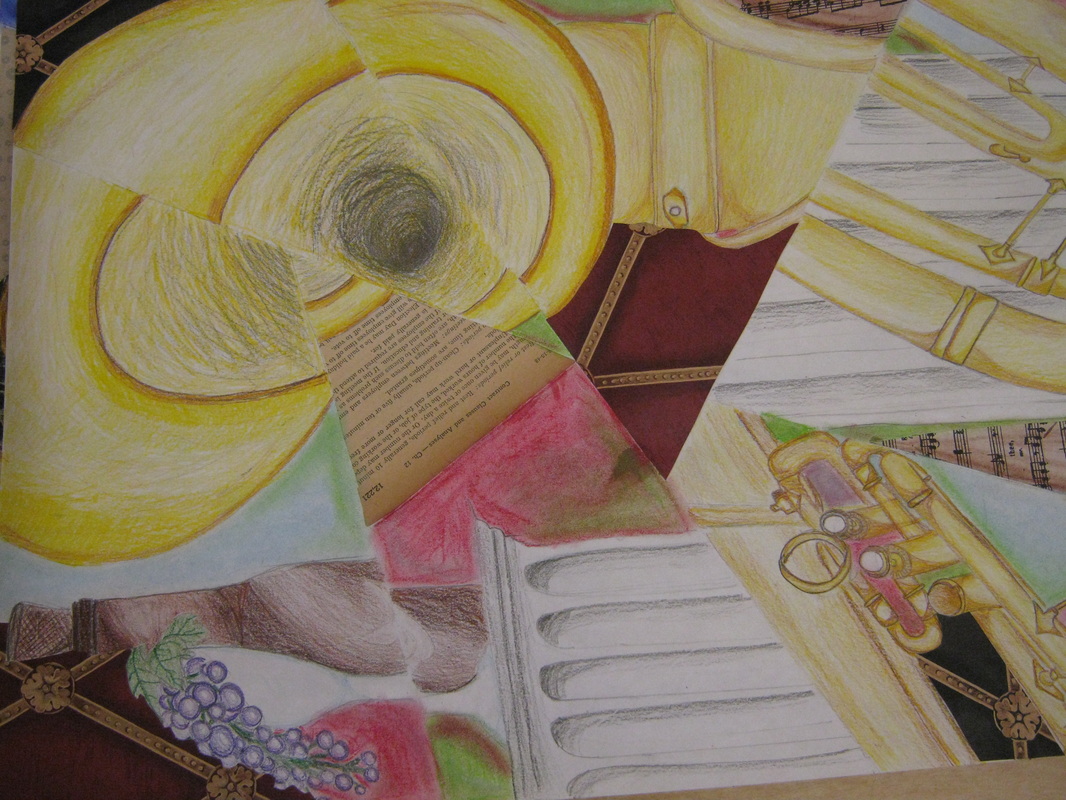
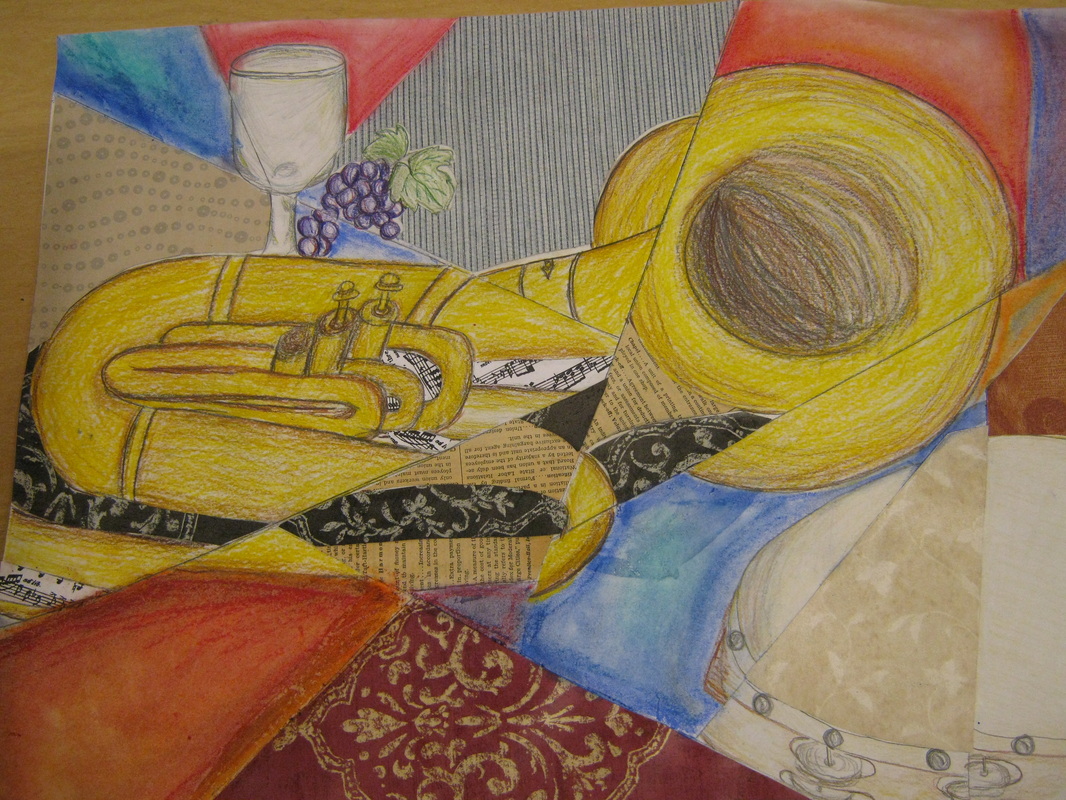
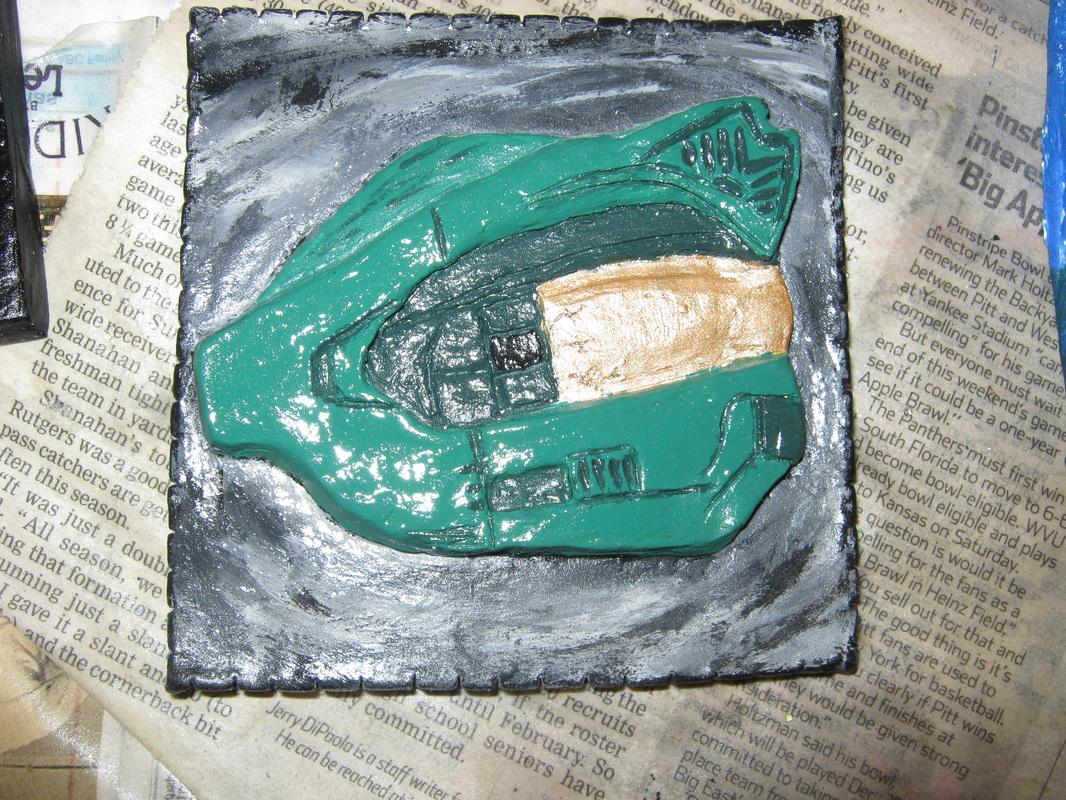
Cubist Instruments
By studying cubism, students will learn about the history of the movement. Students will take a close look at Picasso and Braque's work in collage elements and cubist elements.
Procedures:
1. After reviewing Picasso and Braque with a video (several titles are available - see resource list) and a text portion of Cubism (Art History), students are set up with a ruler, newsprint, pencil and eraser. Have a group of objects set up in the room for a still life. Ken likes to use the same things Picasso and Braque used such as guitars, wine bottles, fruit, violins, trumpets, etc.
2. With the students around the still life have them begin with a few straight lines on the newsprint, some vertical, some horizontal and some diagonal (about five to start). Talk to them about stylization and simplification of form into to flat shape.
3. When they start to draw these contours of objects, have them start at the top and move down the page. When they get to the lines, shift over and continue to draw the object. Add more lines from parts of the objects that they have started. Have them make at least three studies differing the object used and new lines.
4. Pick out the best design and transfer it to the scrap matt board and this will be the color of the picture.
5. Outline the design with a narrow black pen. Plan out a value pattern using a black felt tip pen.
6. Select at least three areas to collage newspapers or sheet music and use a spray adhesive to glue them down.
7. Use the palette and watercolors to produce a faux wood grain by painting lines, blending with a moistened brush and putting a tone across the area for a light value.
8. Lastly use white and black charcoal pencils and graphite pencils to draw into shapes and make gradations where you like.


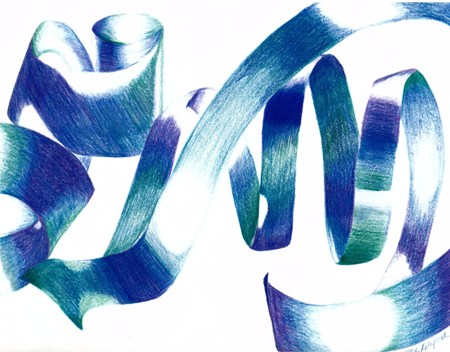
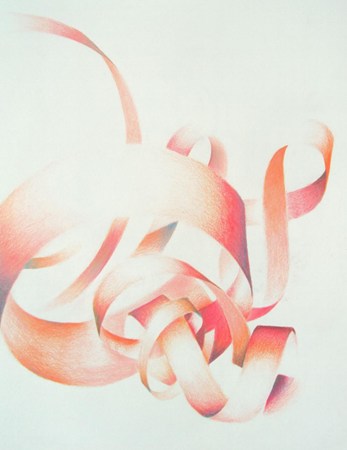
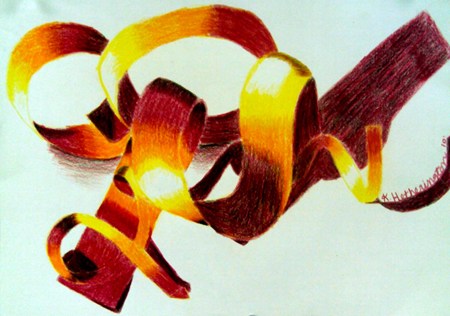
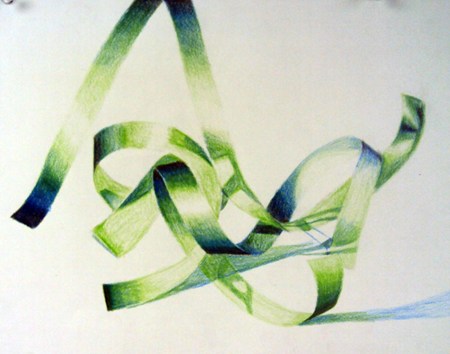
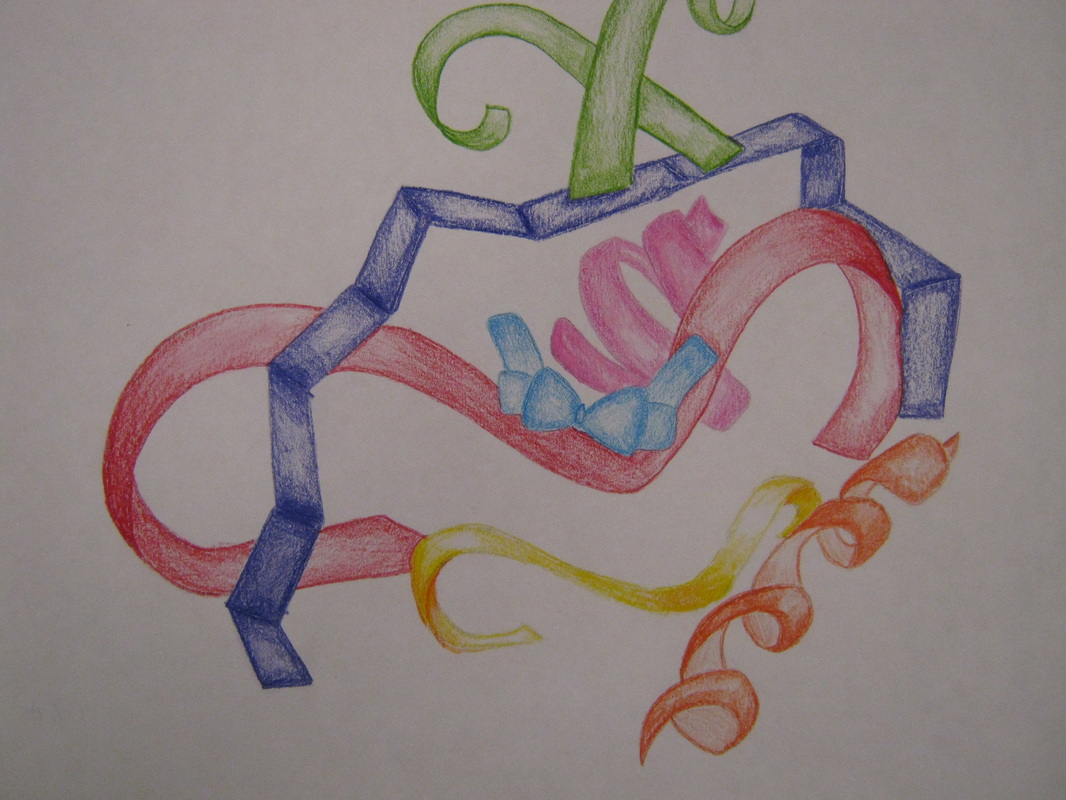
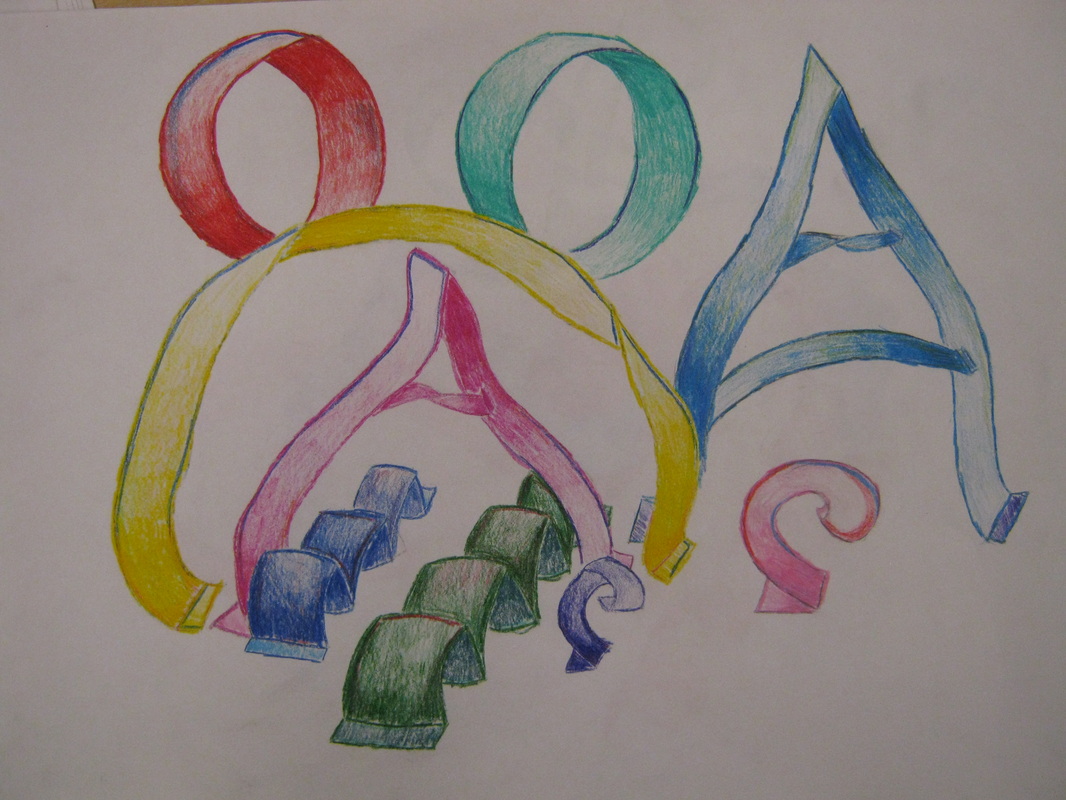
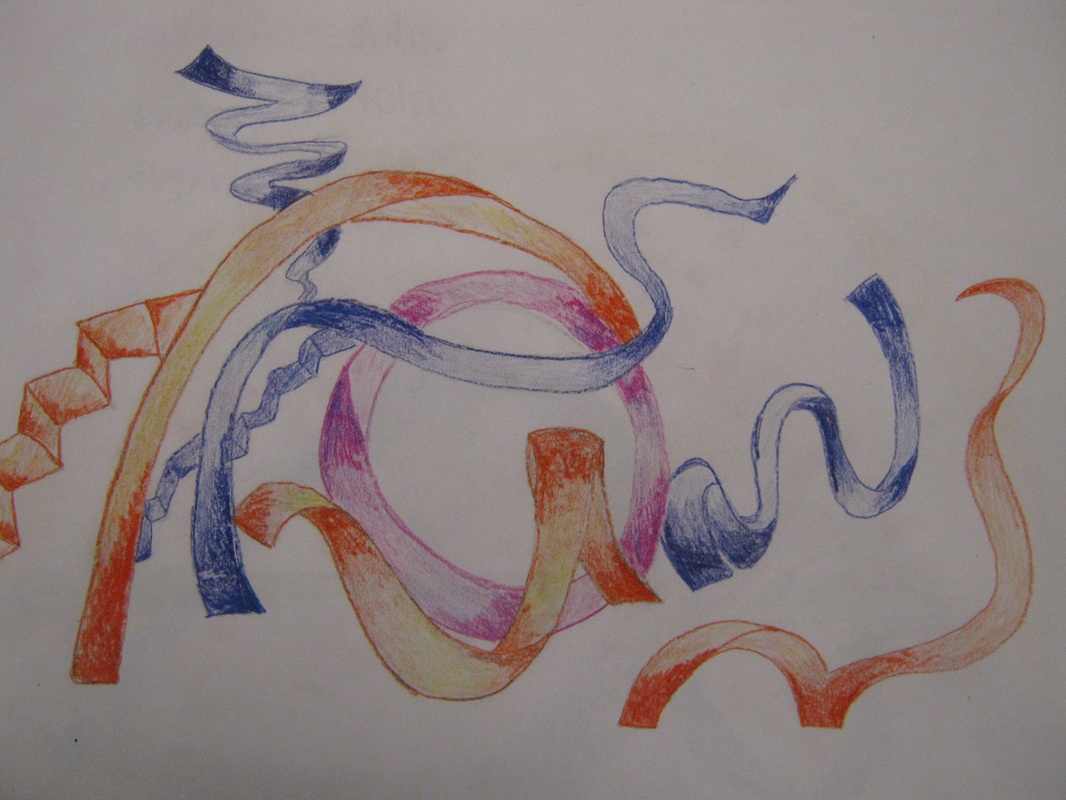
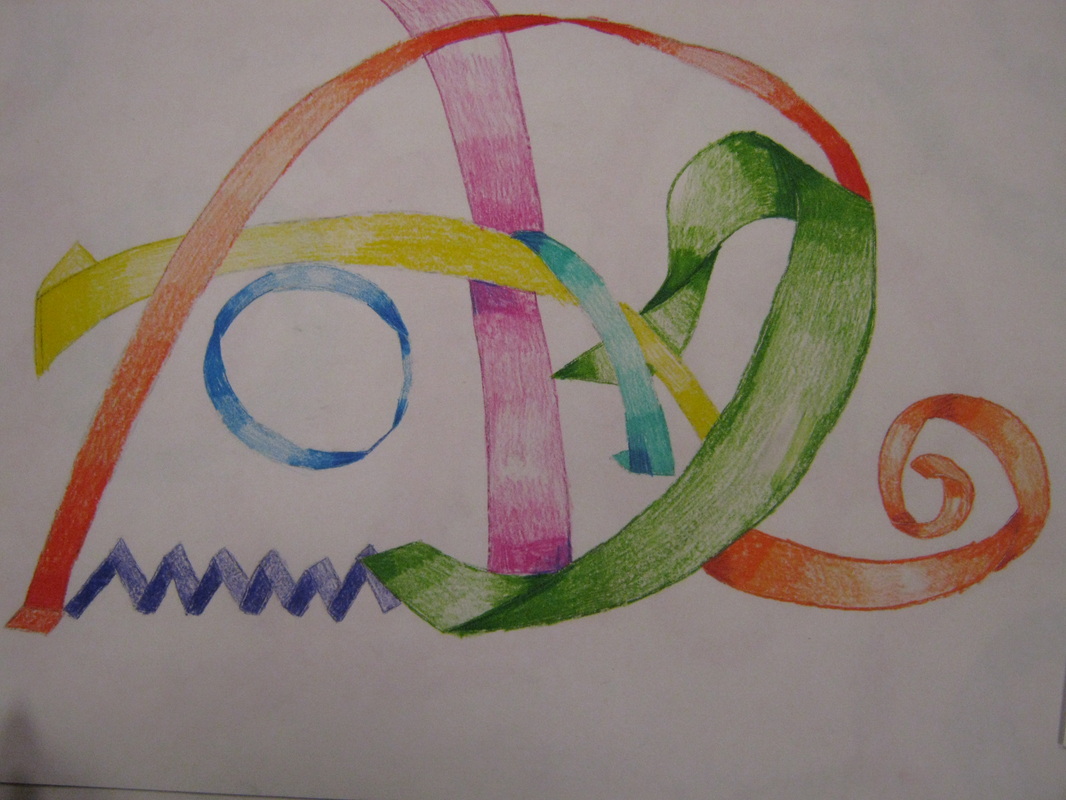
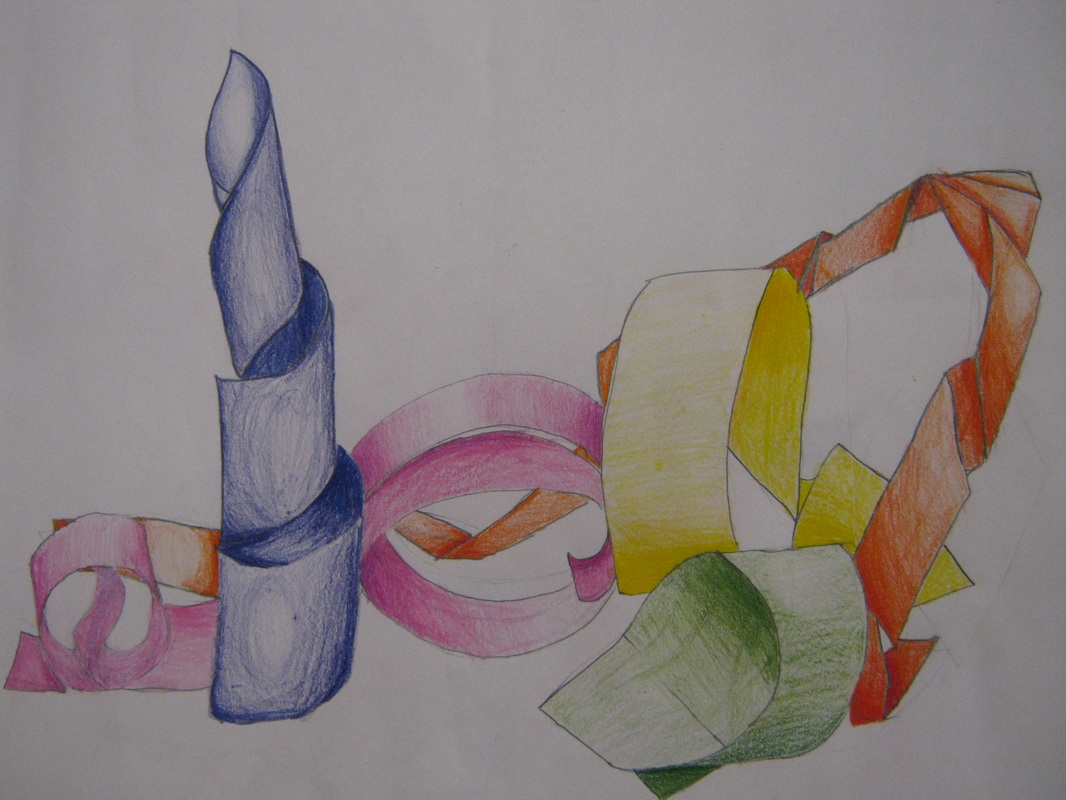
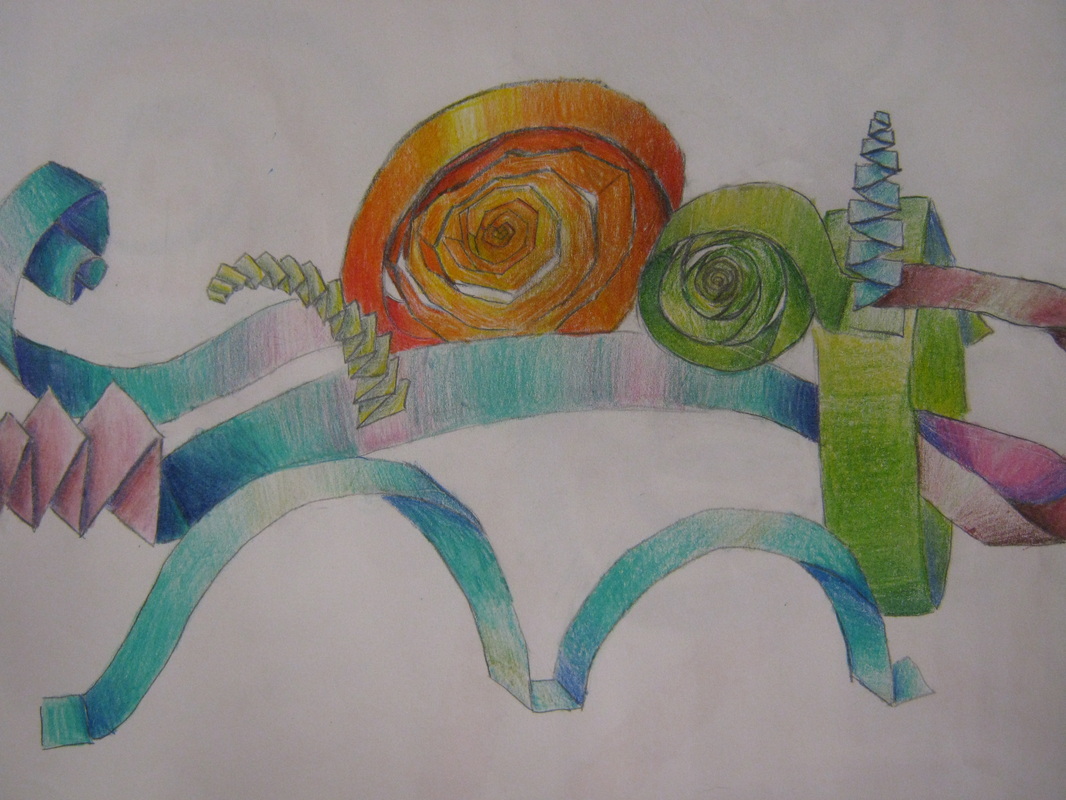
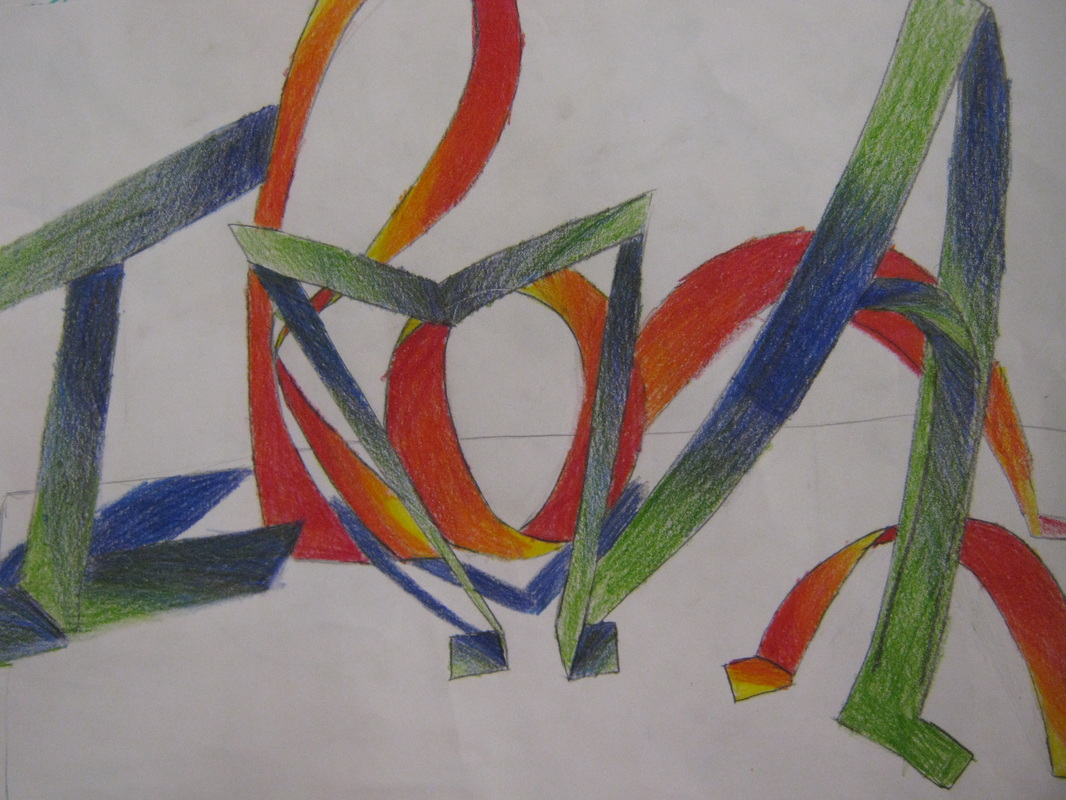
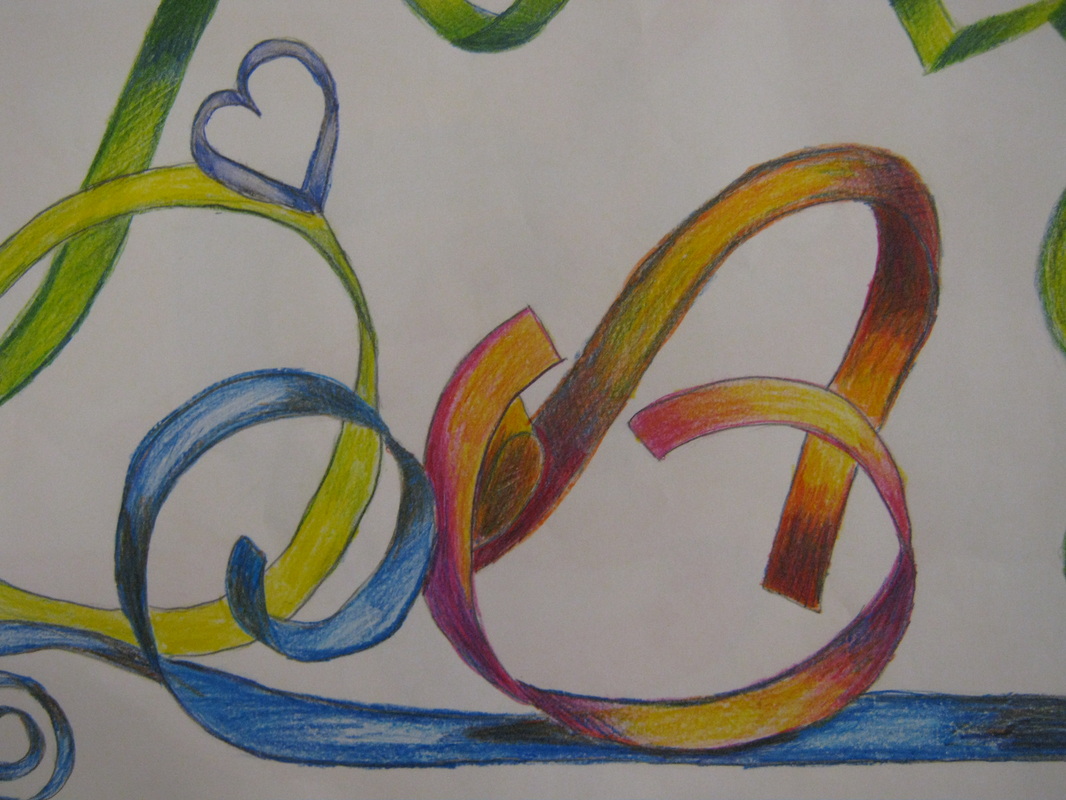
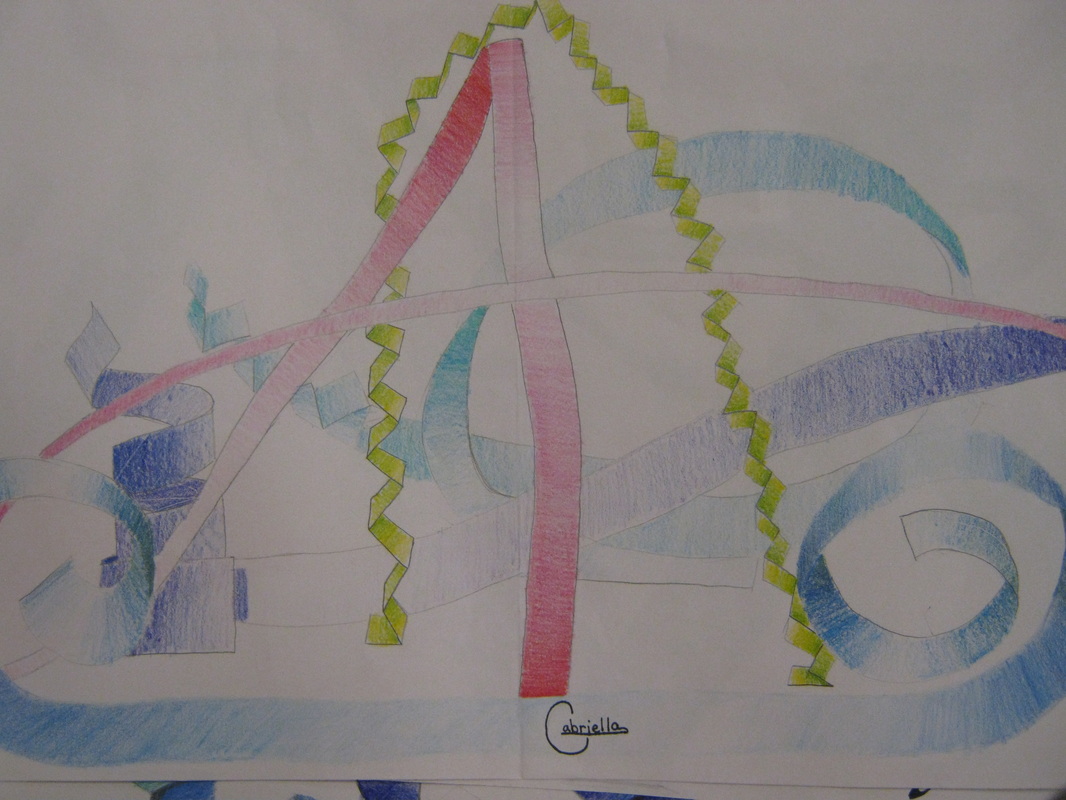
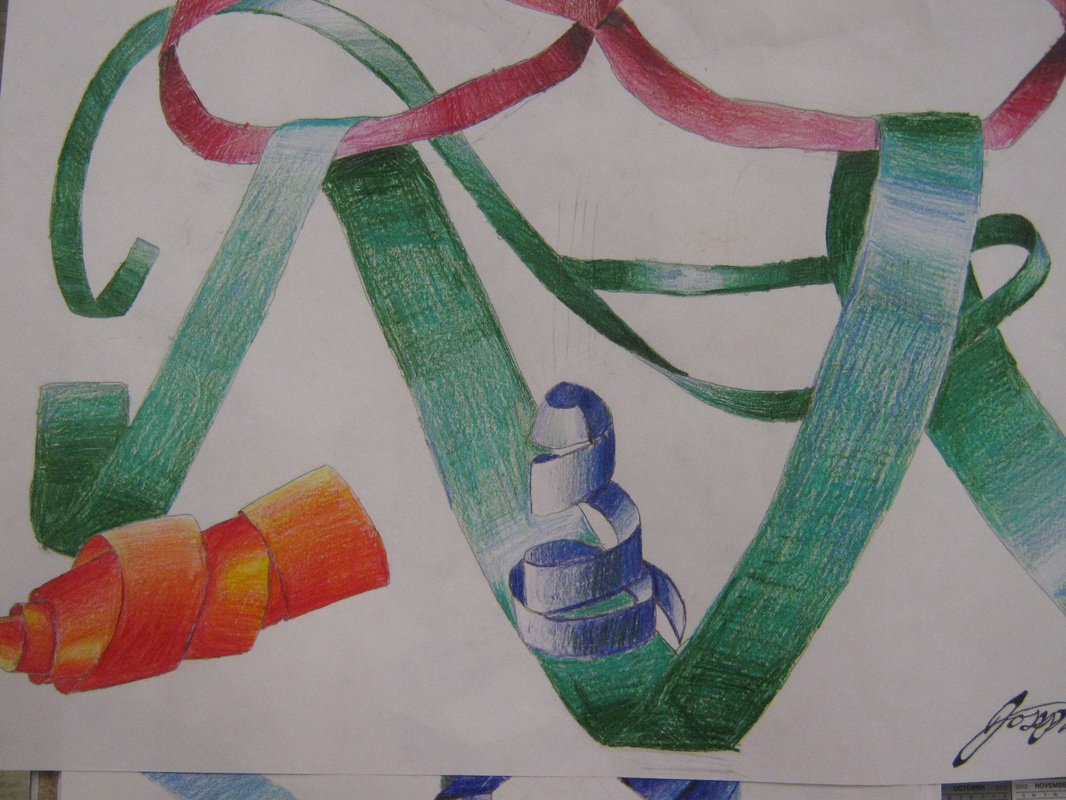
Ribbon Drawing
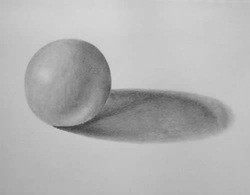
Students will practice shading and value to create a ribbon drawing of a sculpture they create in class. Each art student will create a value scale in pencil and colored pencil of a sphere before constructing their sculpture out of cut paper.
Check out this contemporary artist Ruscha here
Check out this contemporary artist Ruscha here
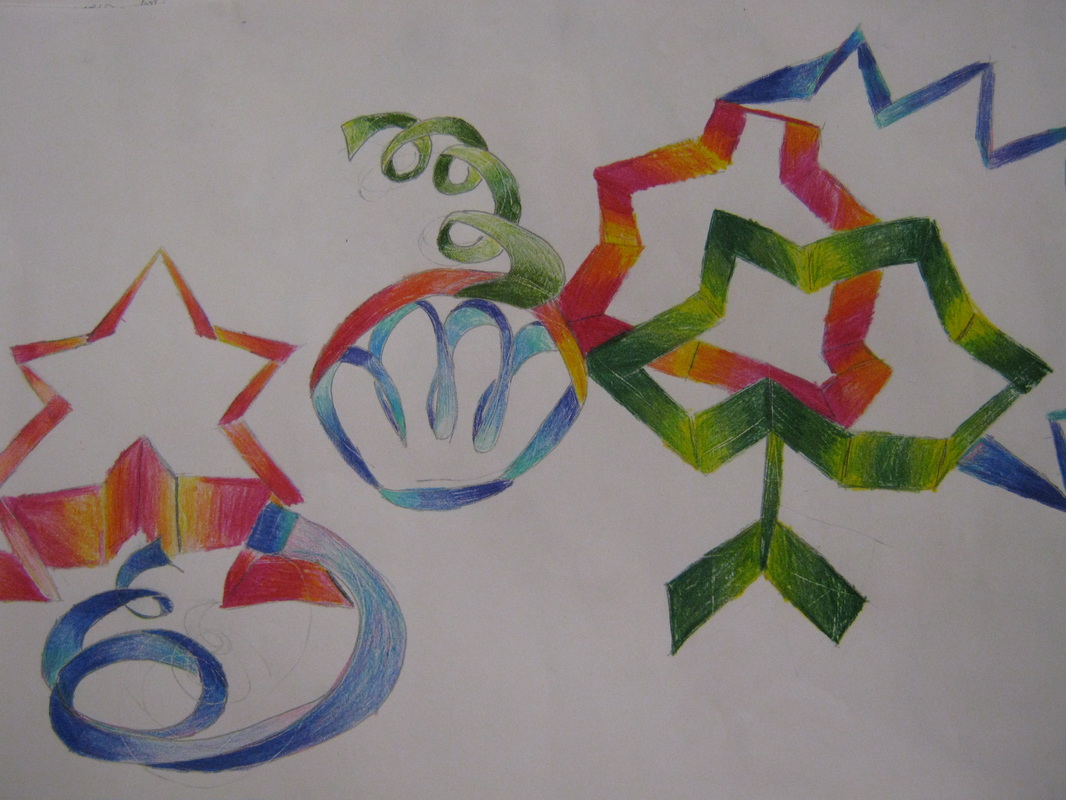


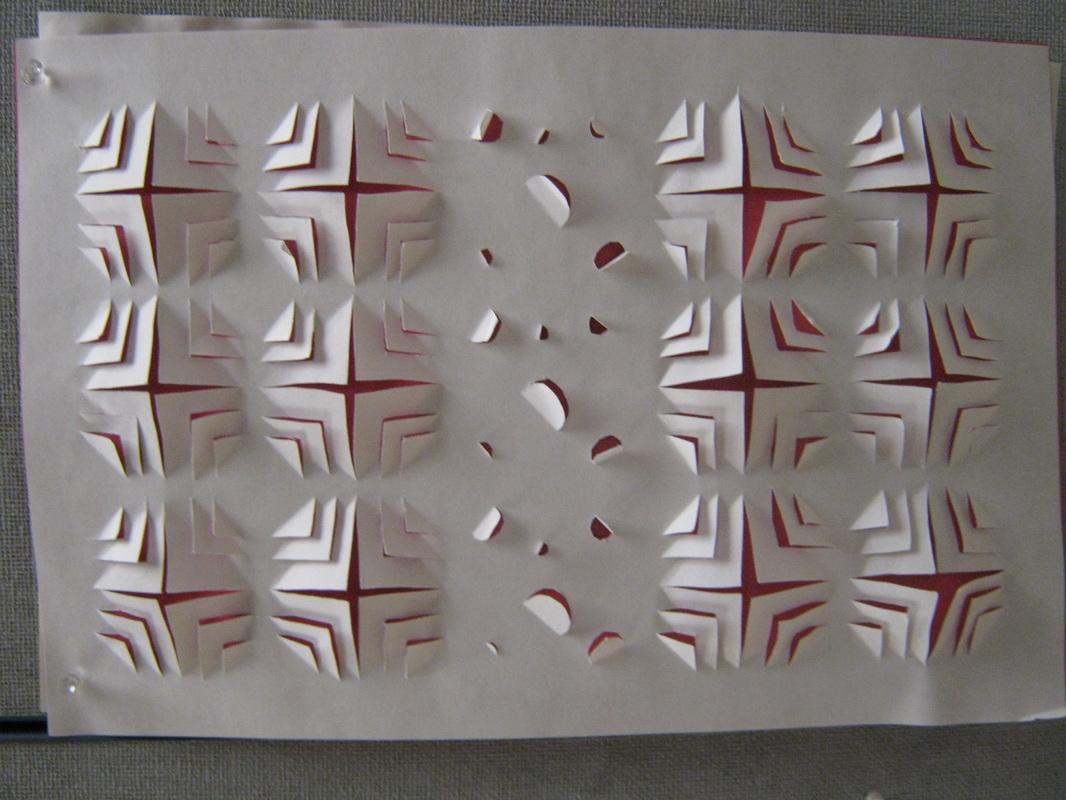
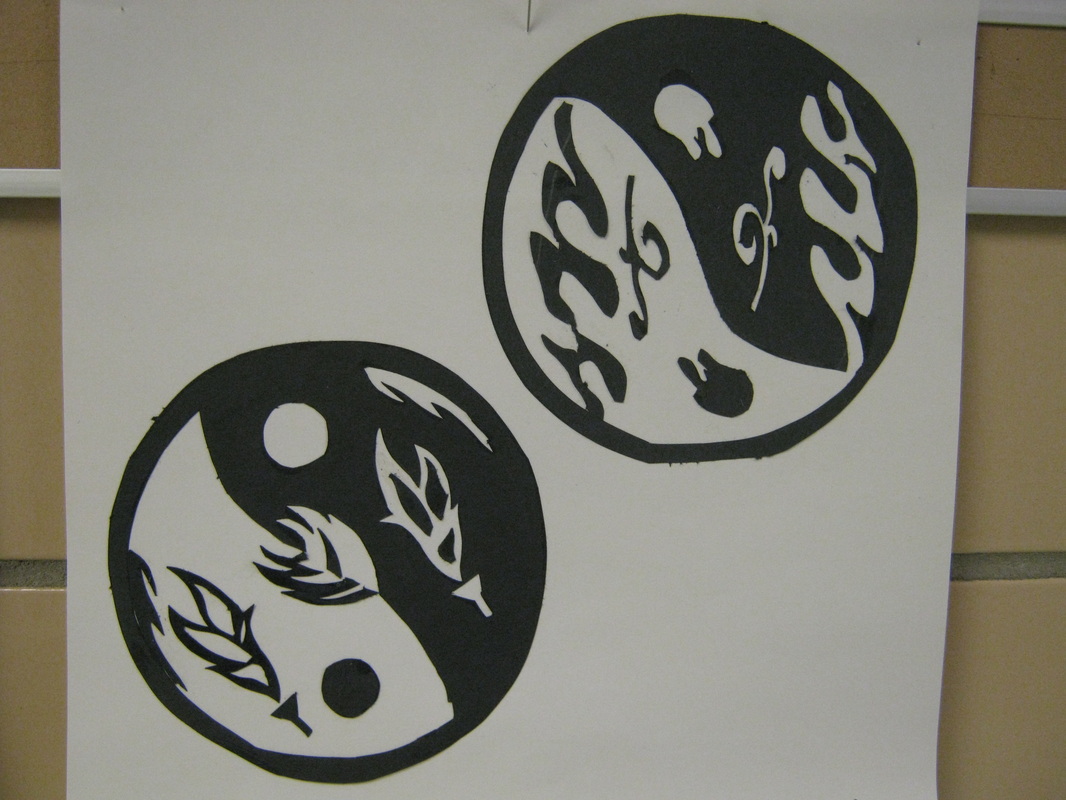
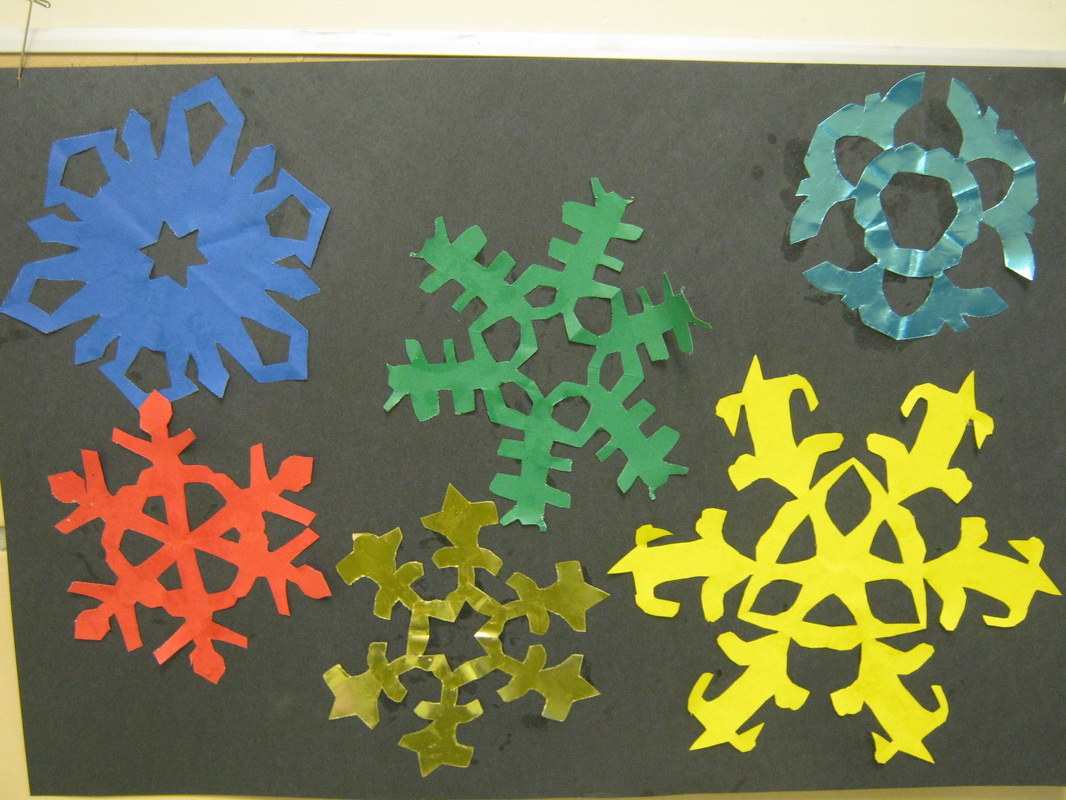
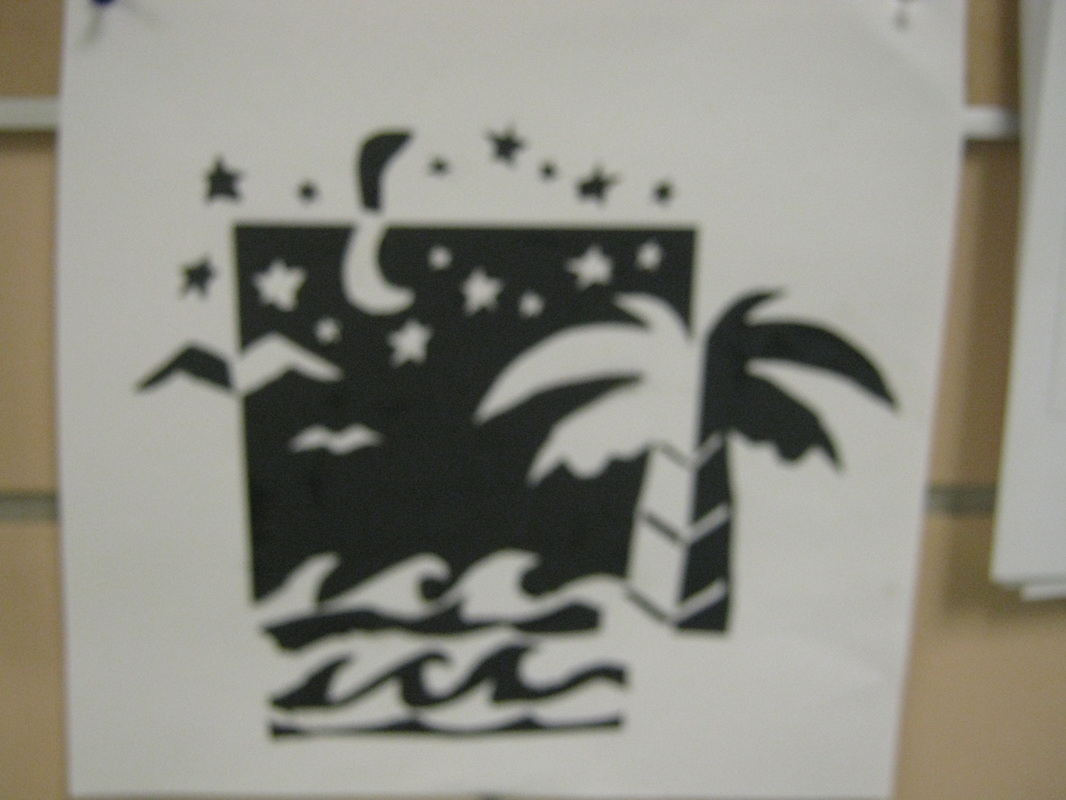
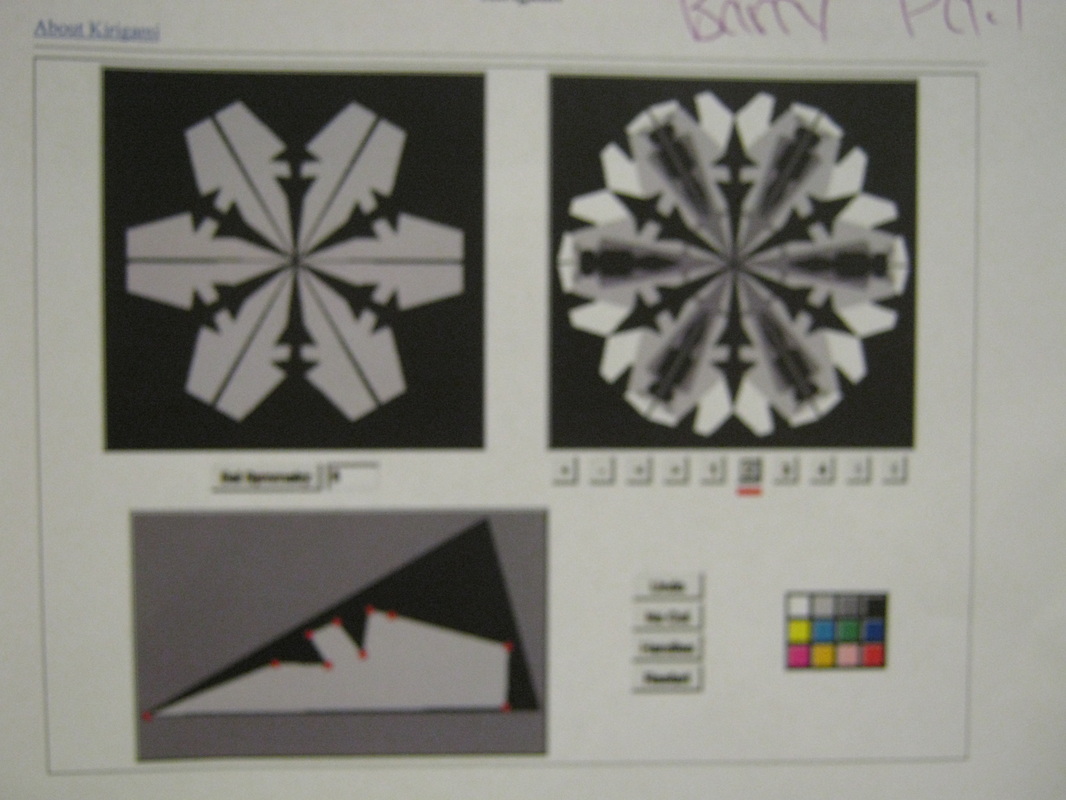
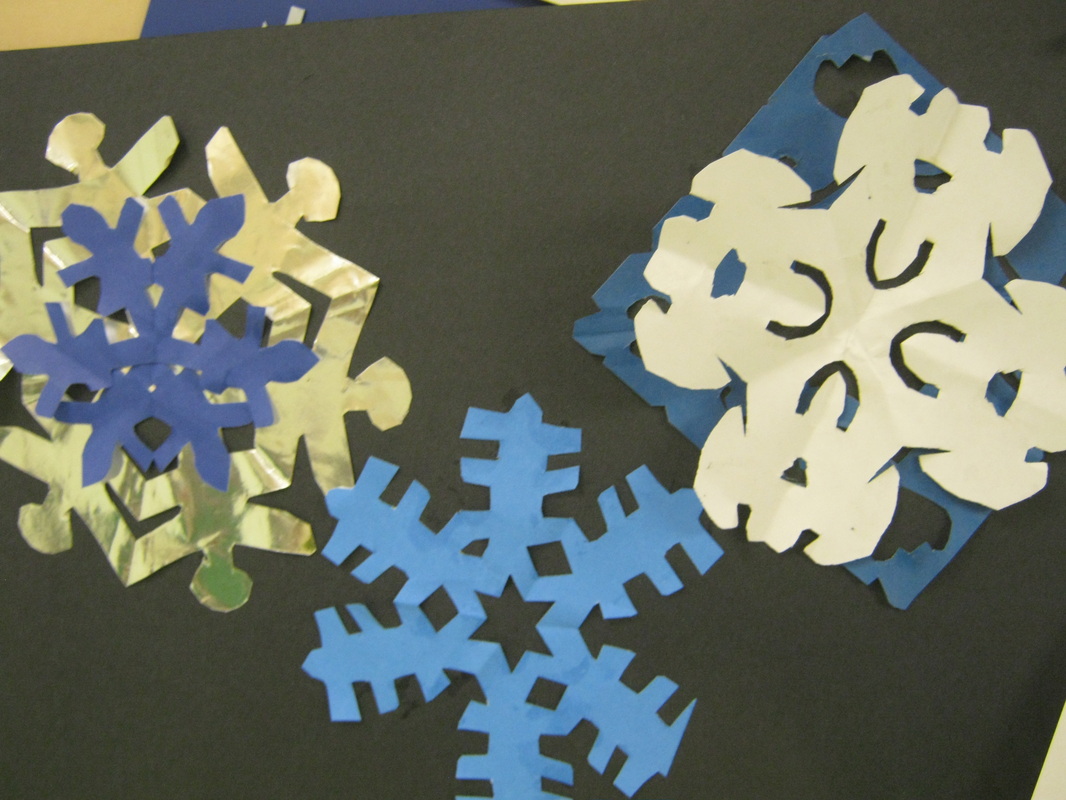
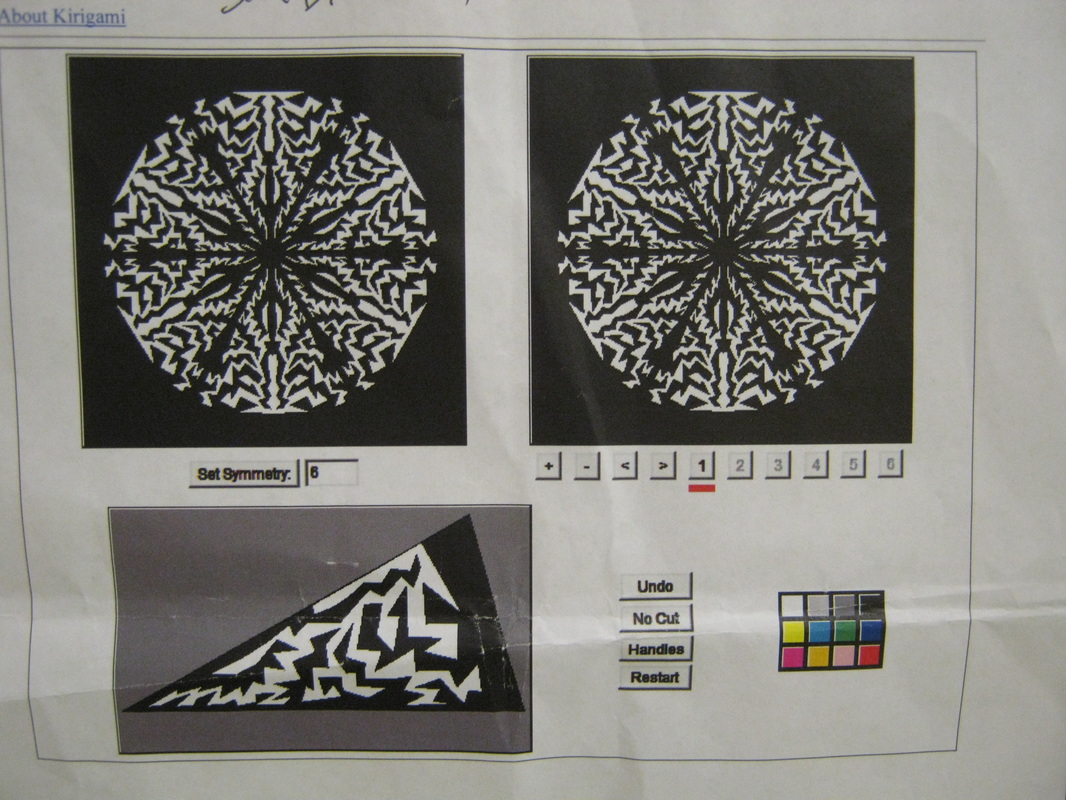
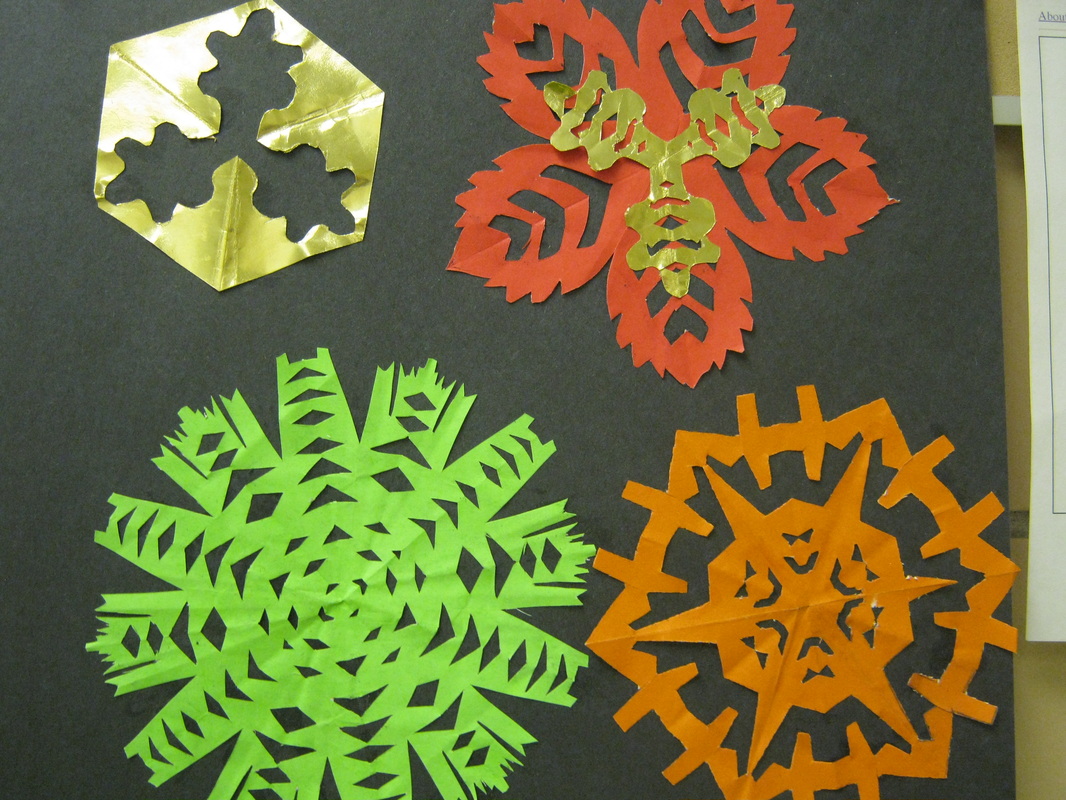
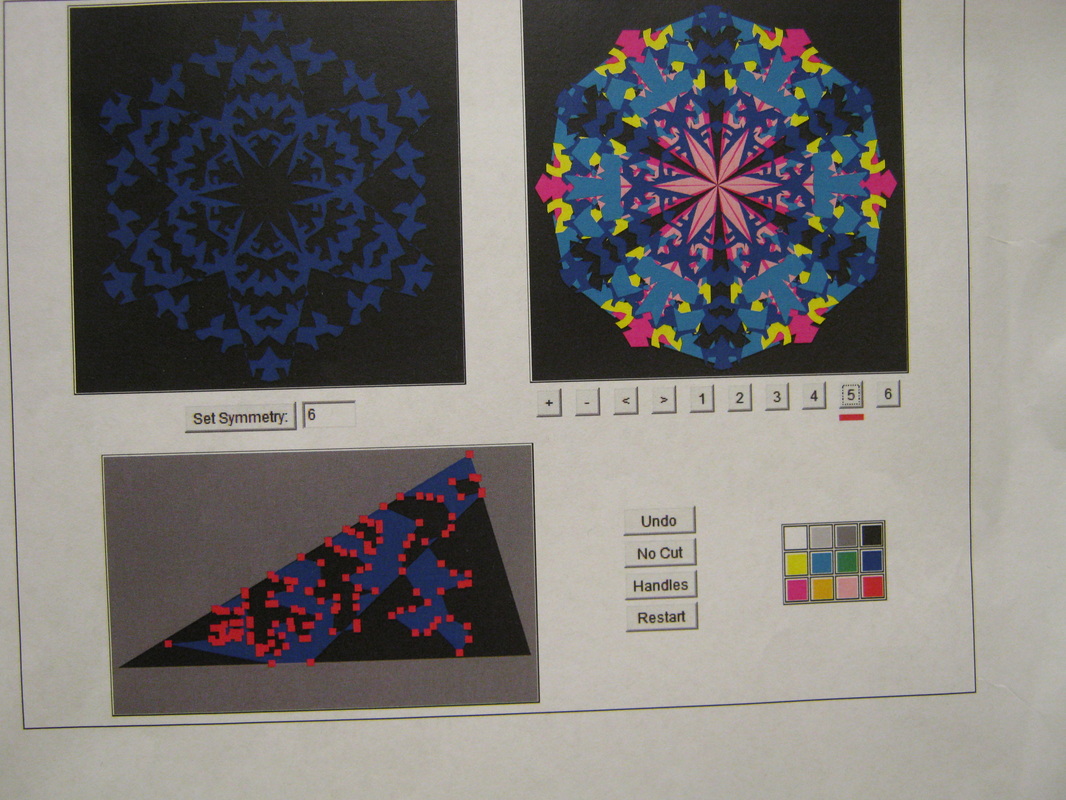
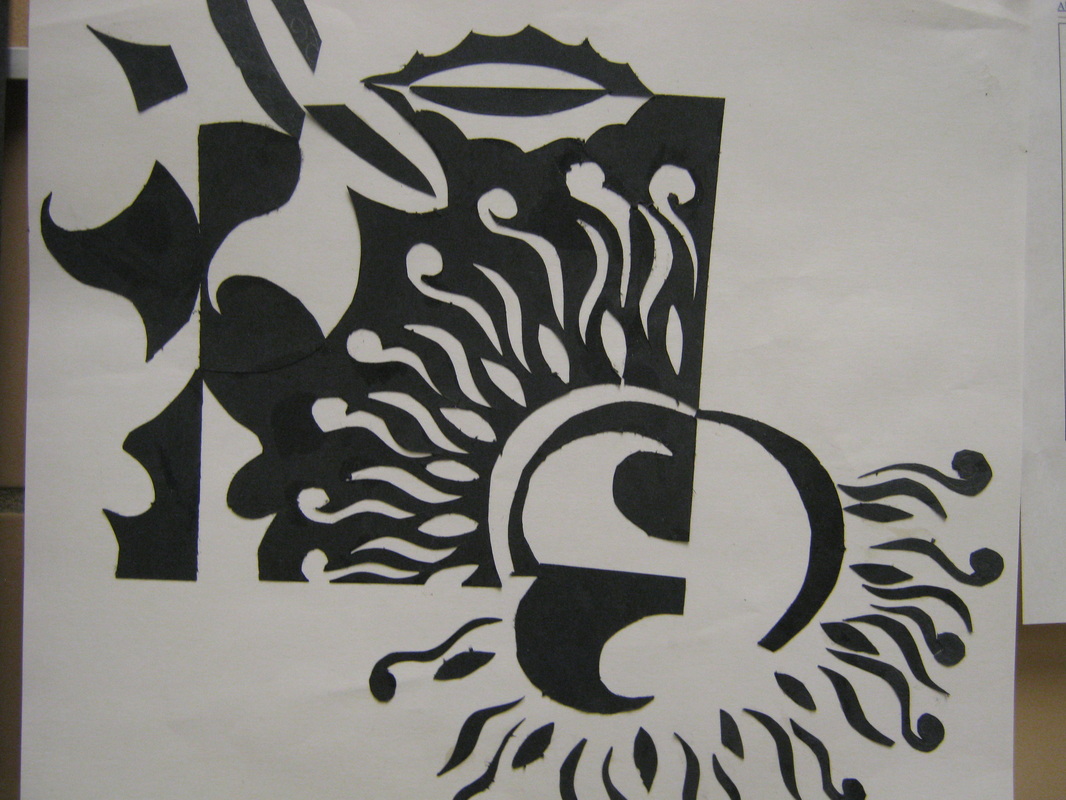
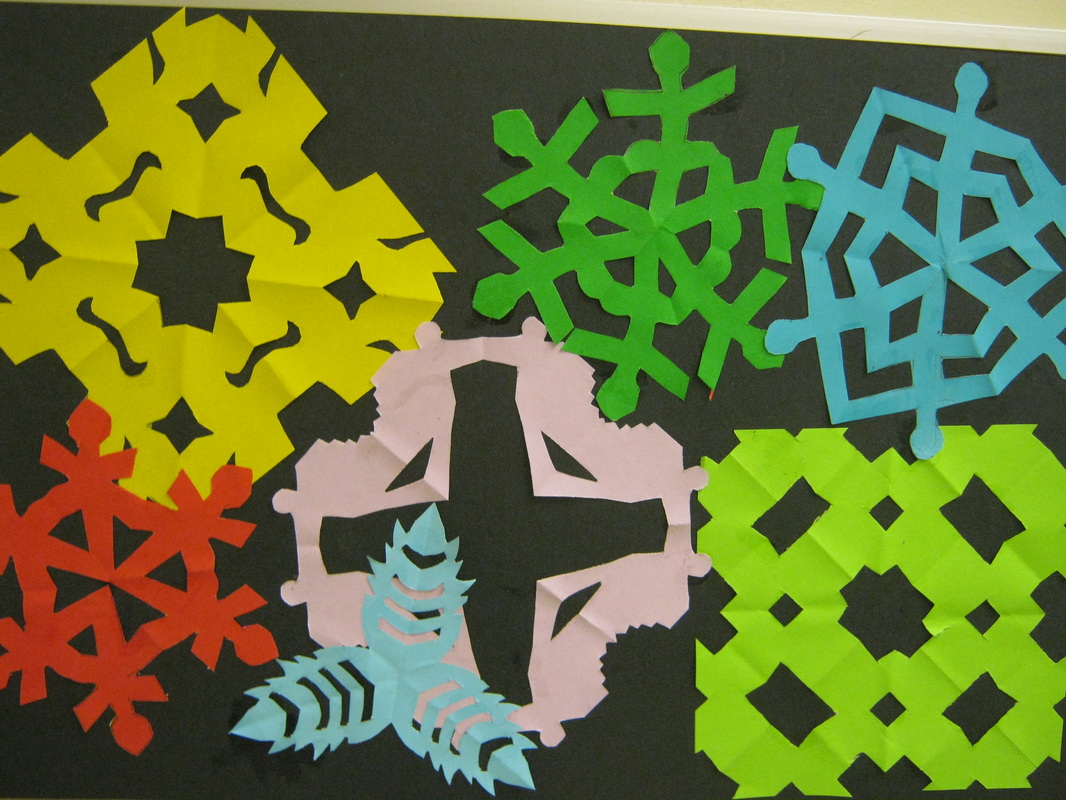
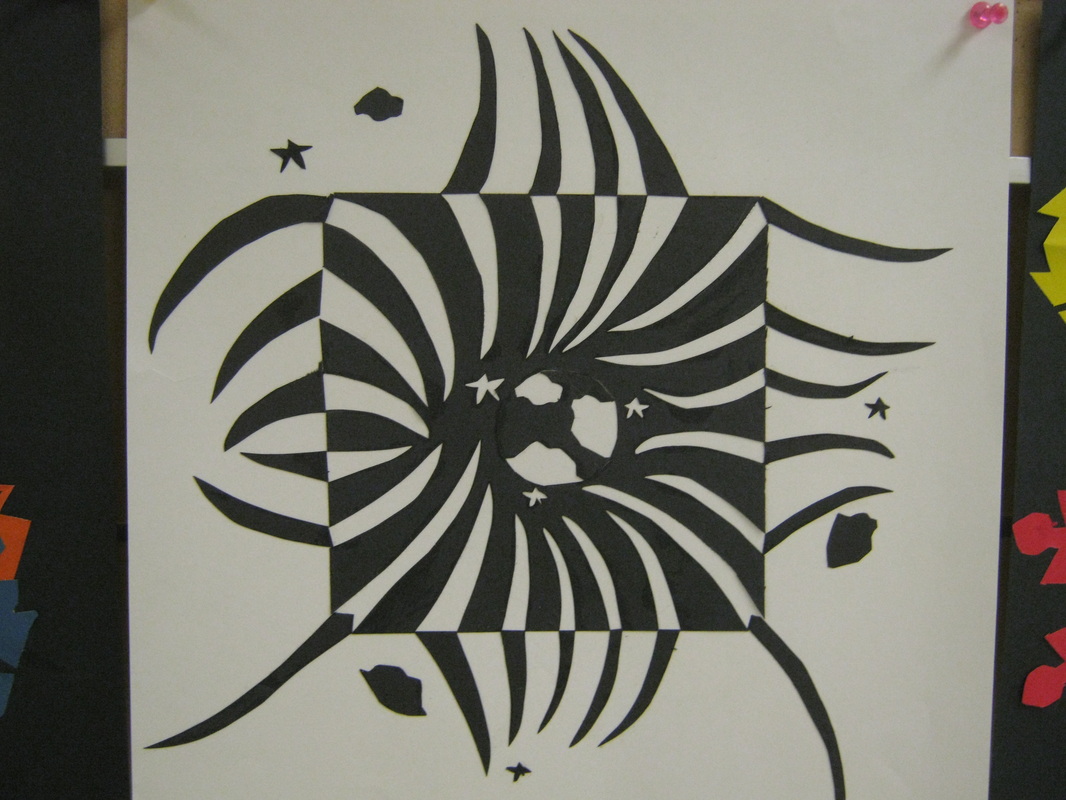
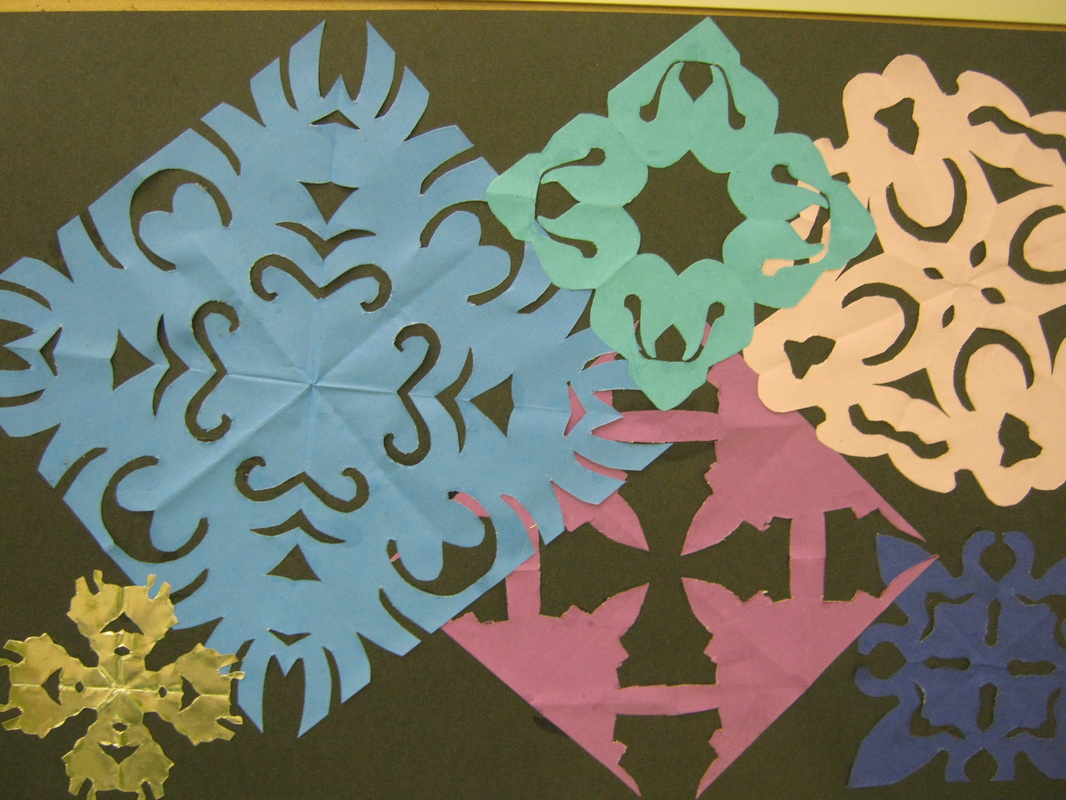
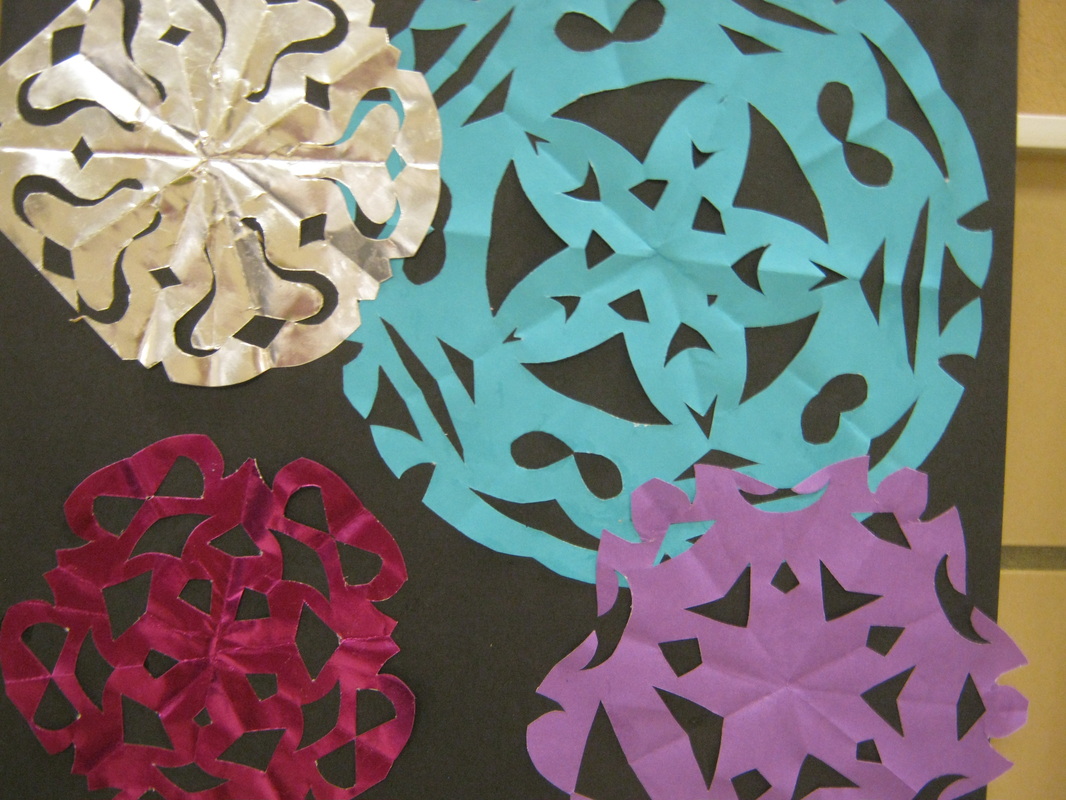
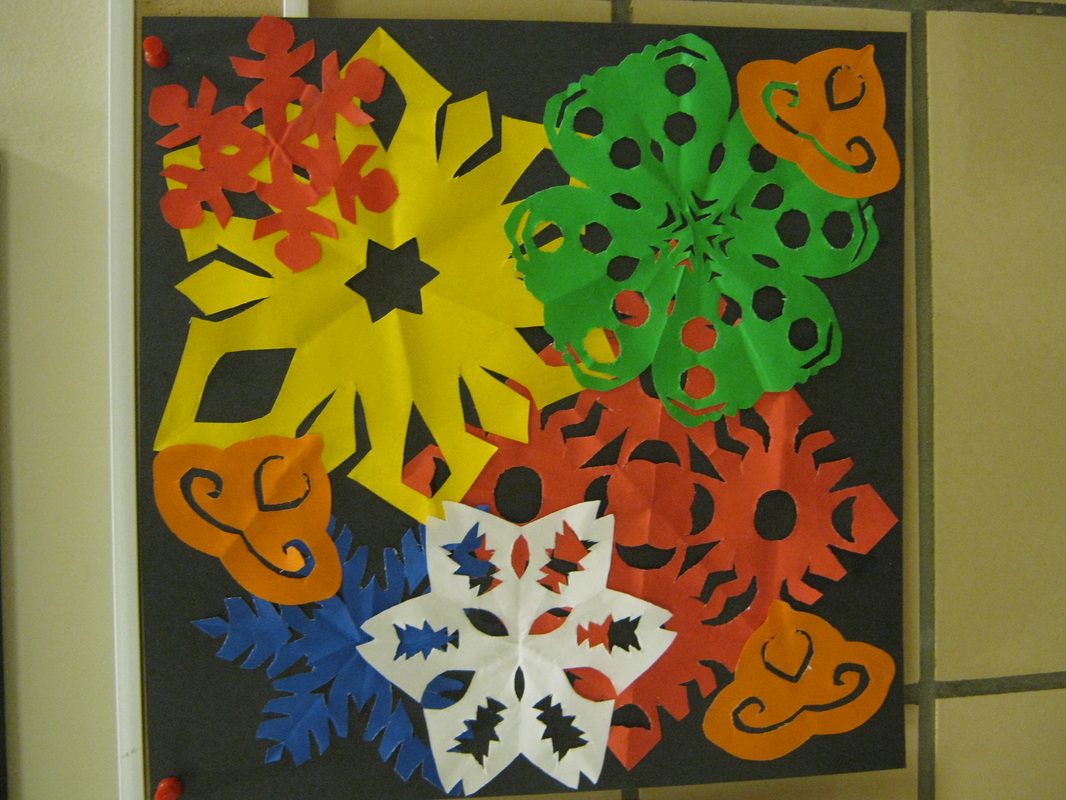
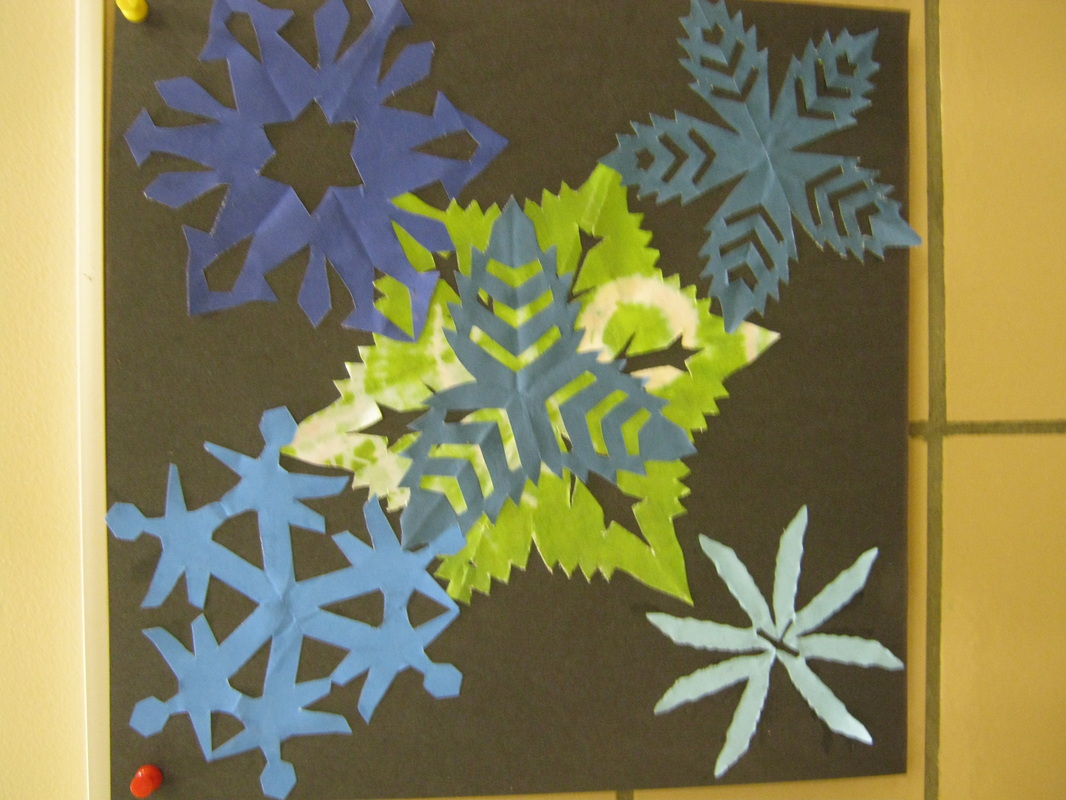
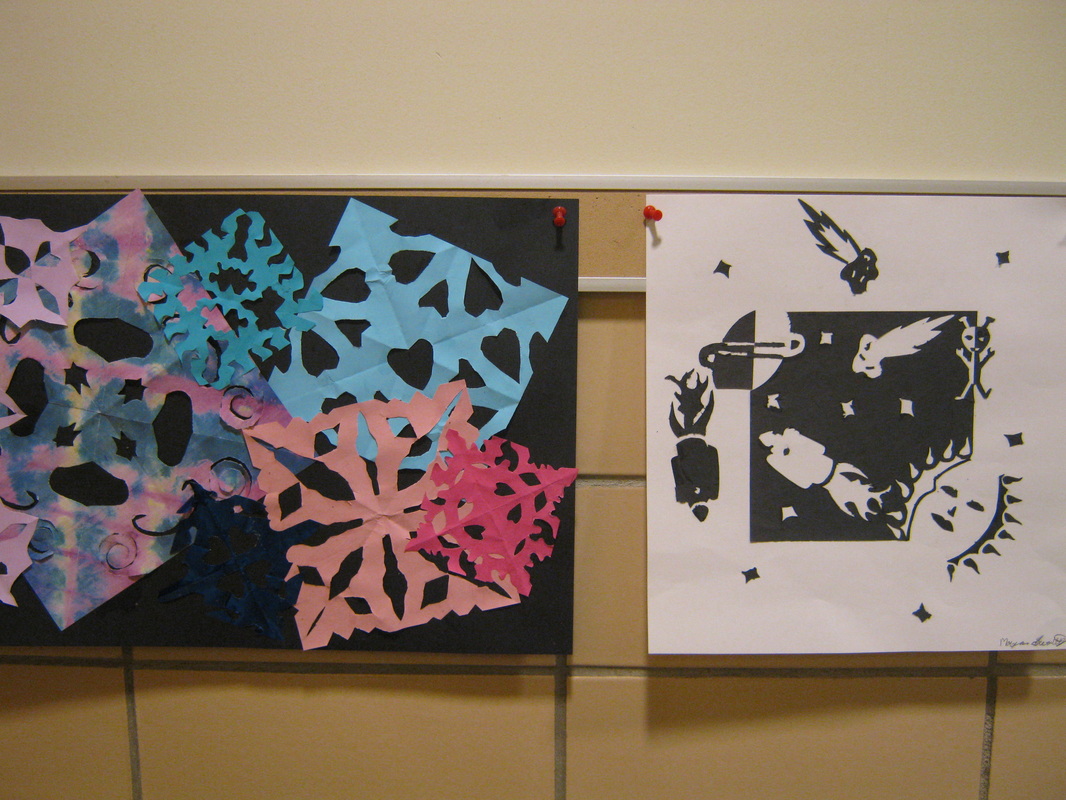
Kirigami cut paper sculpture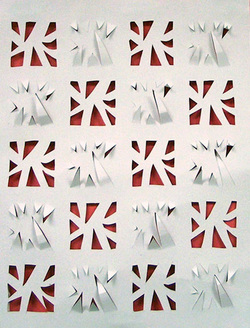
Using geometry and exacto knife, students will create a cut paper sculpture called kirigami. Each student will create an experimental sheet for their design before making their final cuts.
www.kevinsparks/mathfun/kirigami.html |
|


| cut_paper_kirigami.docx |
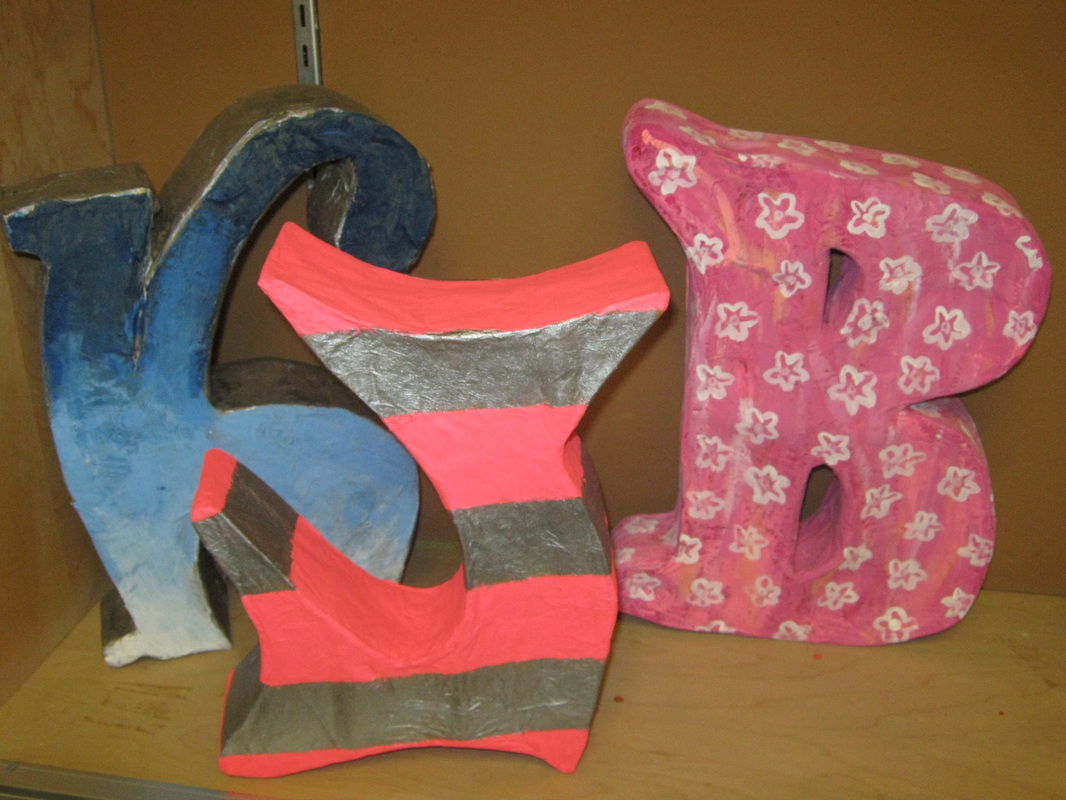
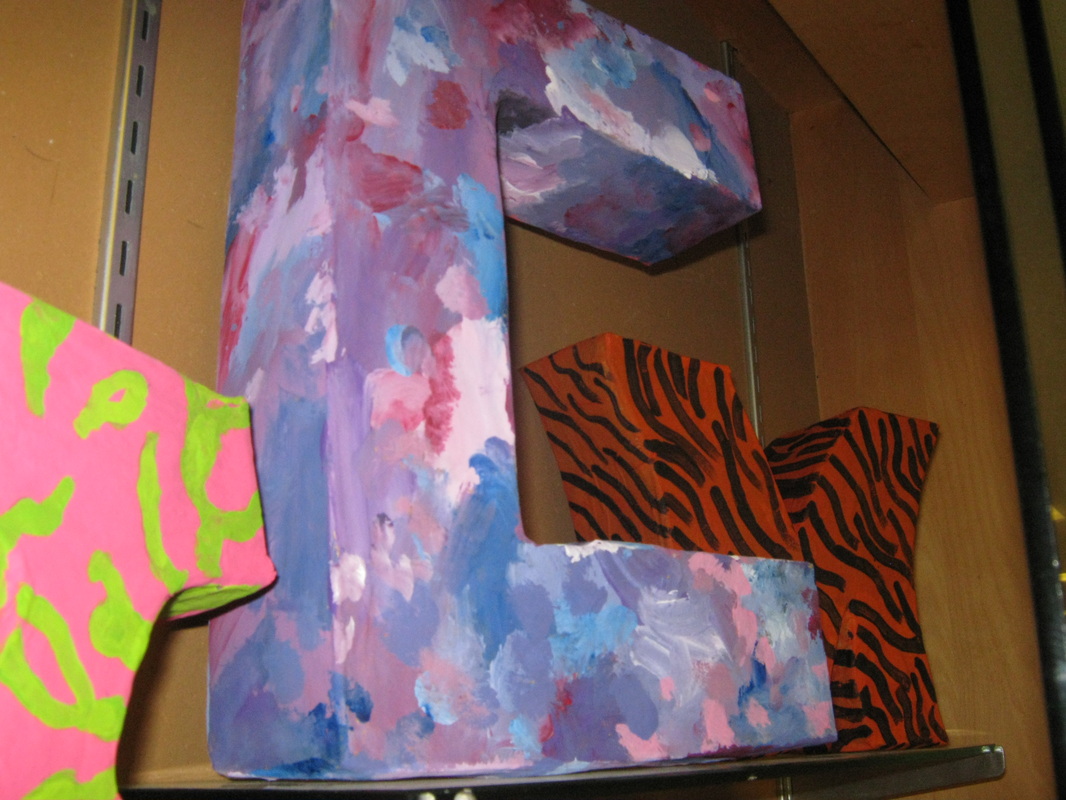
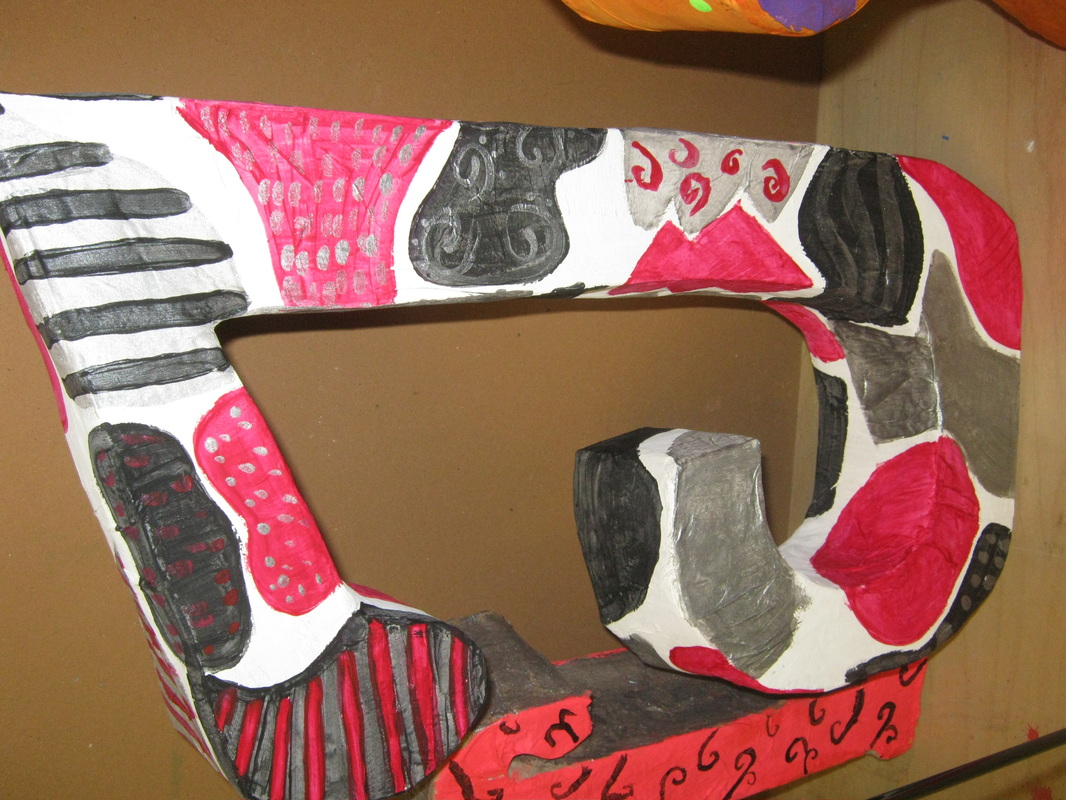
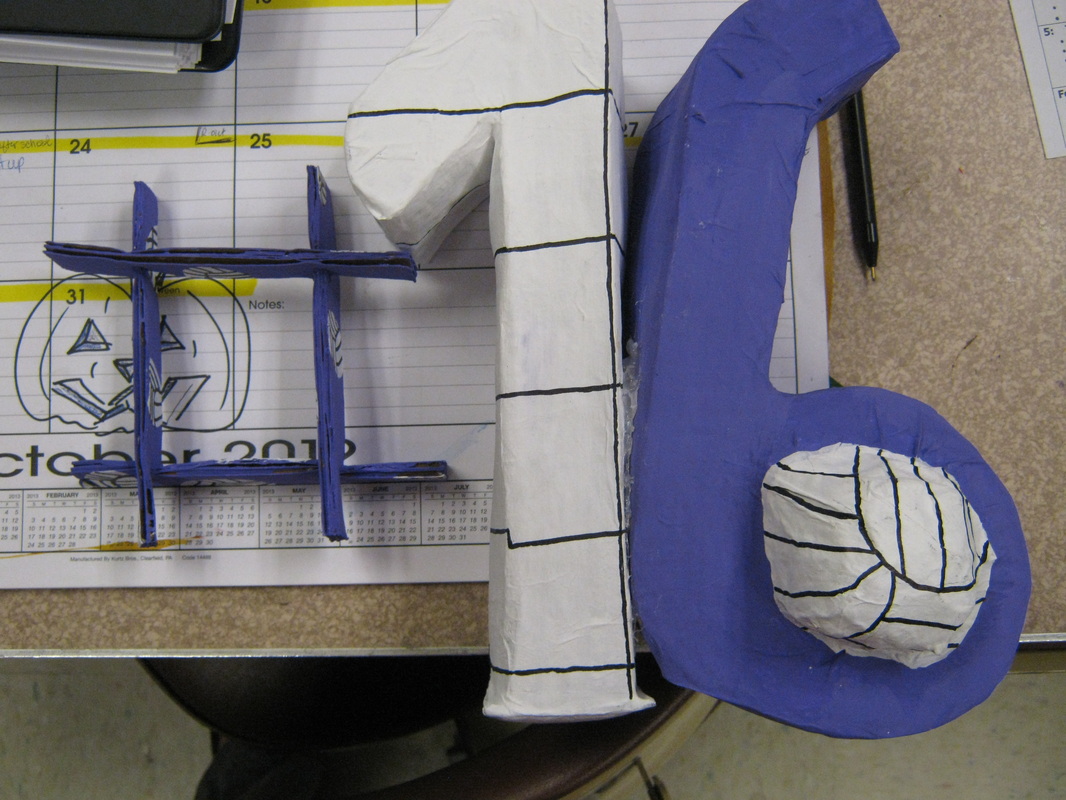
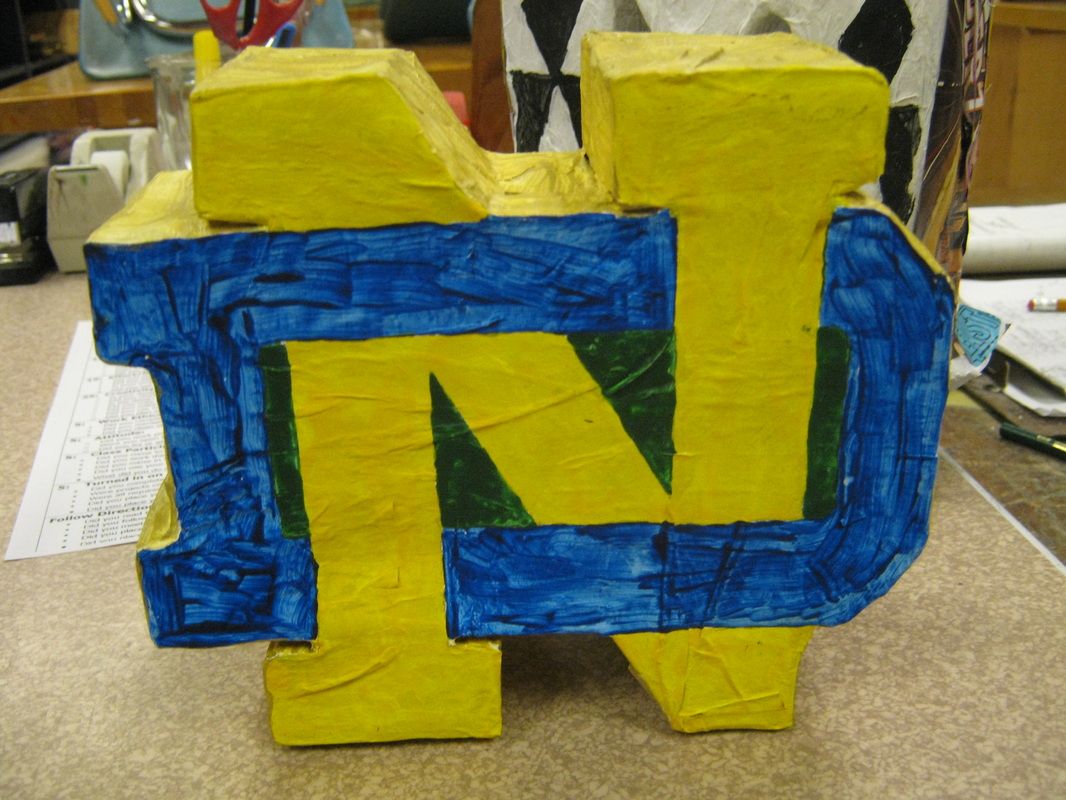
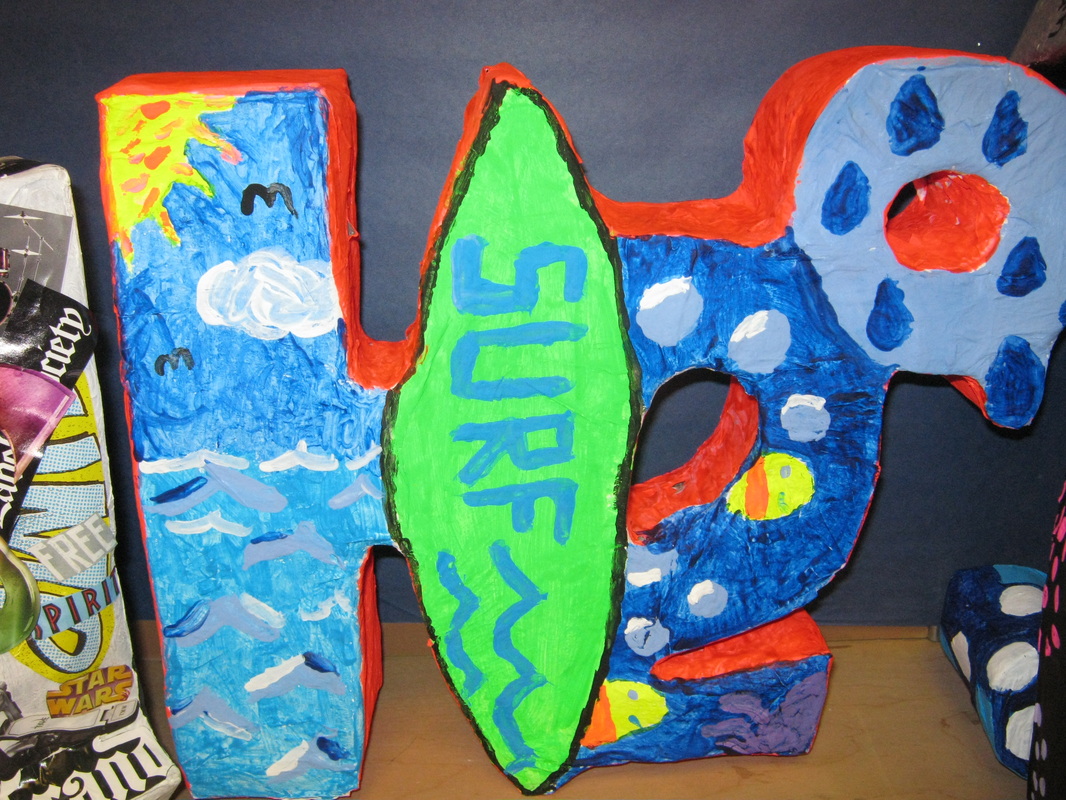
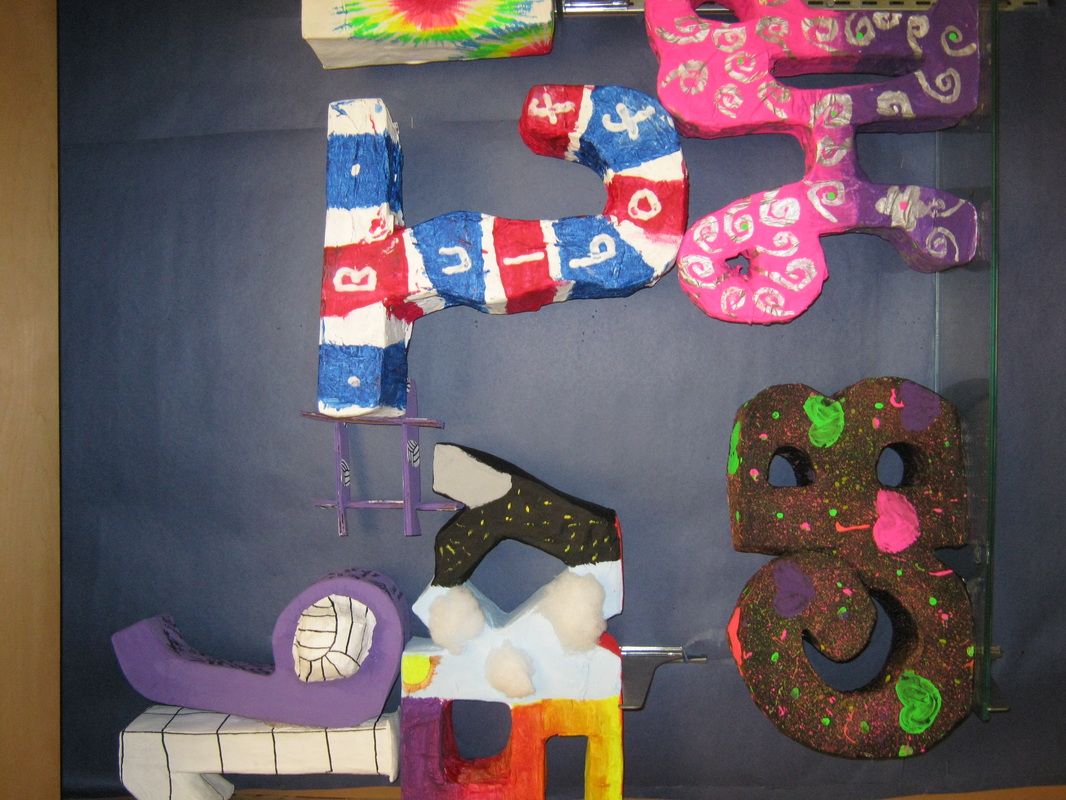
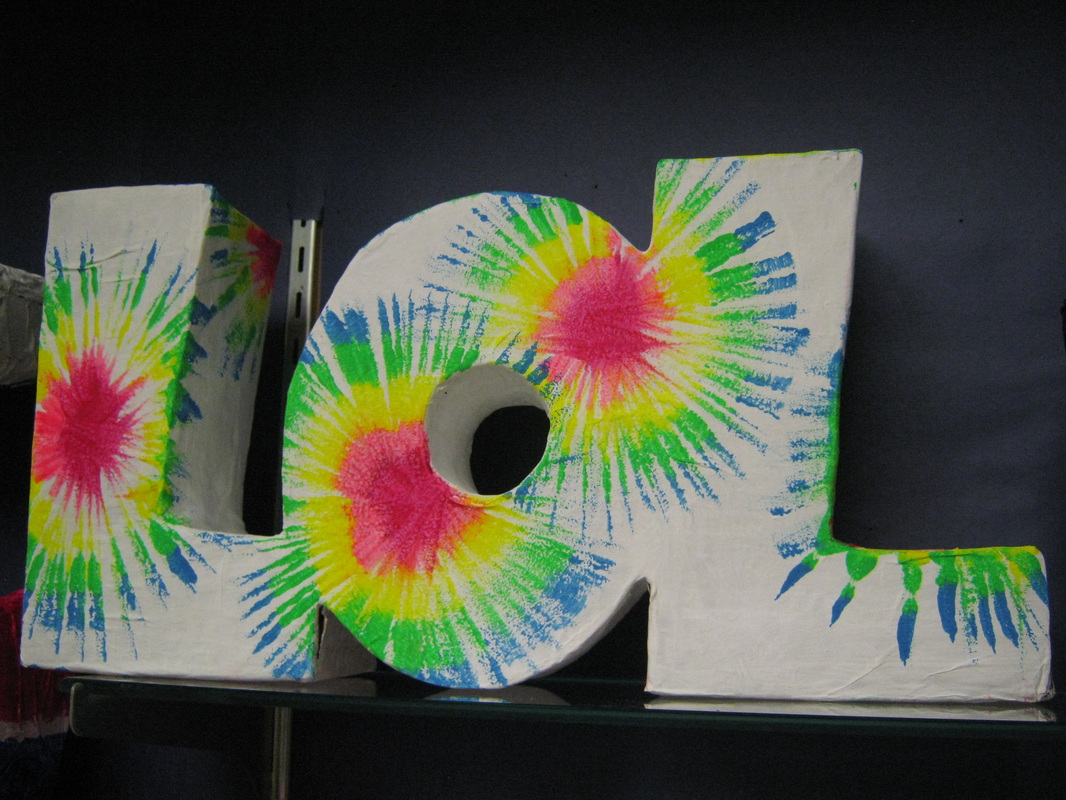
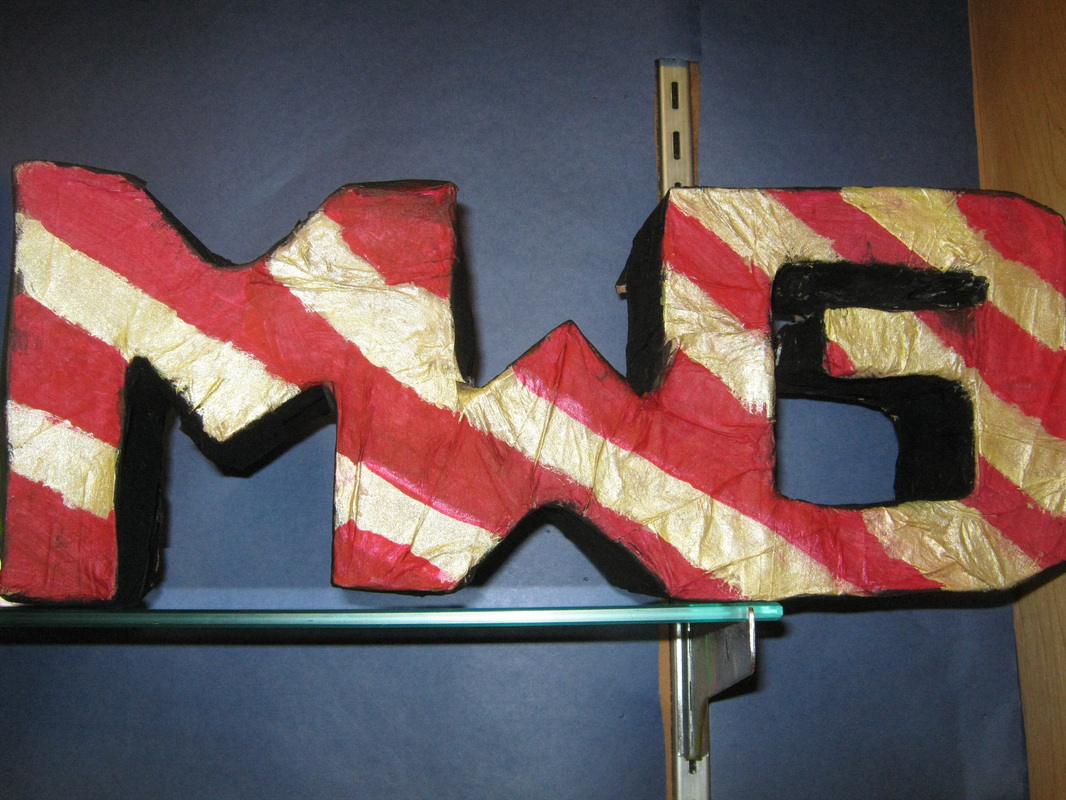
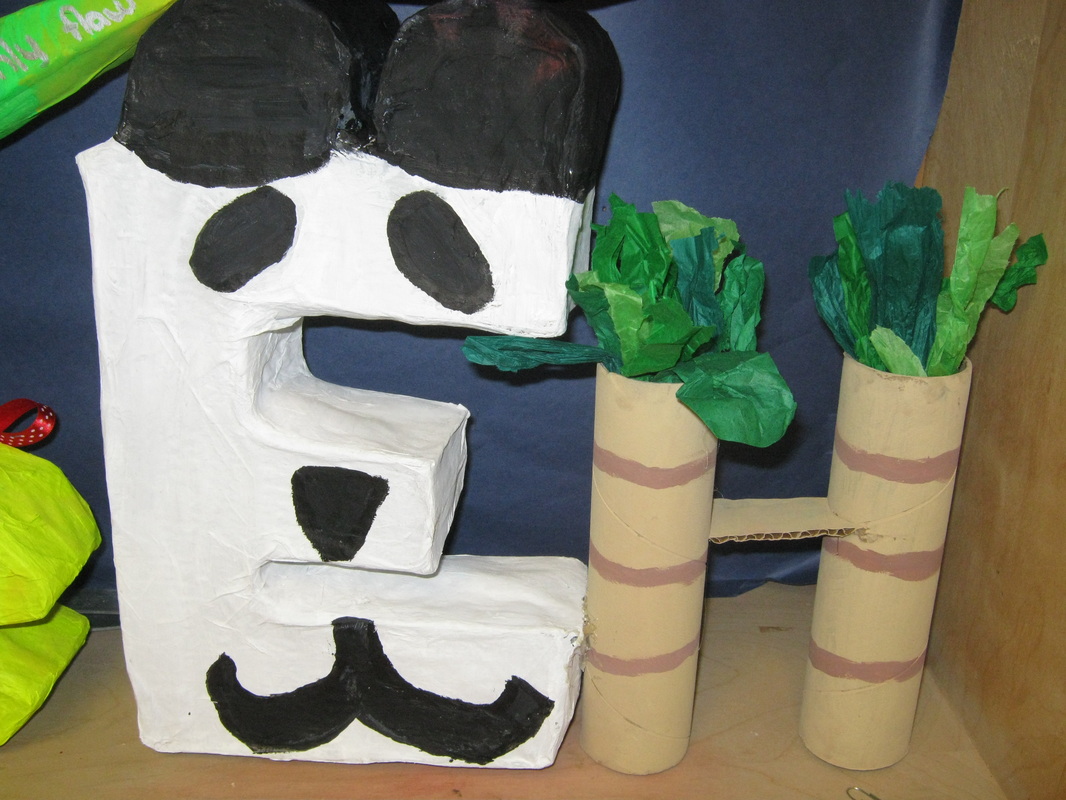
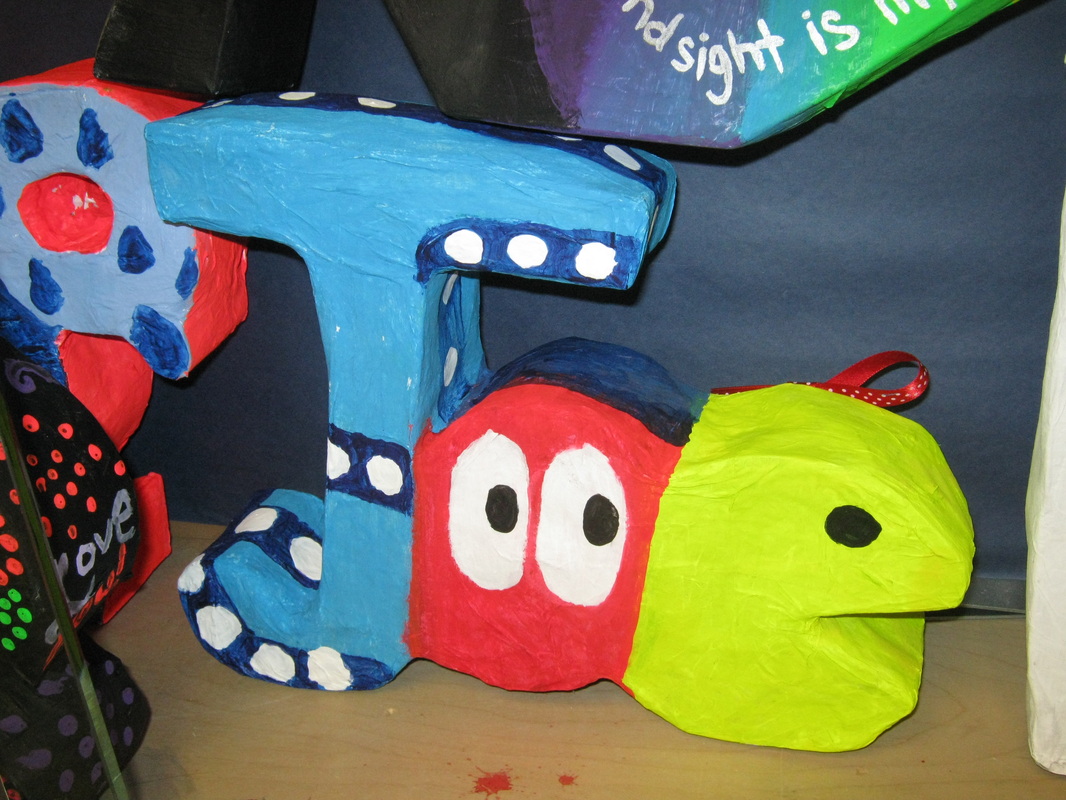
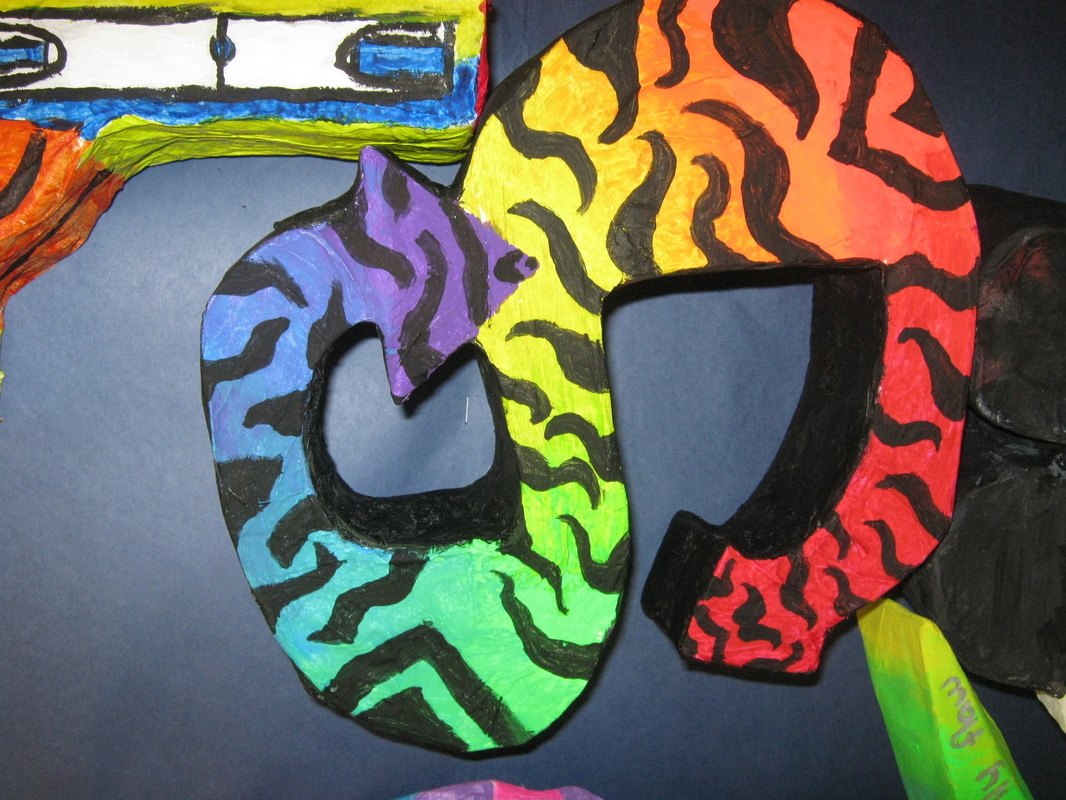
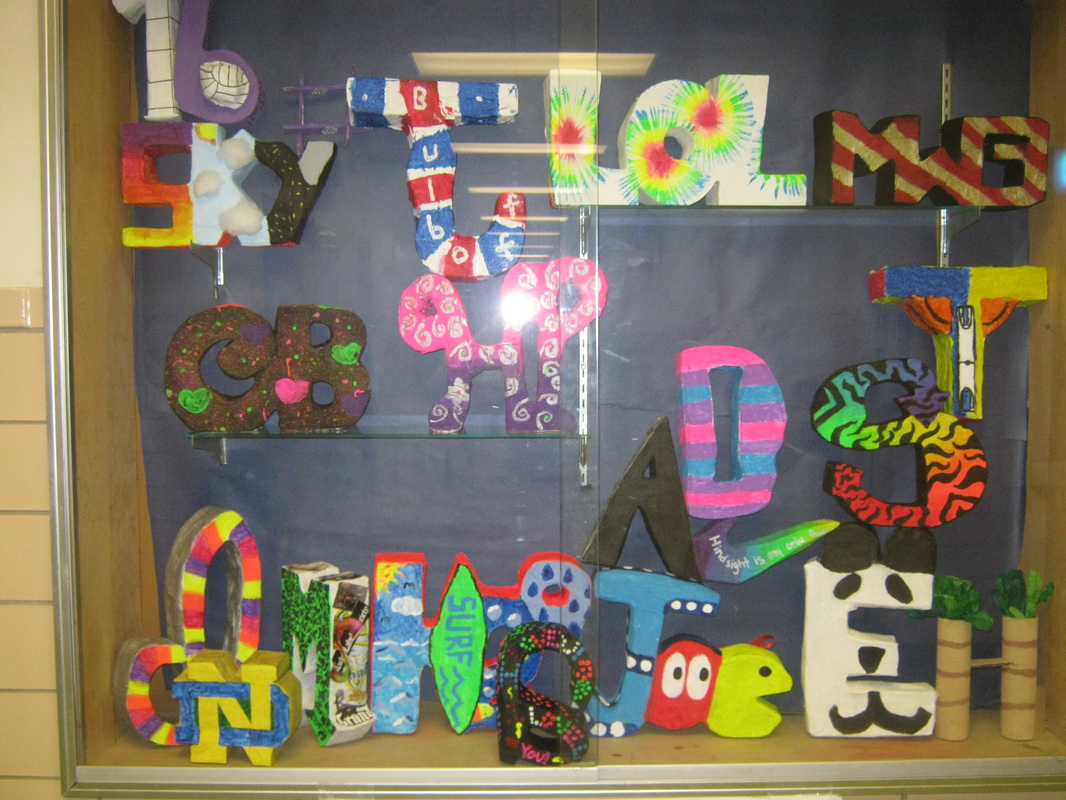
3 Dimensional Letter
Students will take an in depth look at the artwork of Artists Robert Indiana and the creation of sculpture. Each student will explore typography by creating 15 different variations of a letter and building one of them out of cardboard and paper mache.
| robert_indiana_letter_construction.docx |


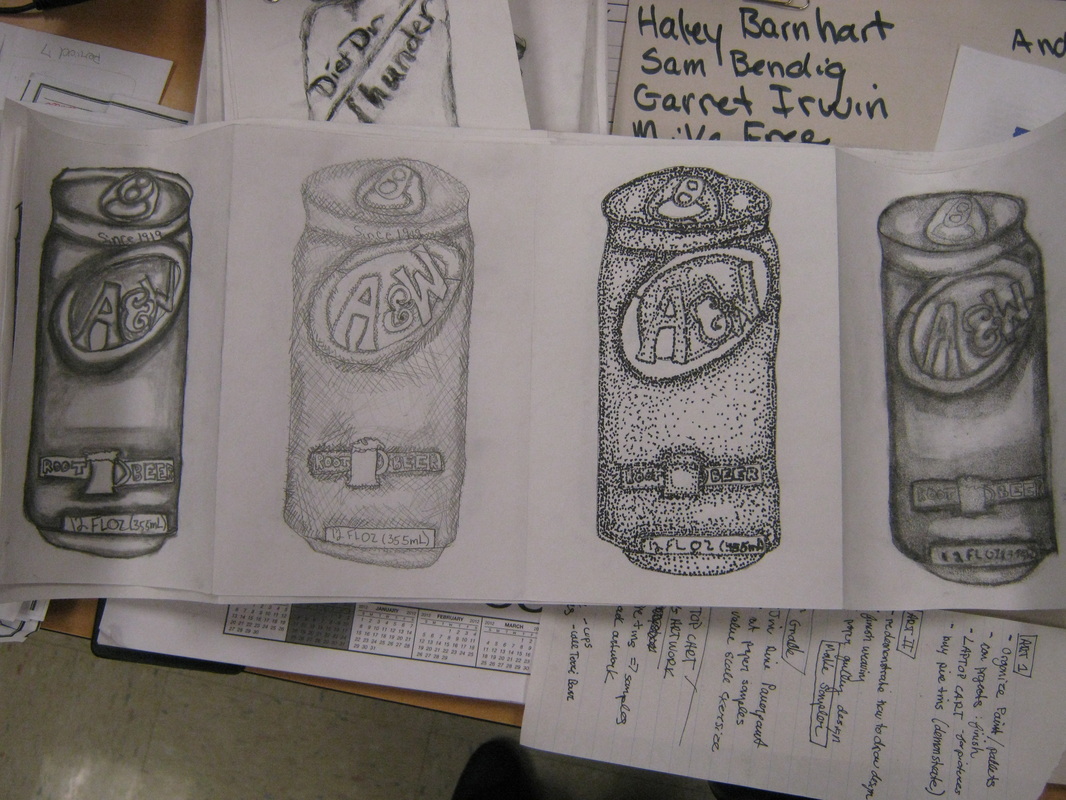
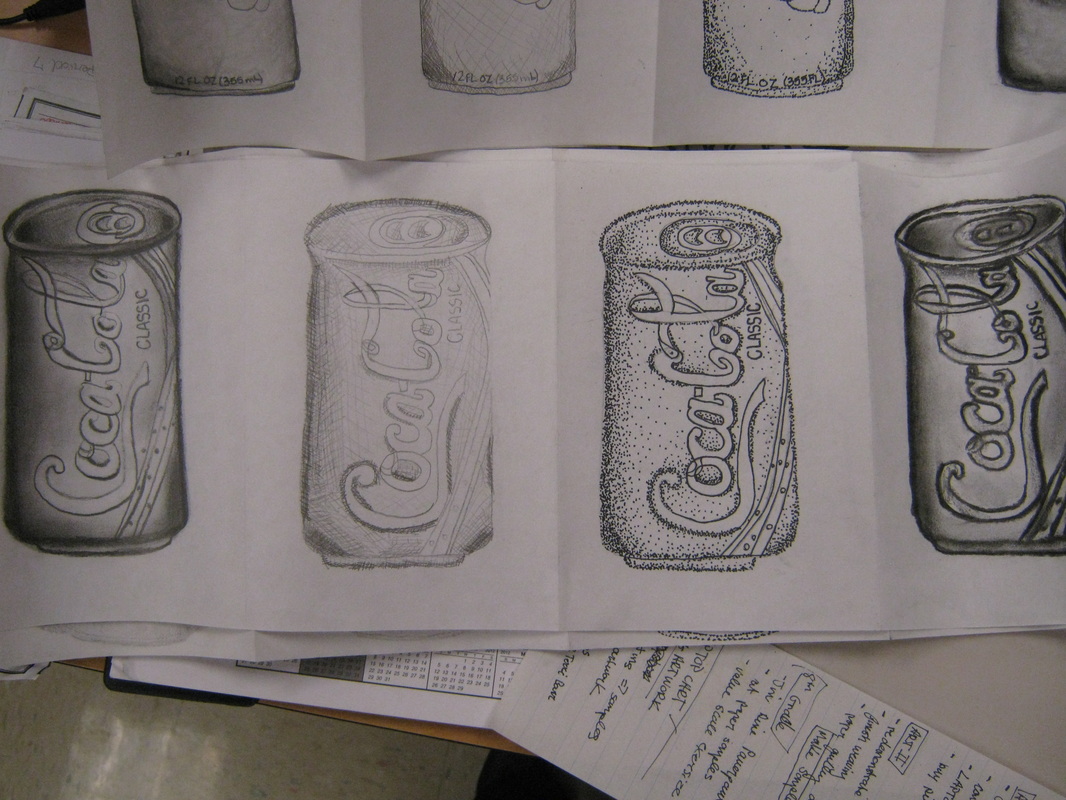
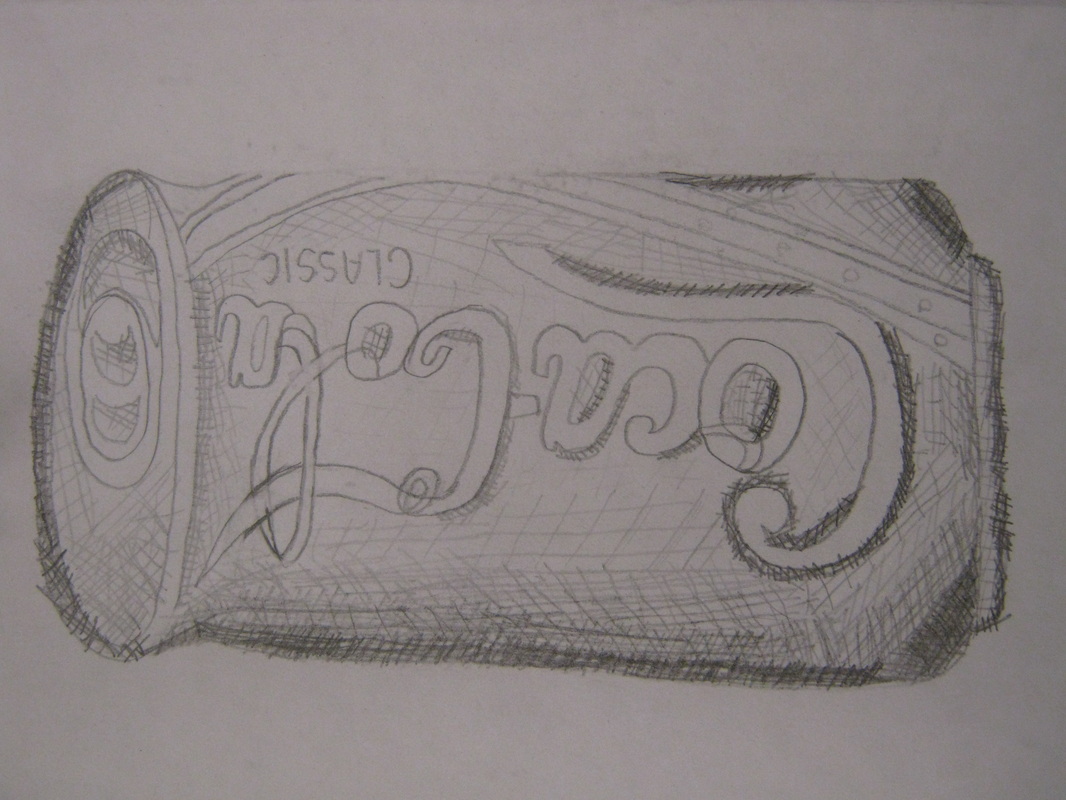
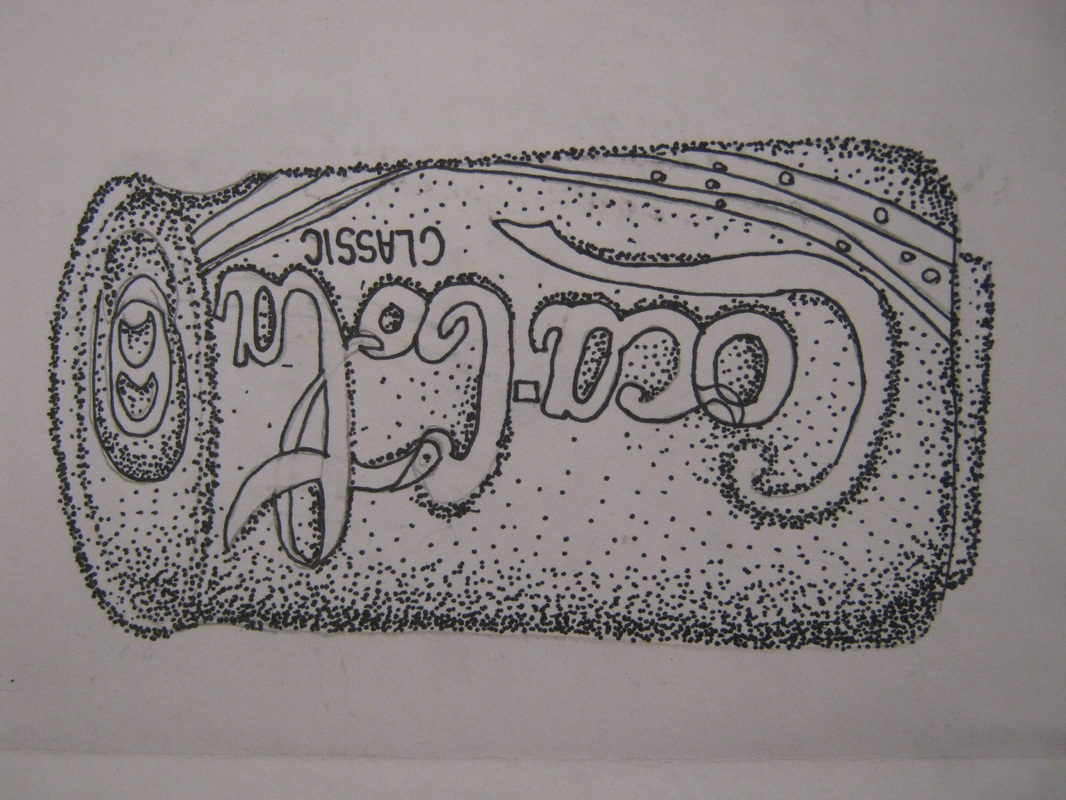
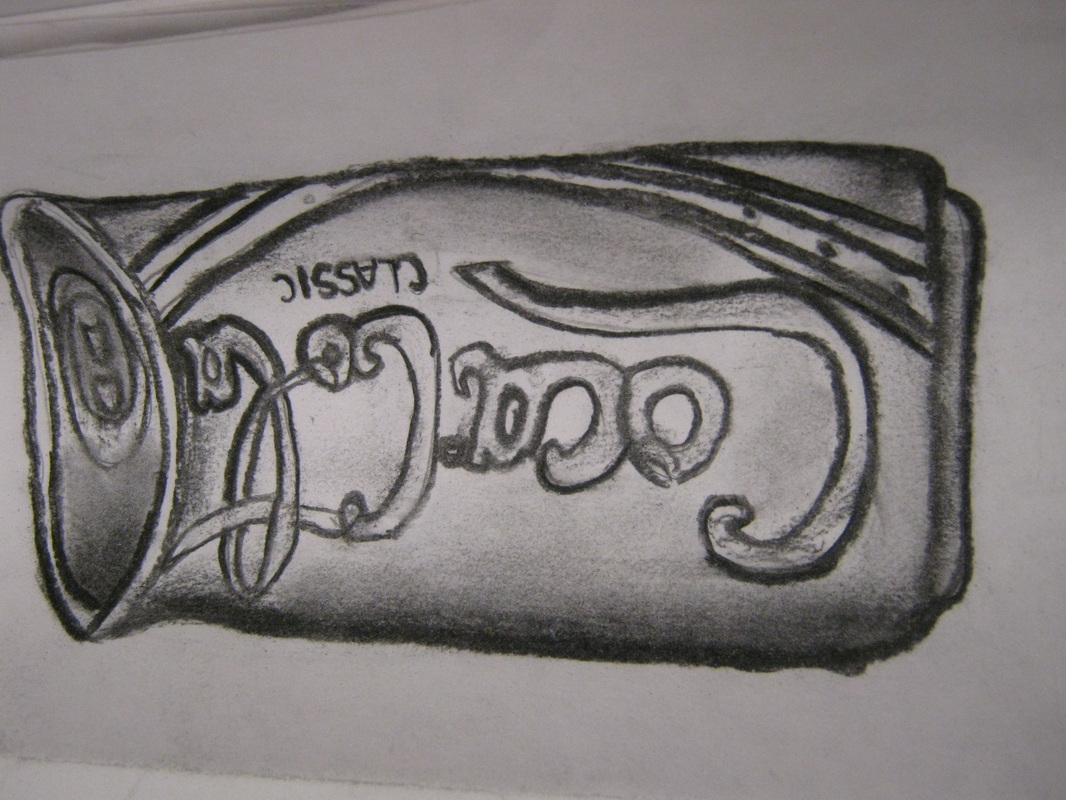
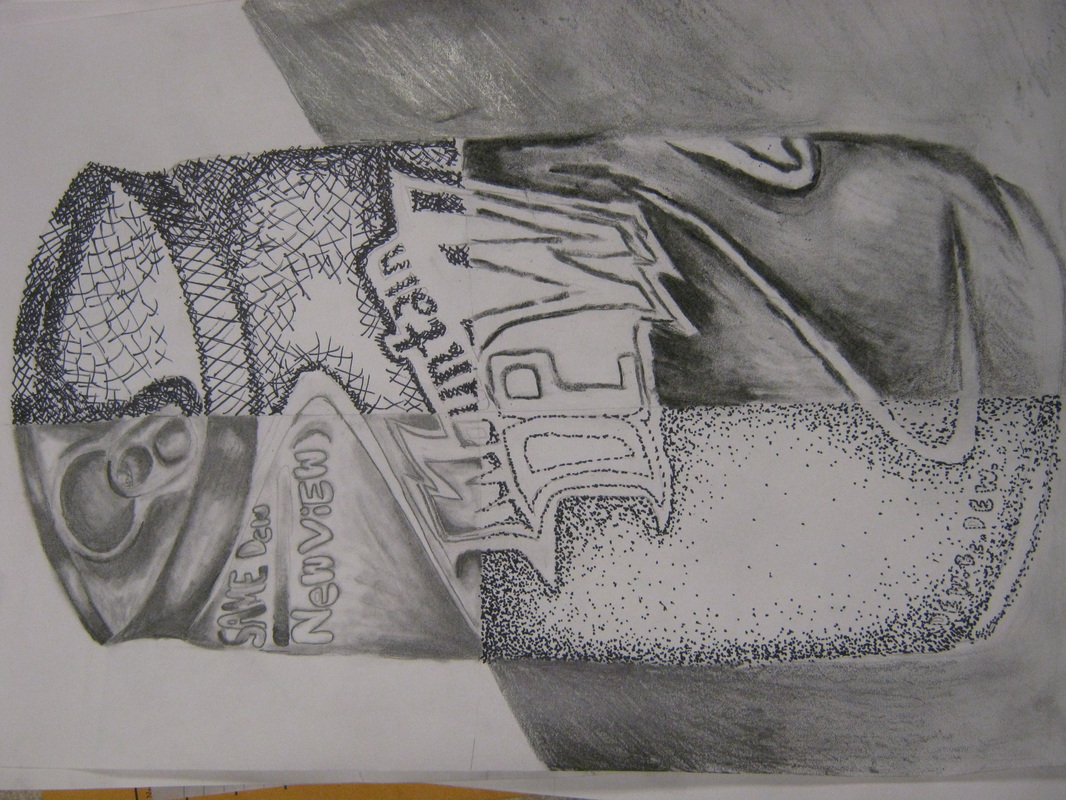
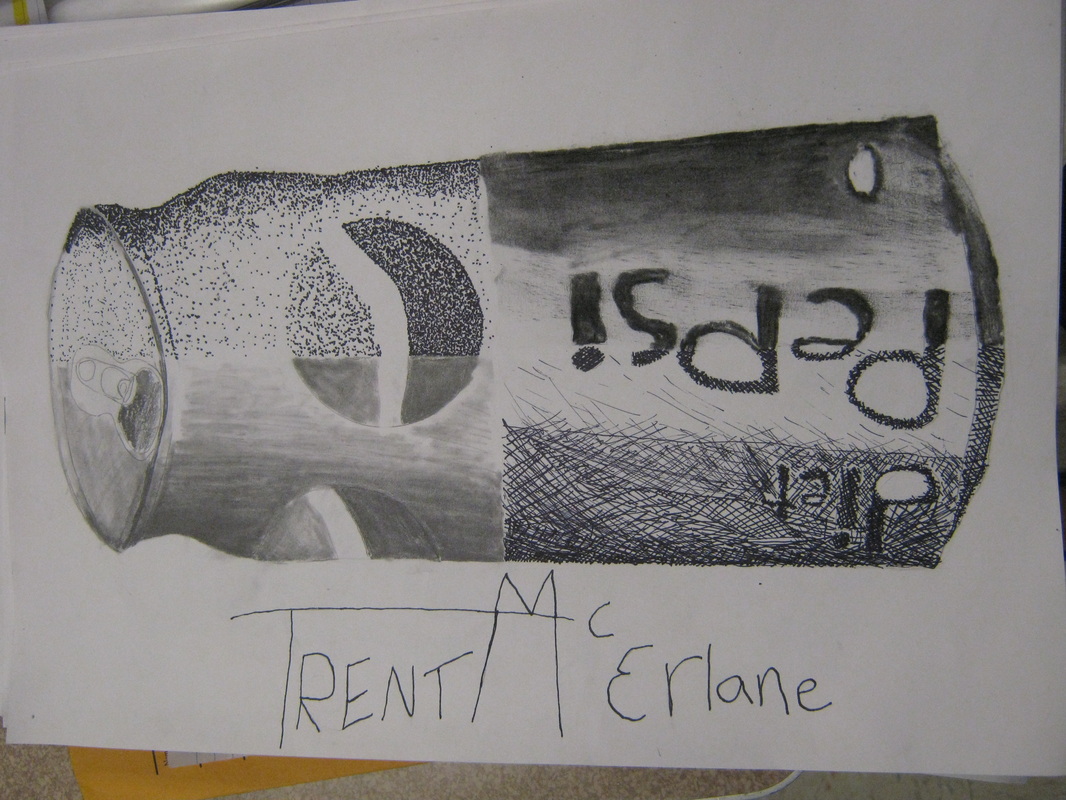
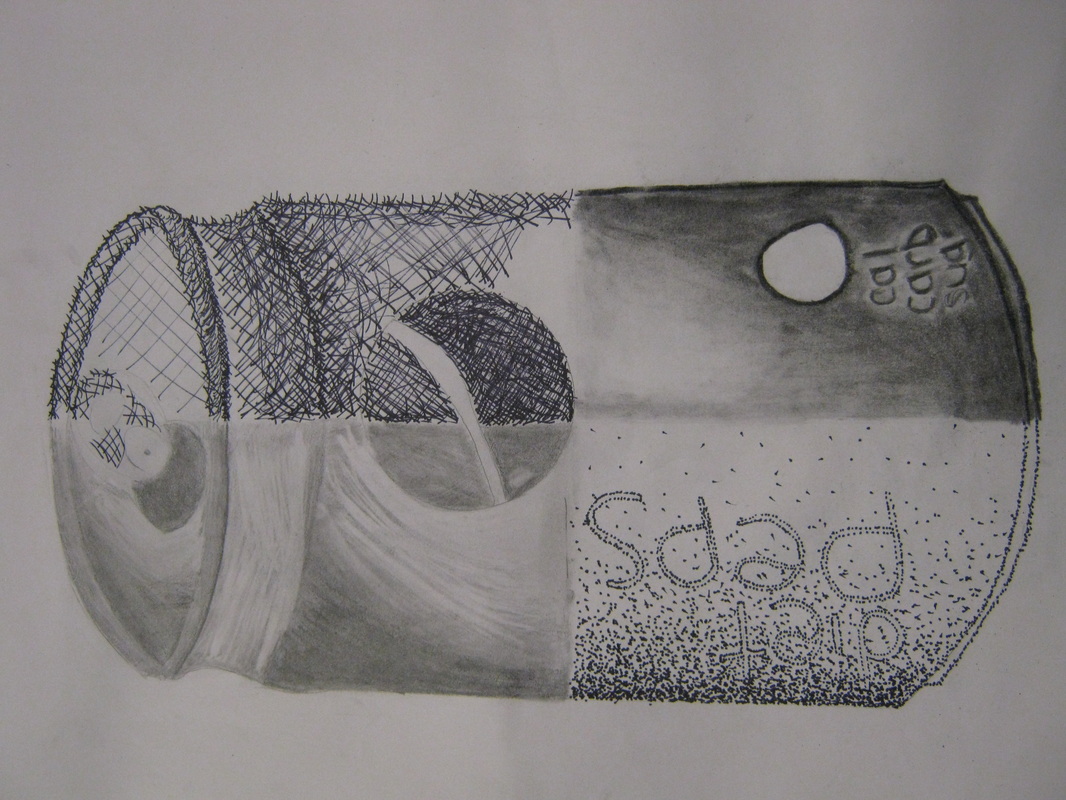
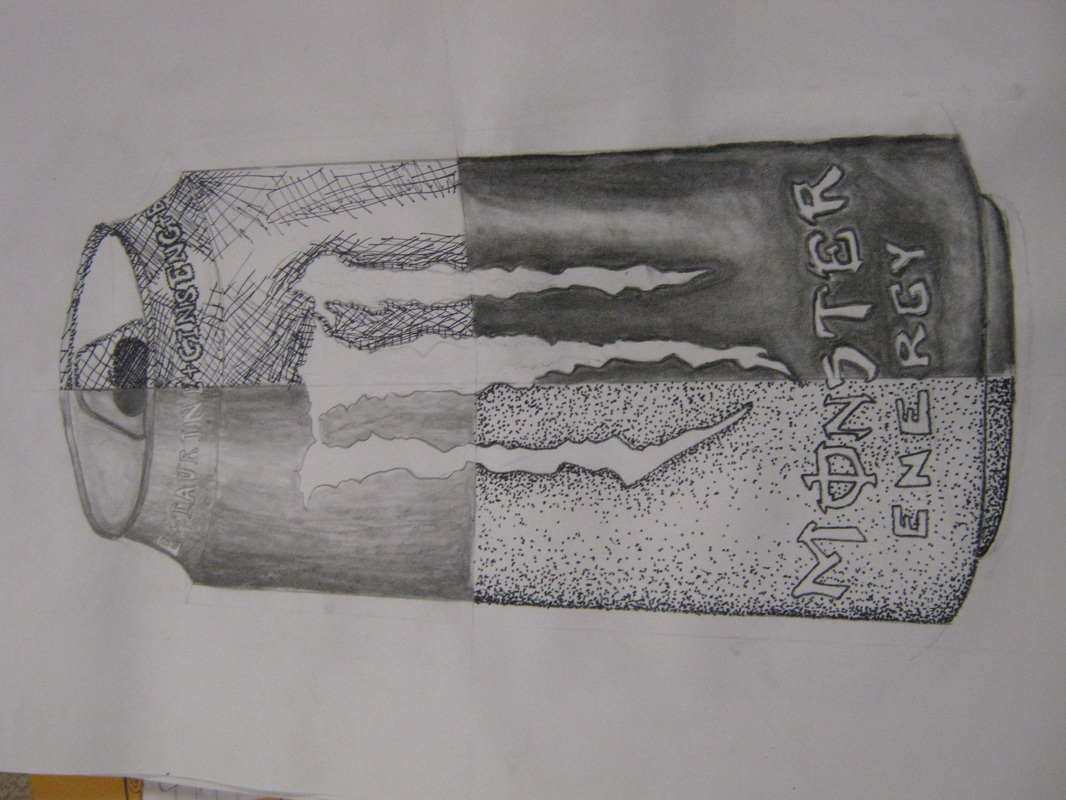
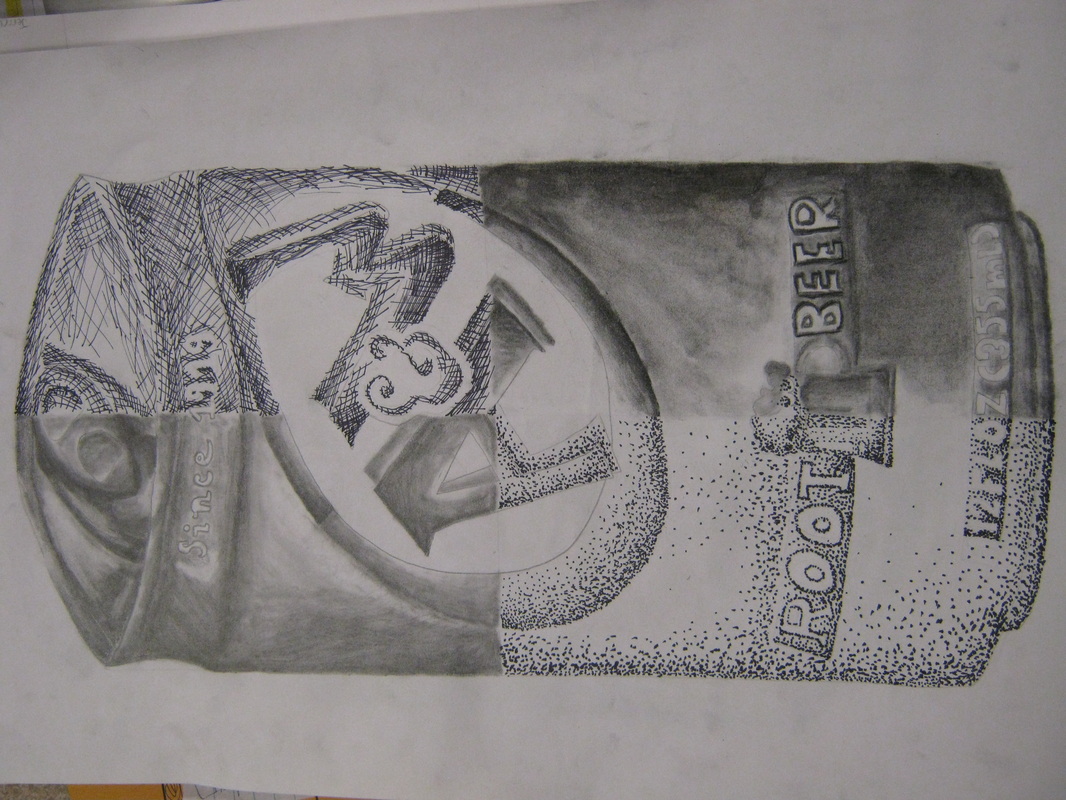
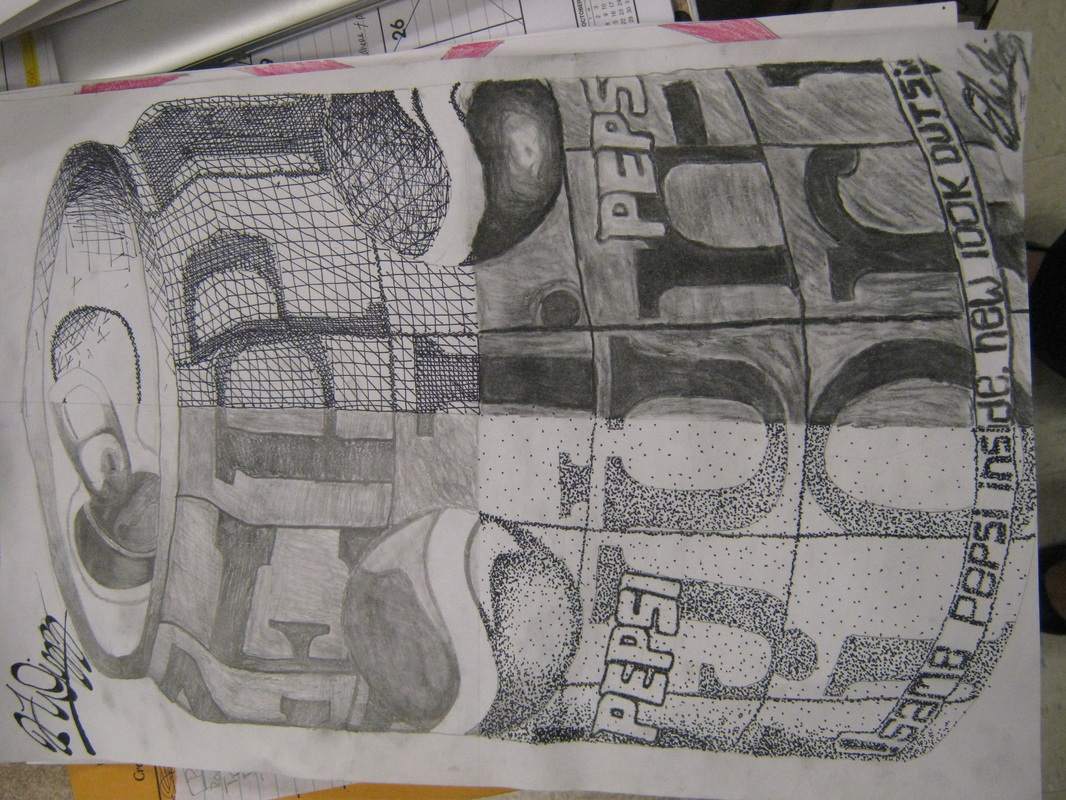
Soda Can Value
Using the ellipse shape, students will create 4 drawings of a soda can and fill with four types of value. One with eboney pencil, cross hatching, stipple and charcoal. Each piece should show a range of value that is similar in each can.
| soda_can_shading.docx |


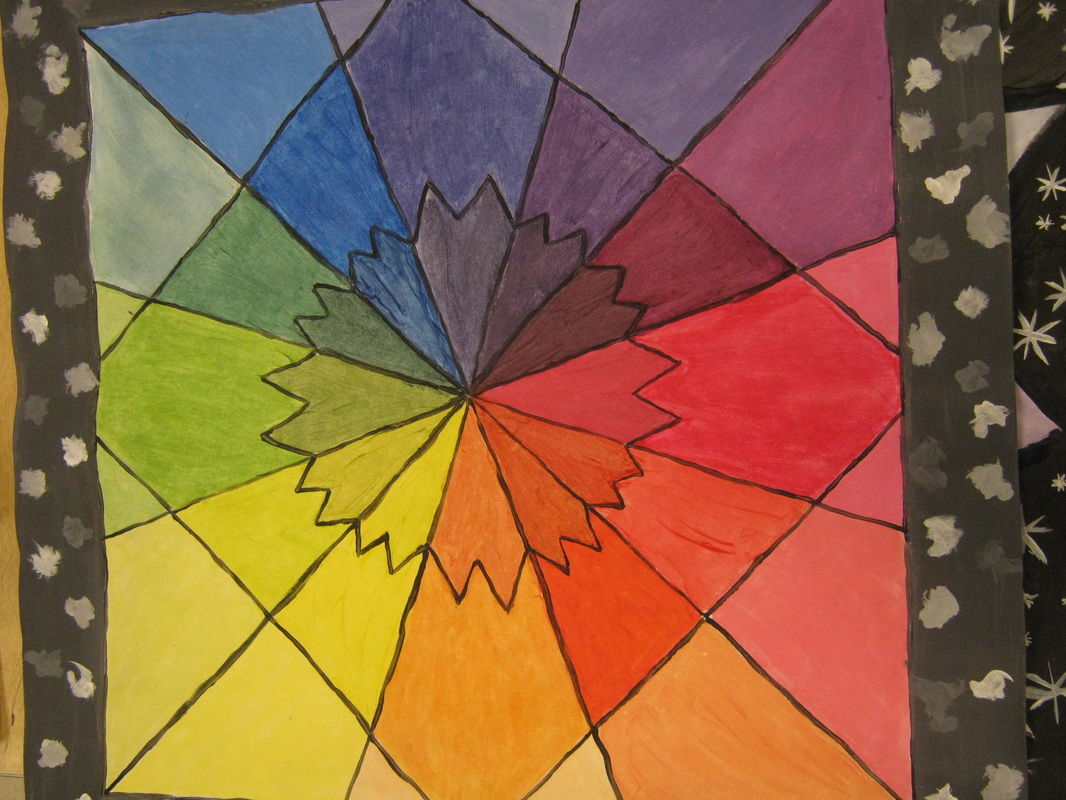
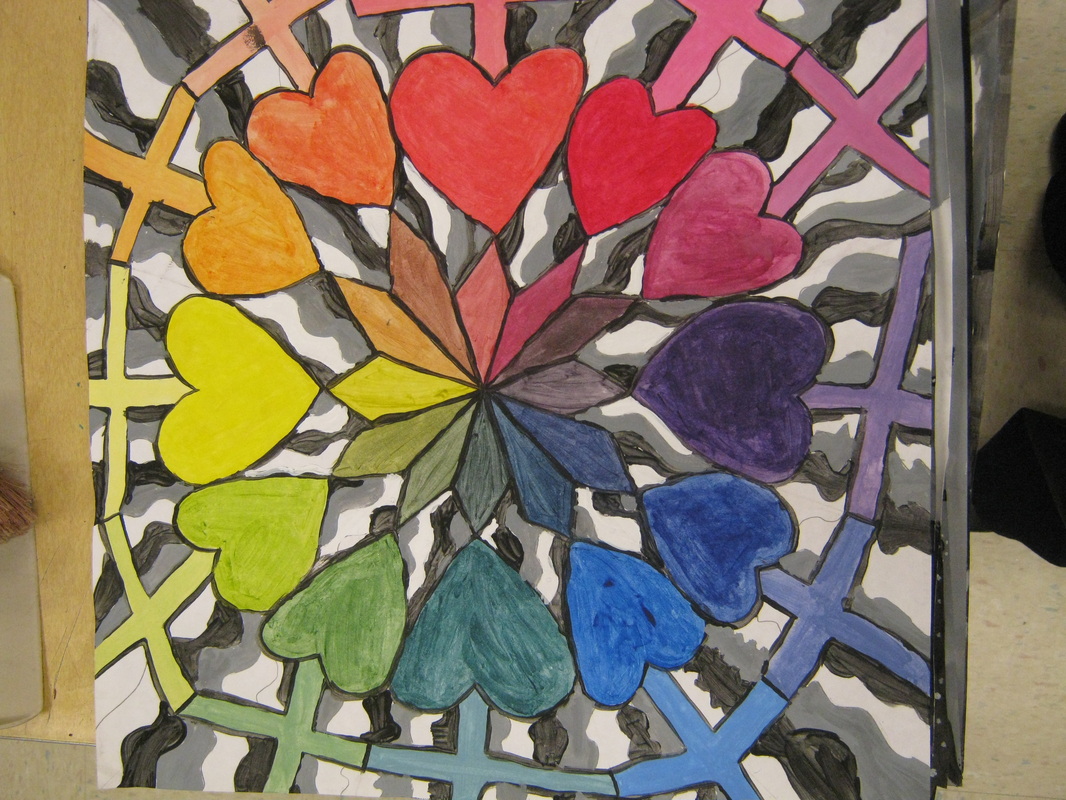
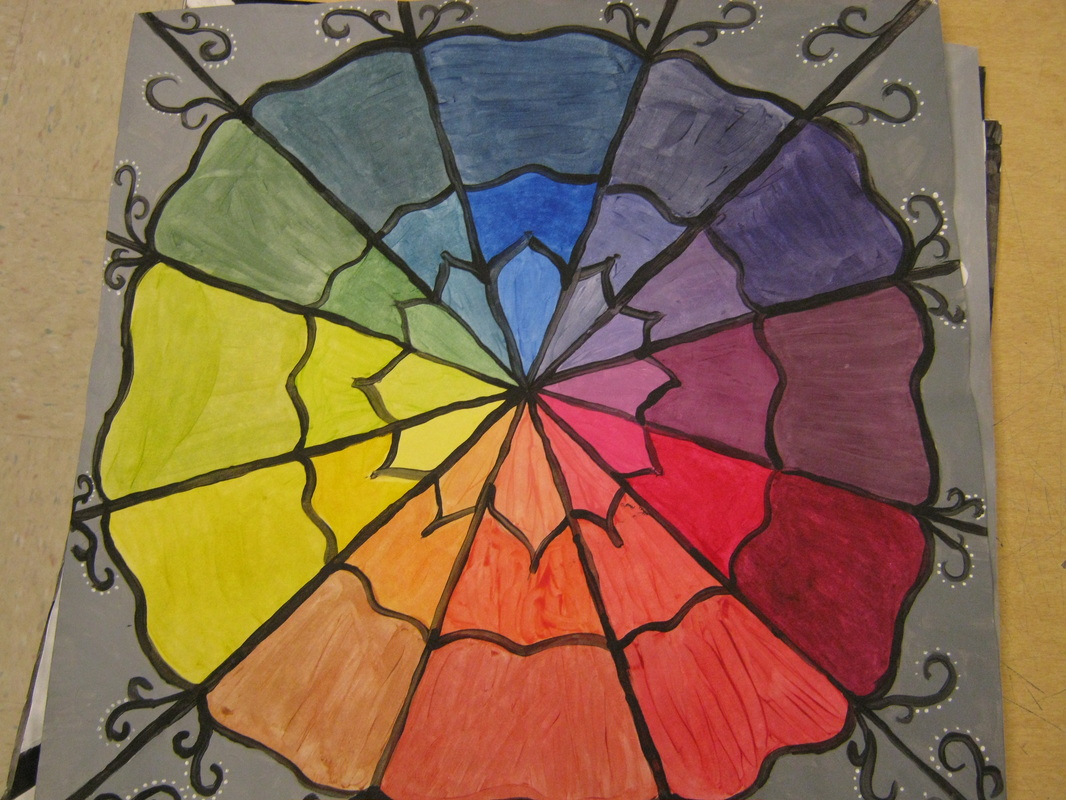
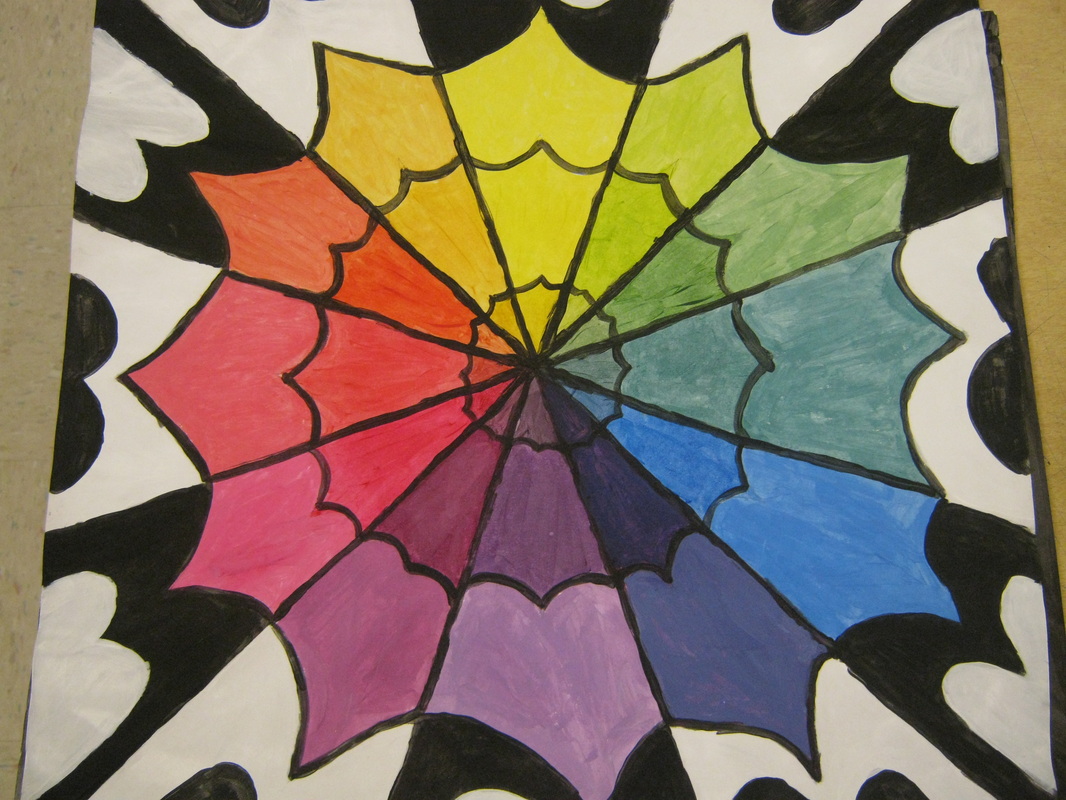
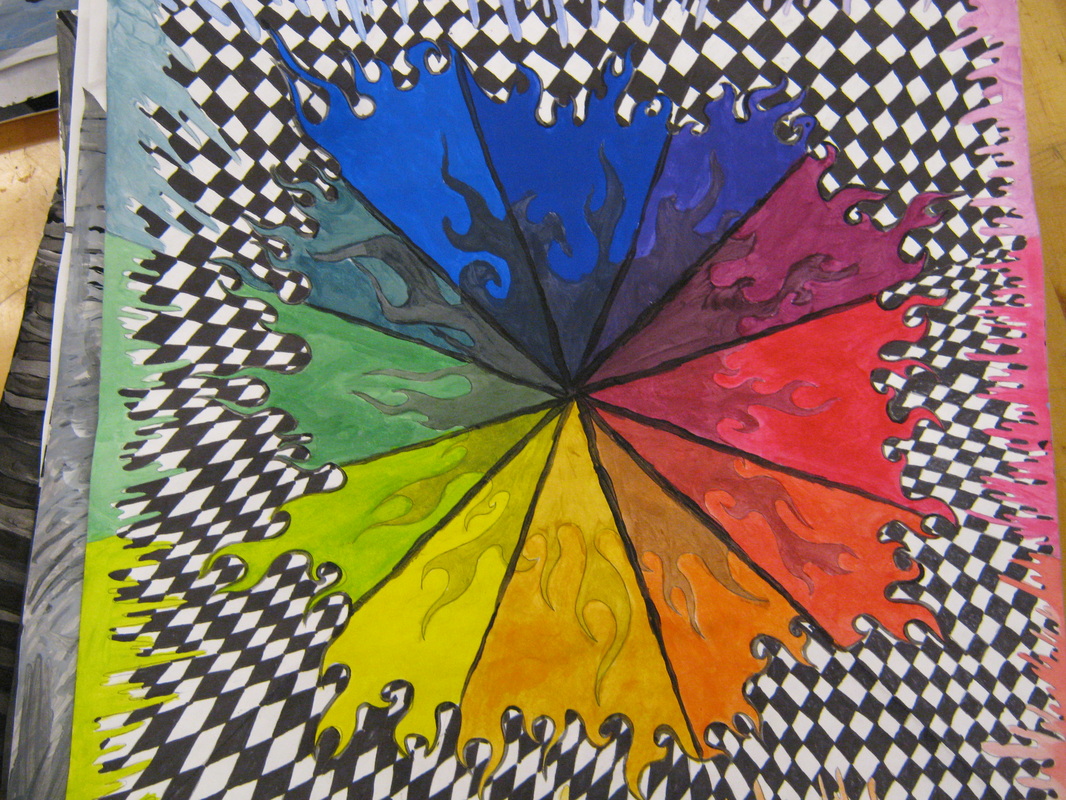
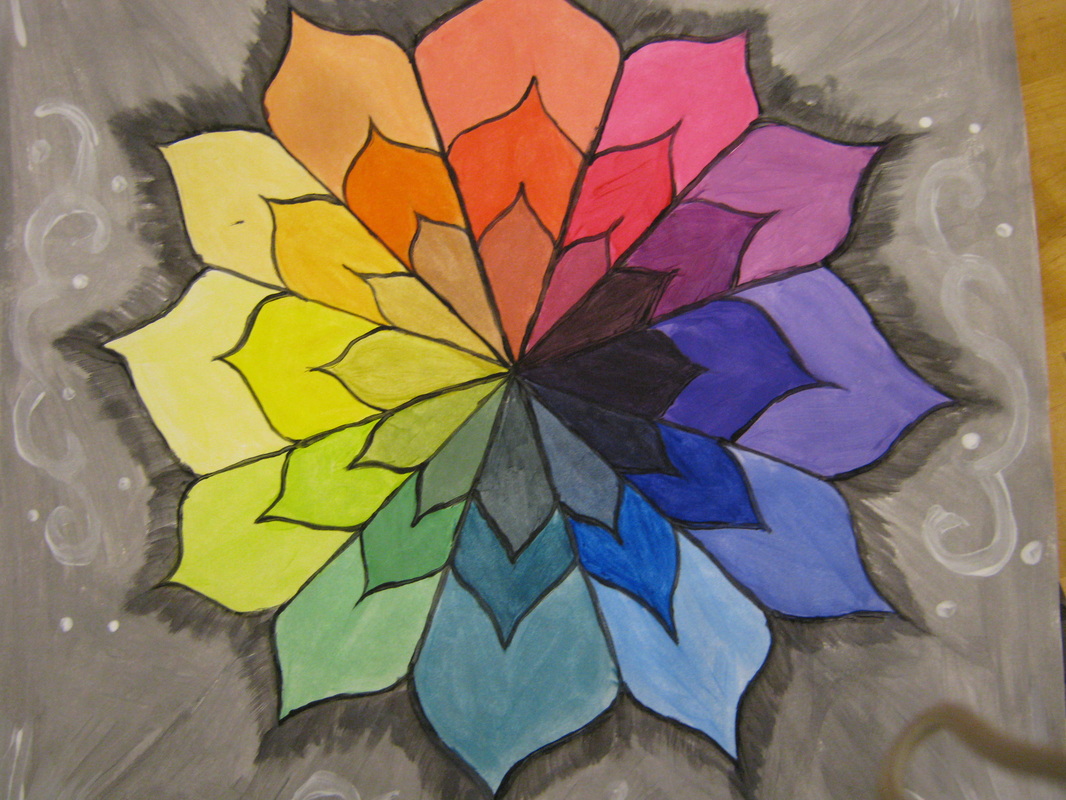
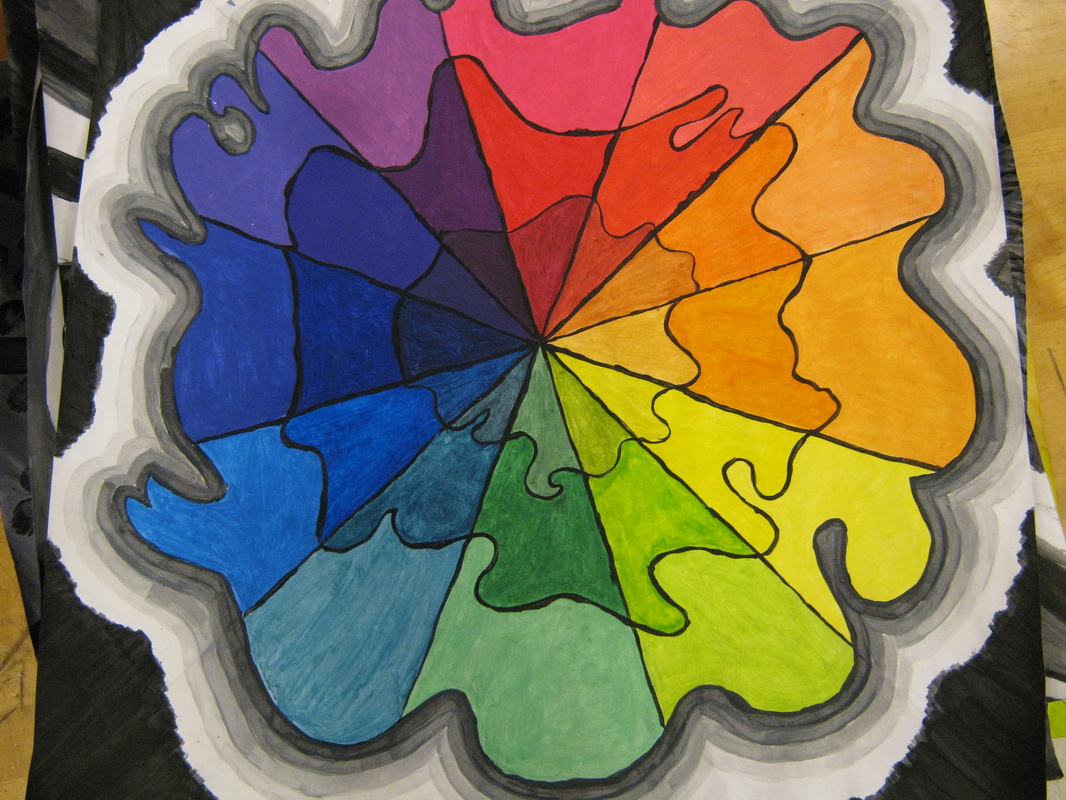
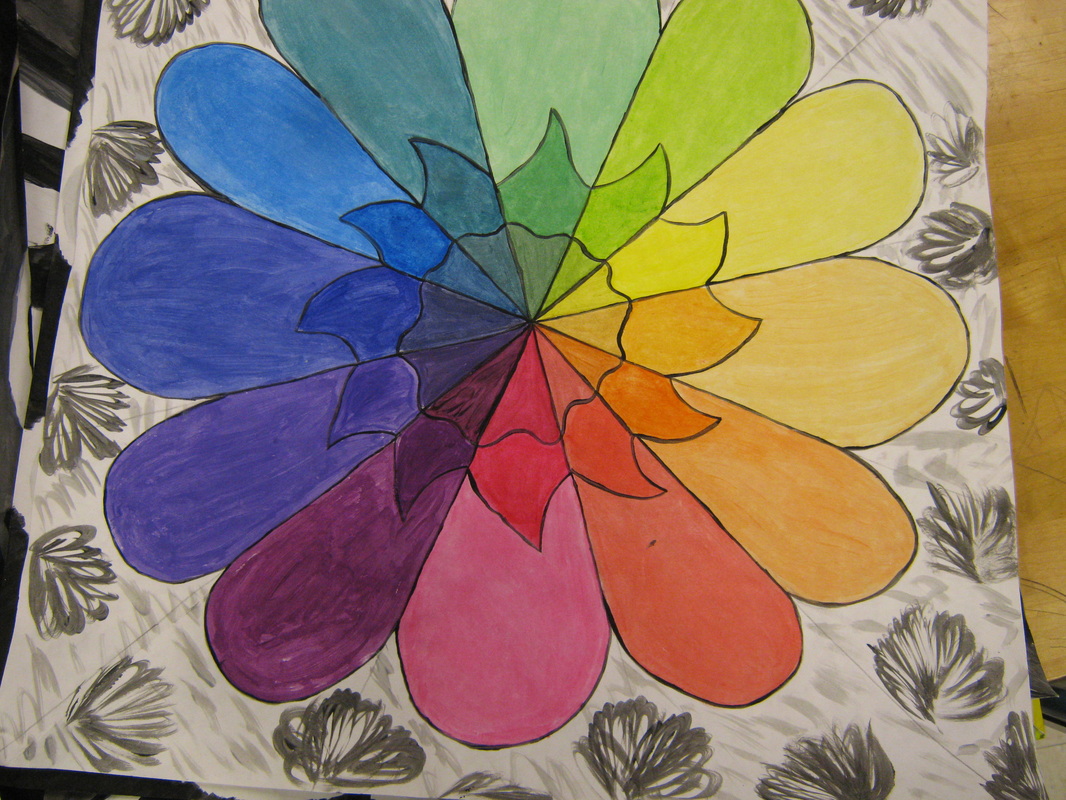
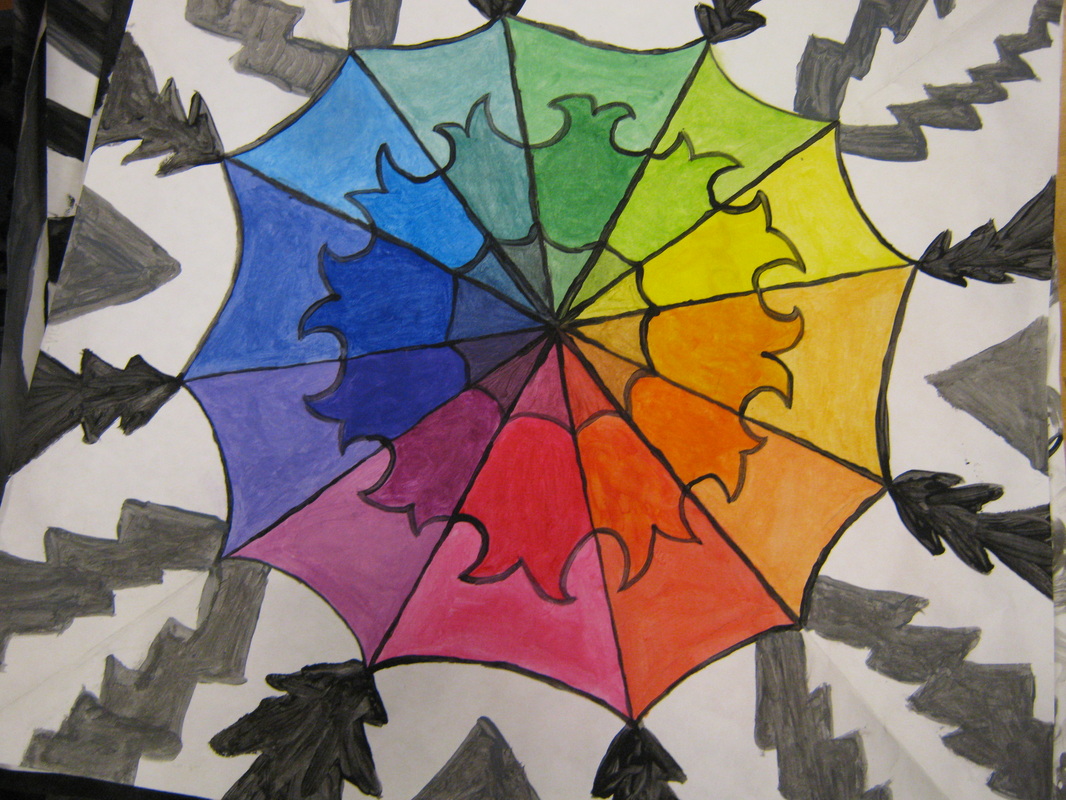
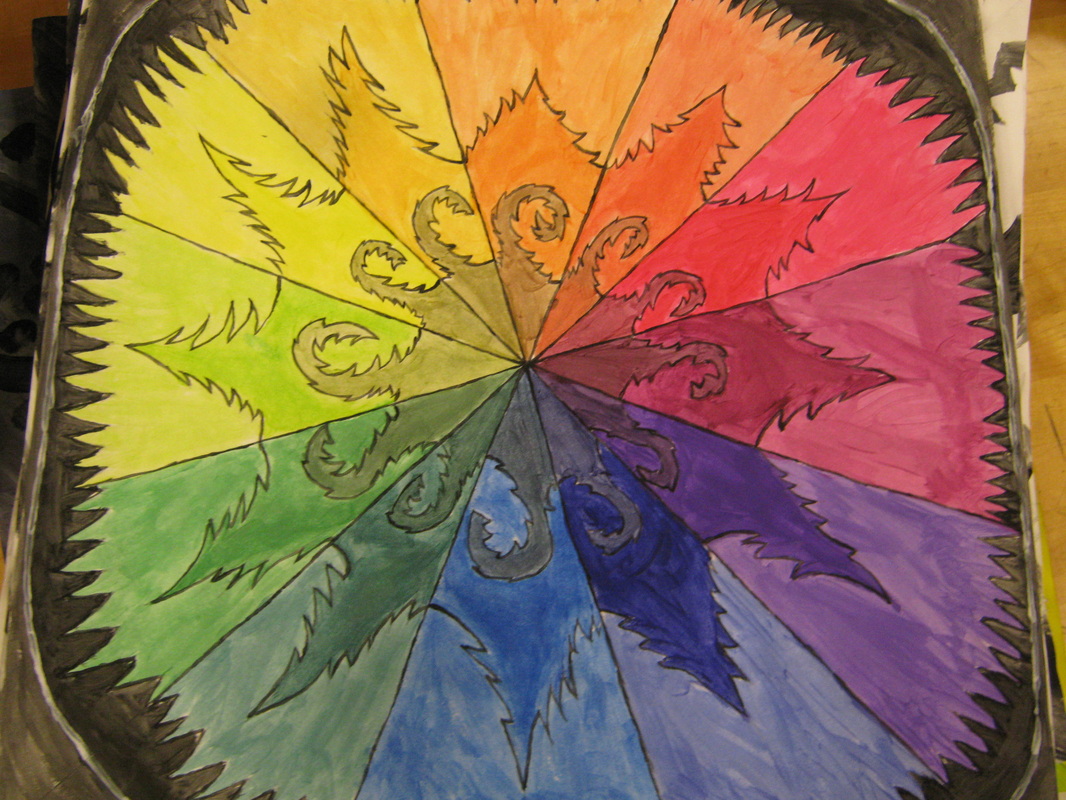
Creating the Color Wheel
In order to understand the basics of color theory, students will create a color wheel entirely from primary colors as well as black and white. Each color wheel will be divided into twelve sections and split into three levels. Each level will contain a pure hue, a tint and a shade. When complete, students will create a monochromatic design for the background area using only black and white paint.
|
             | ||||
| color_wheel_lesson.docx |
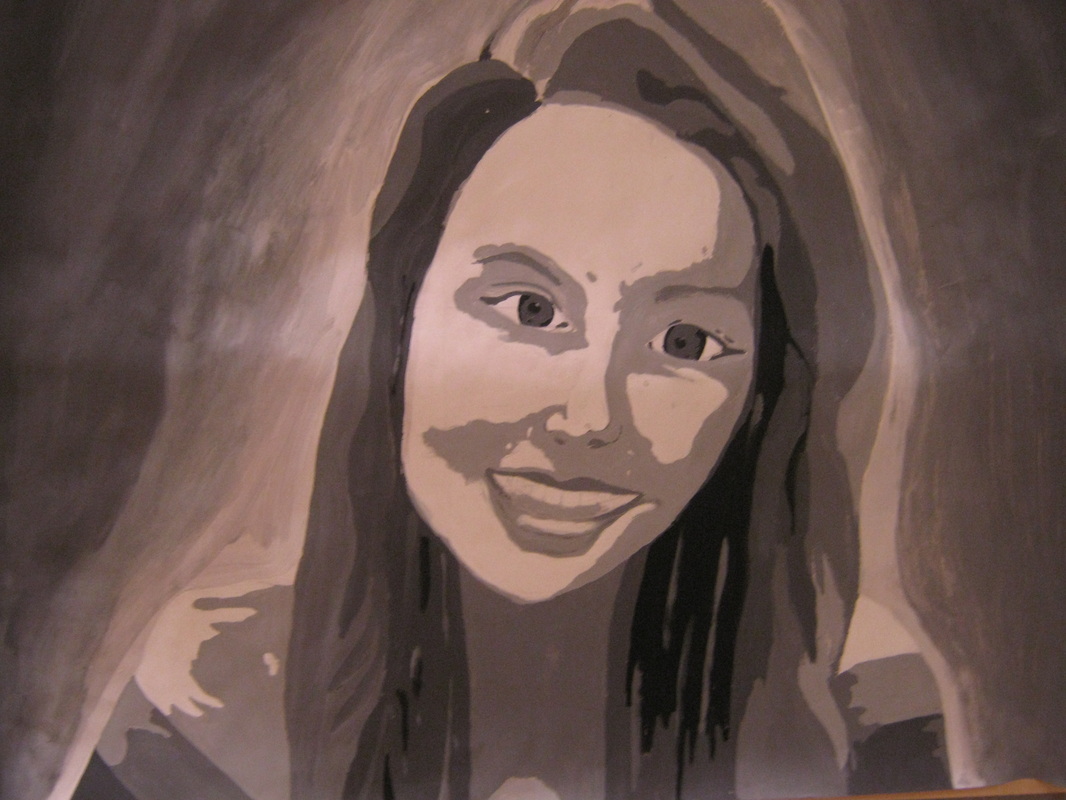
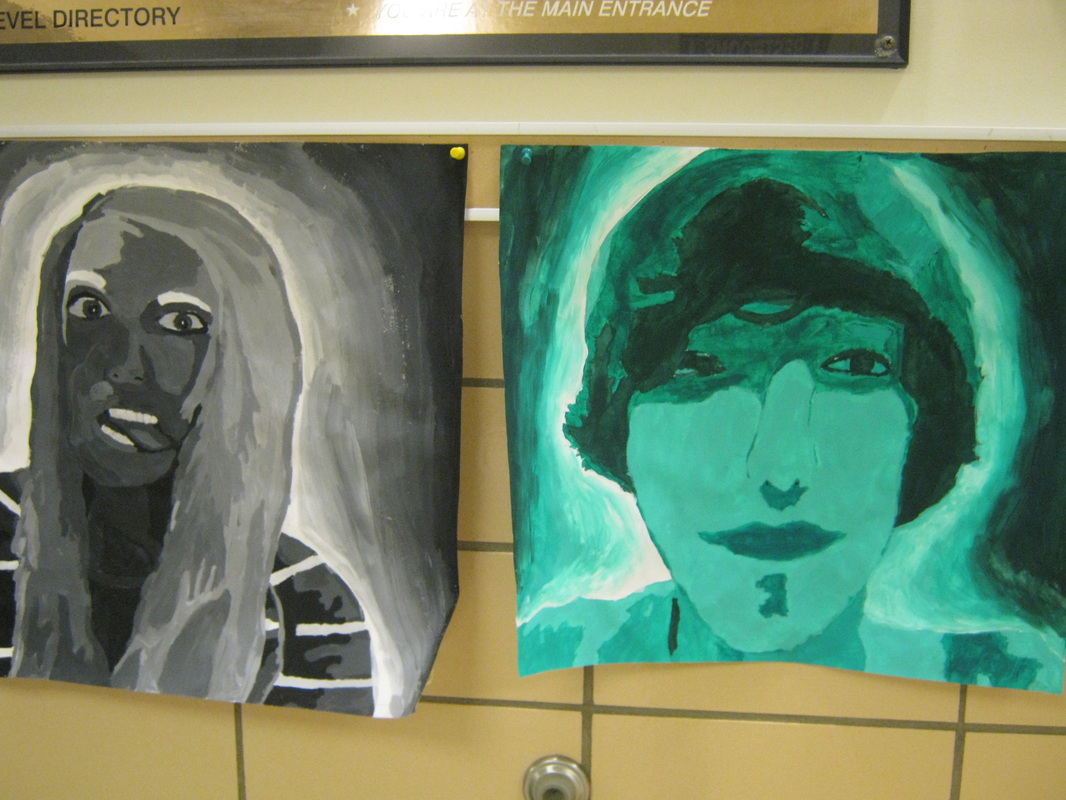
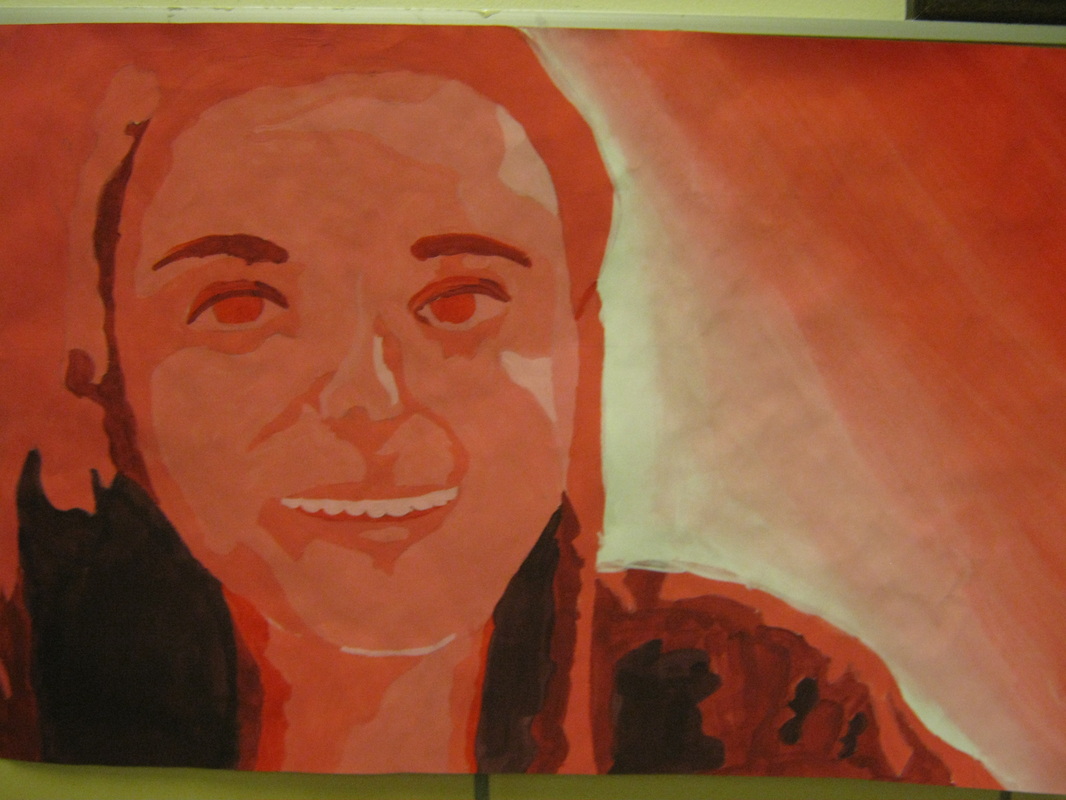
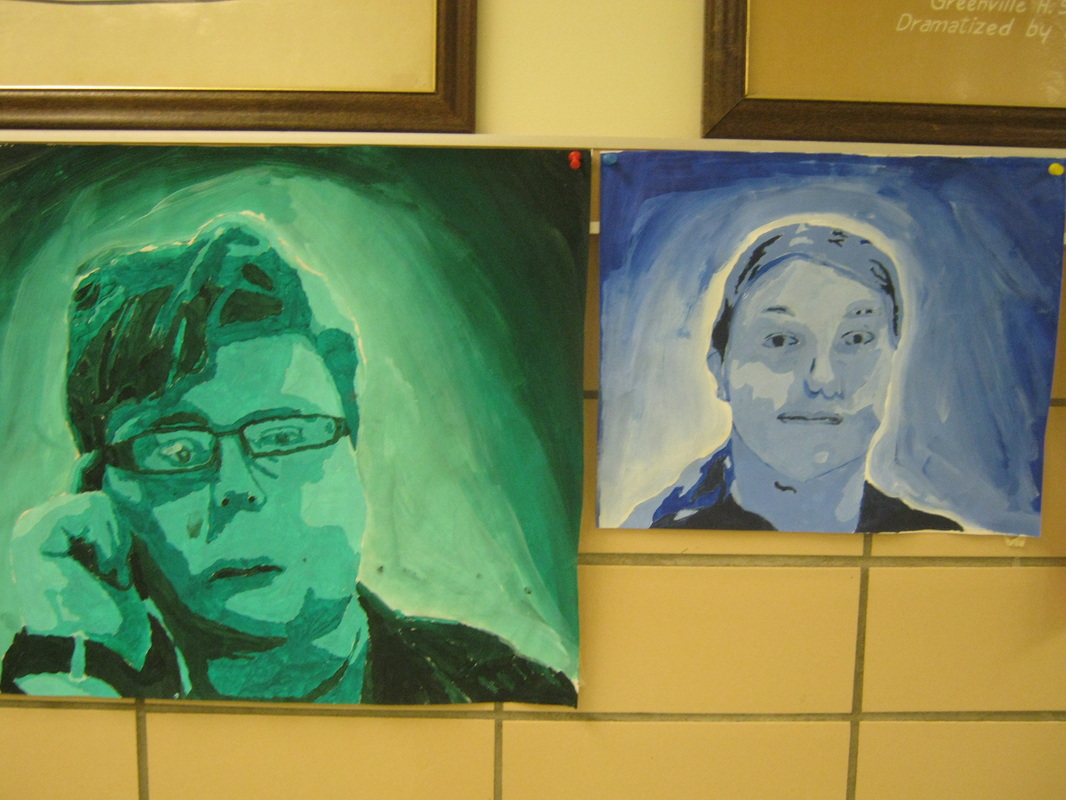
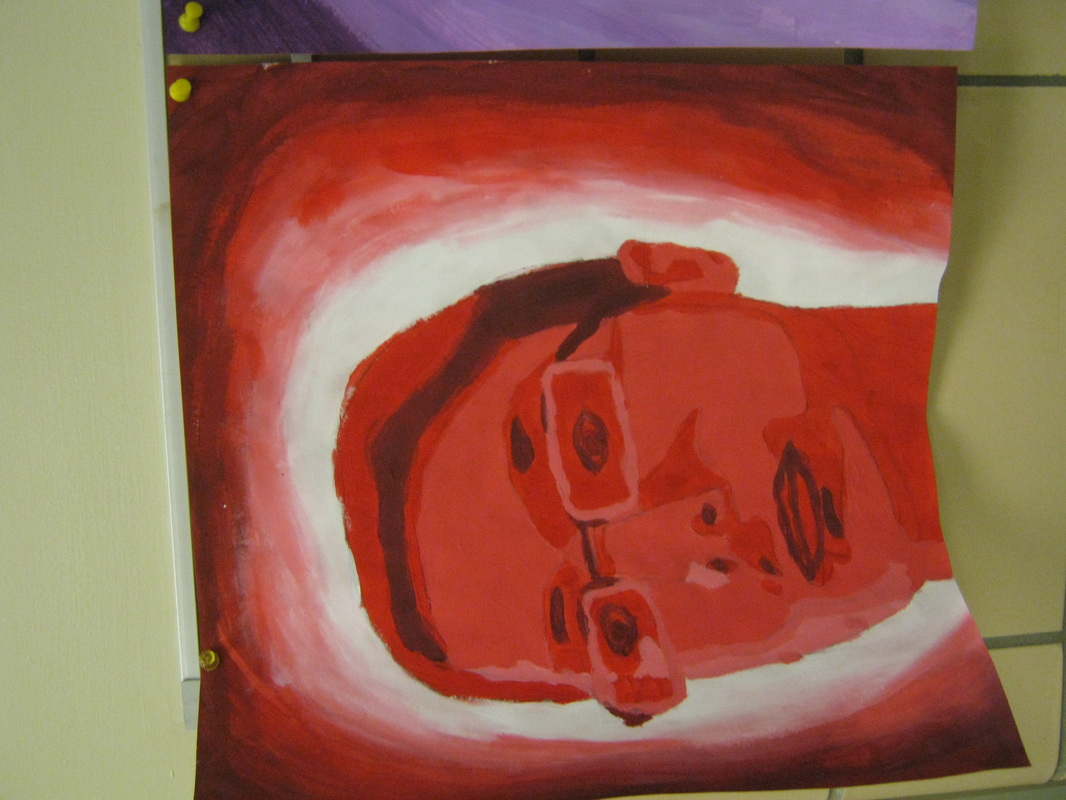
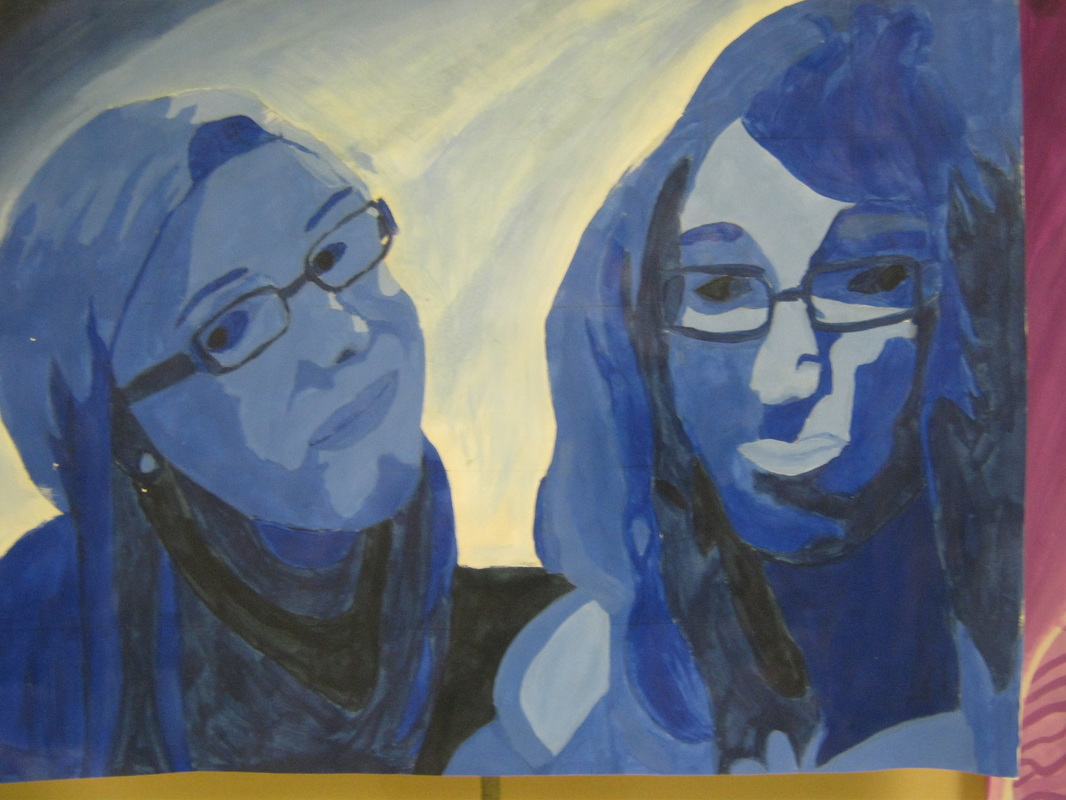
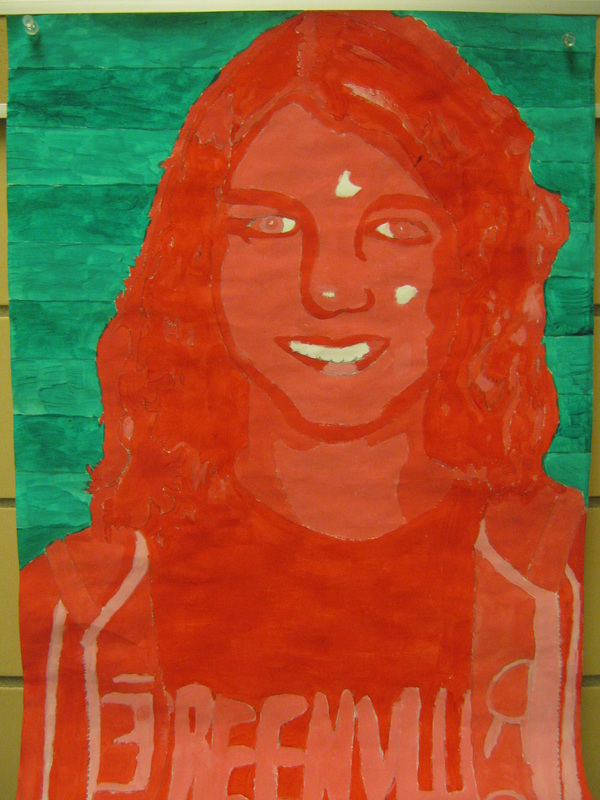
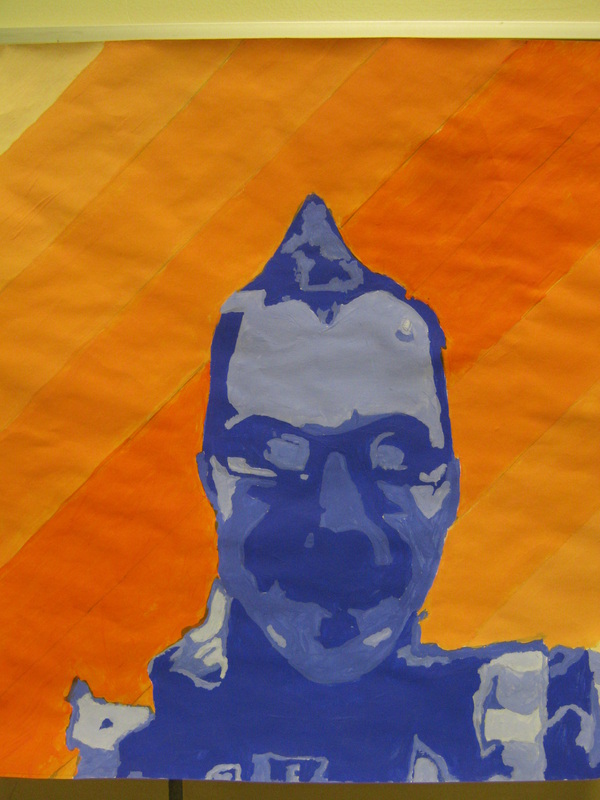
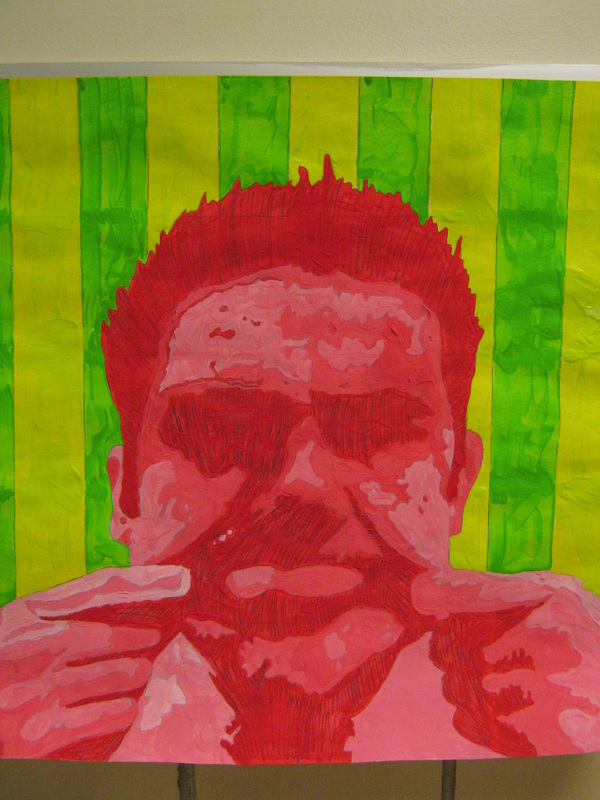
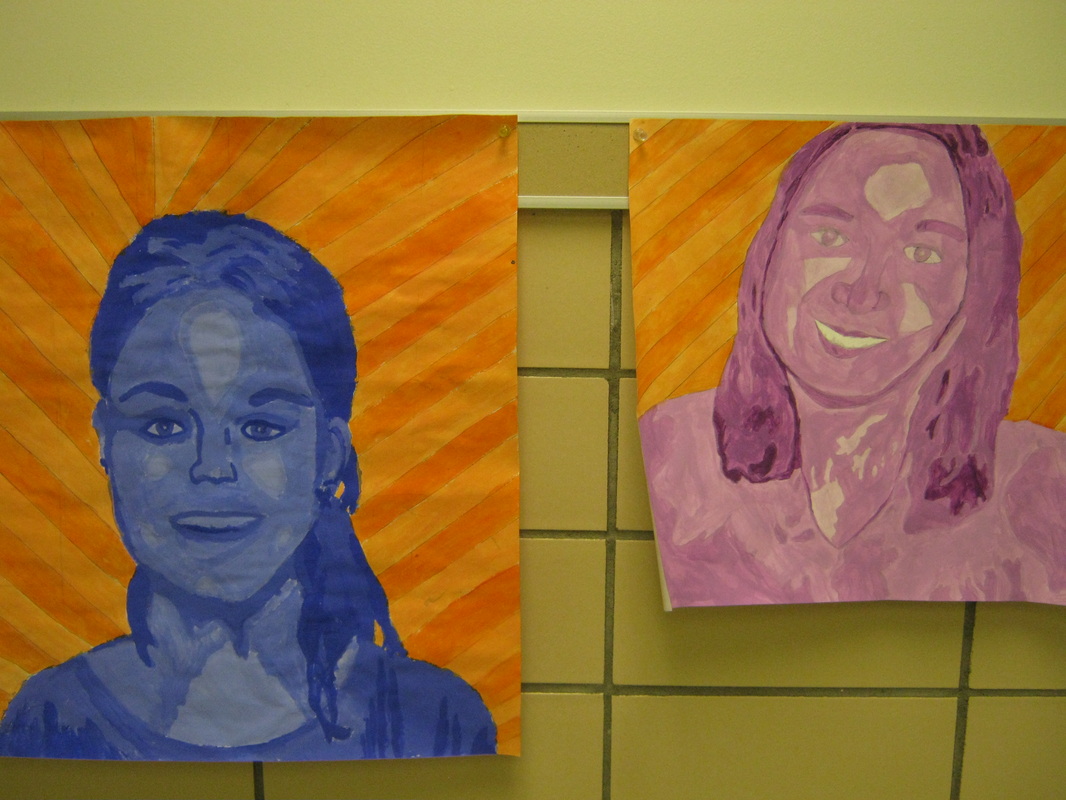
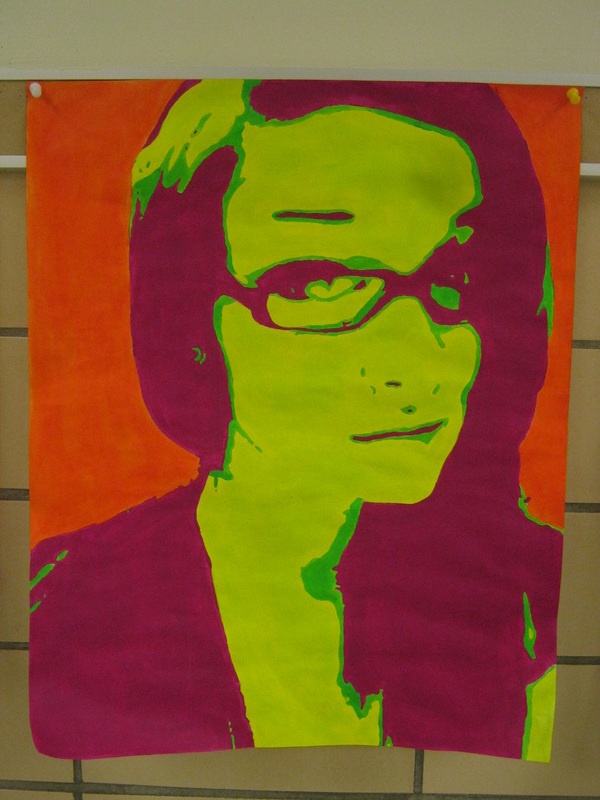
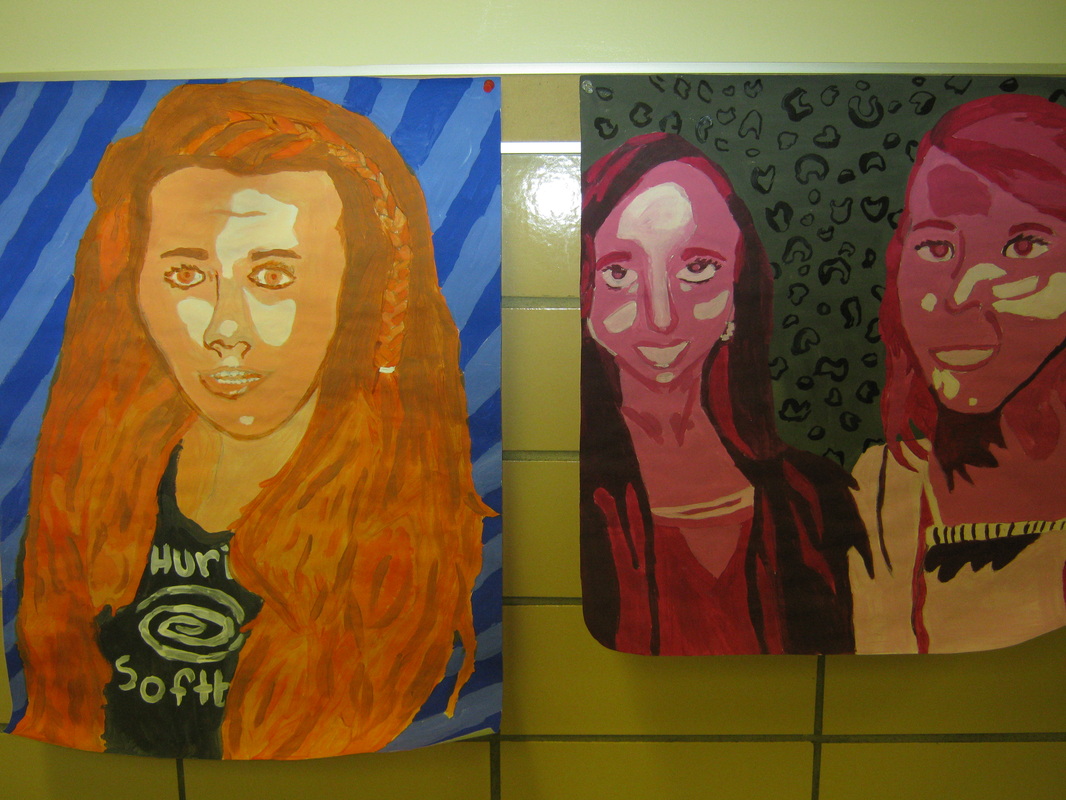
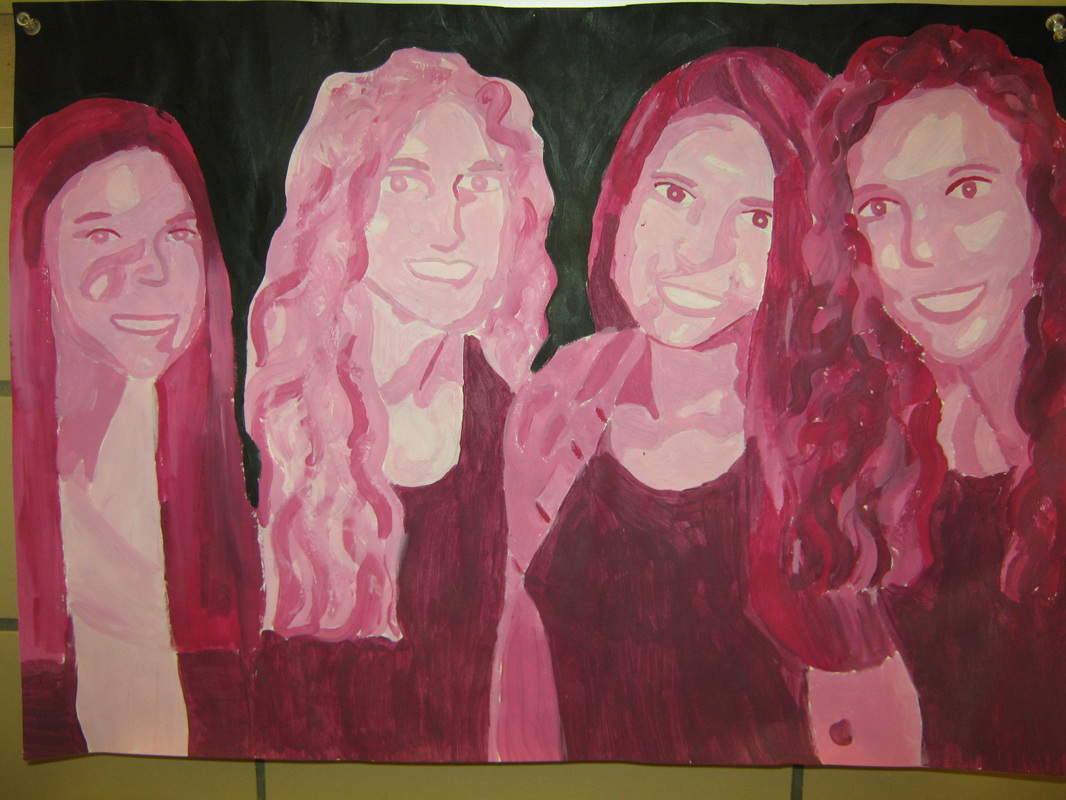
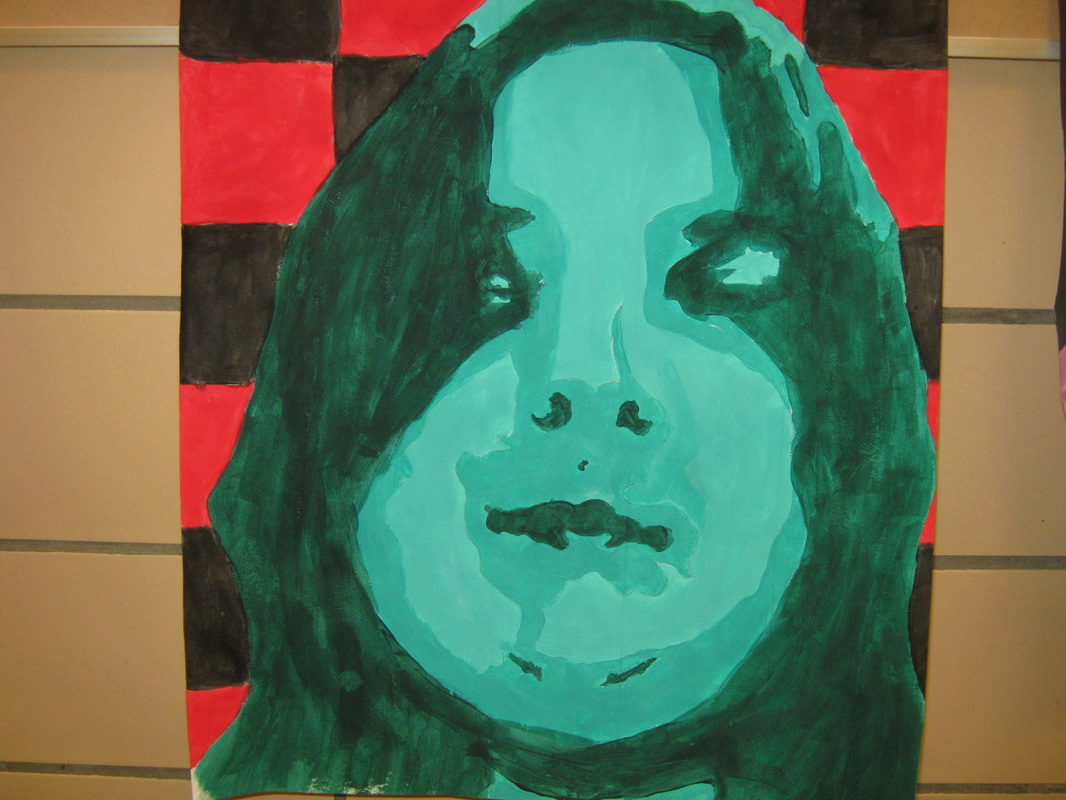
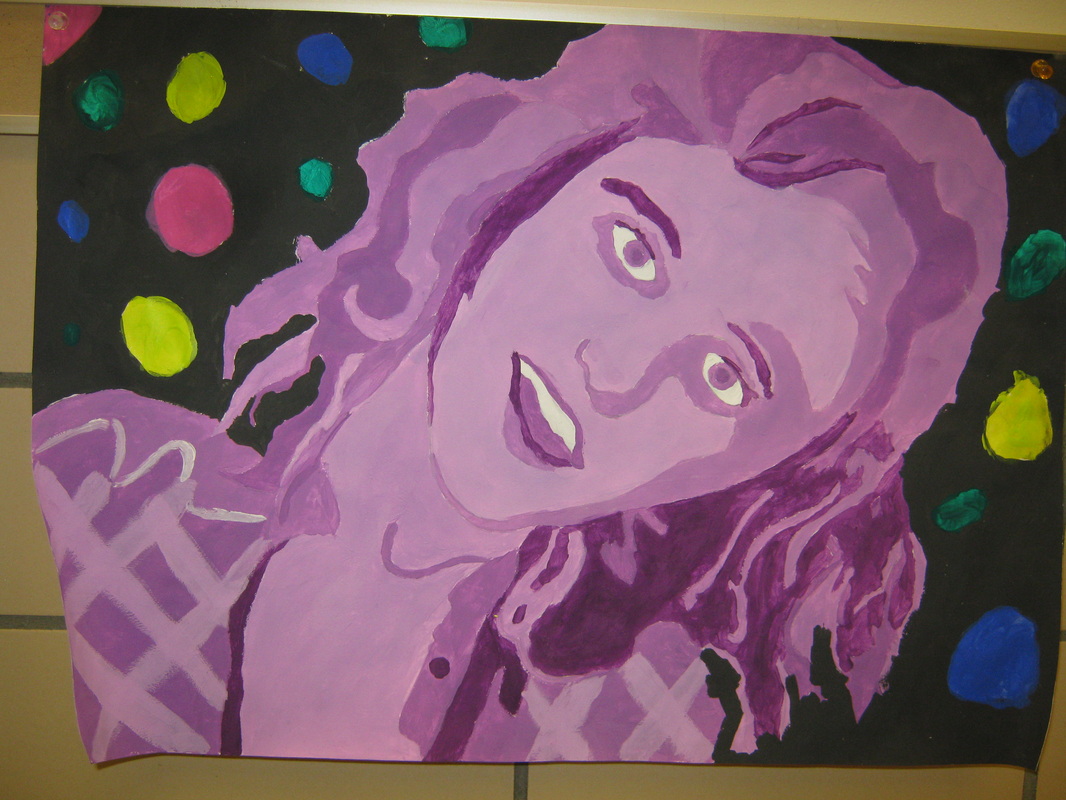
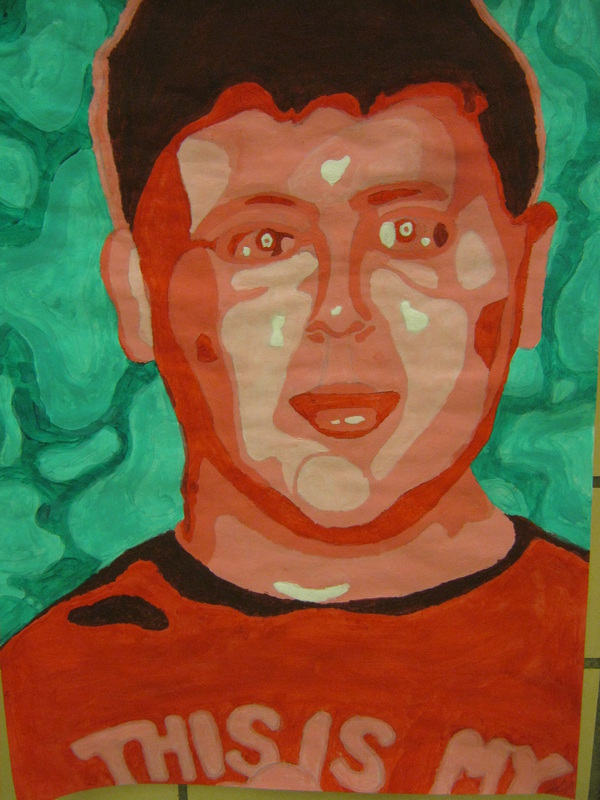
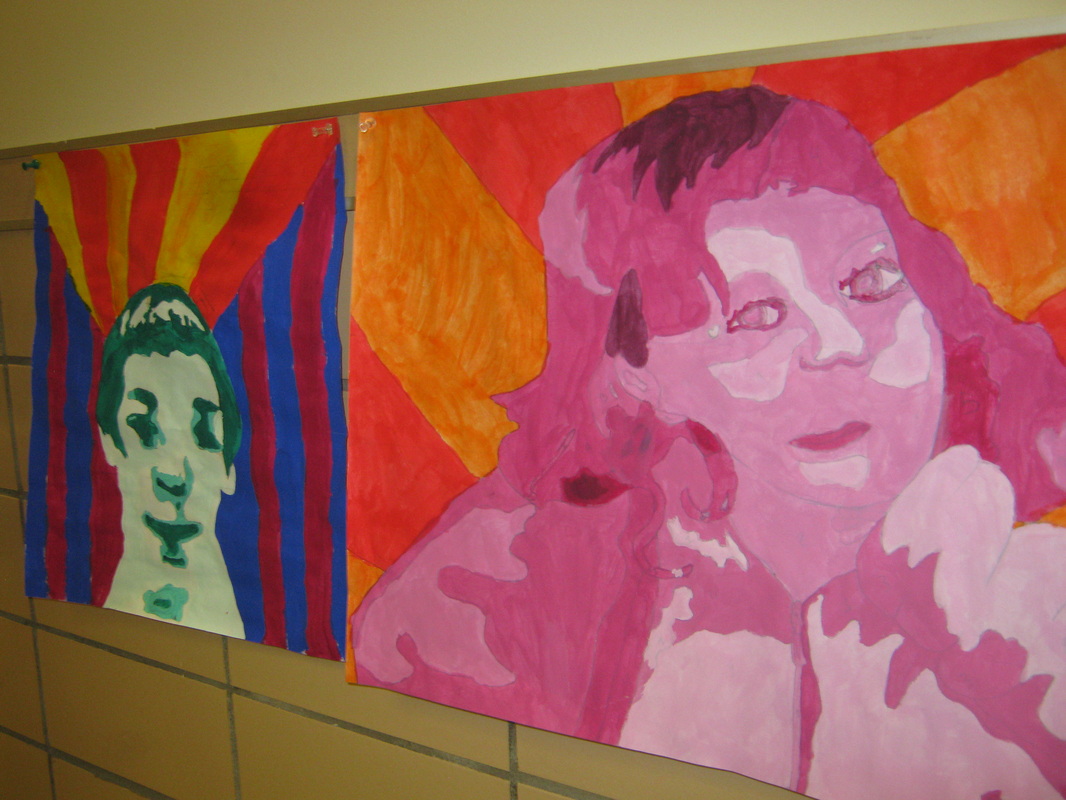
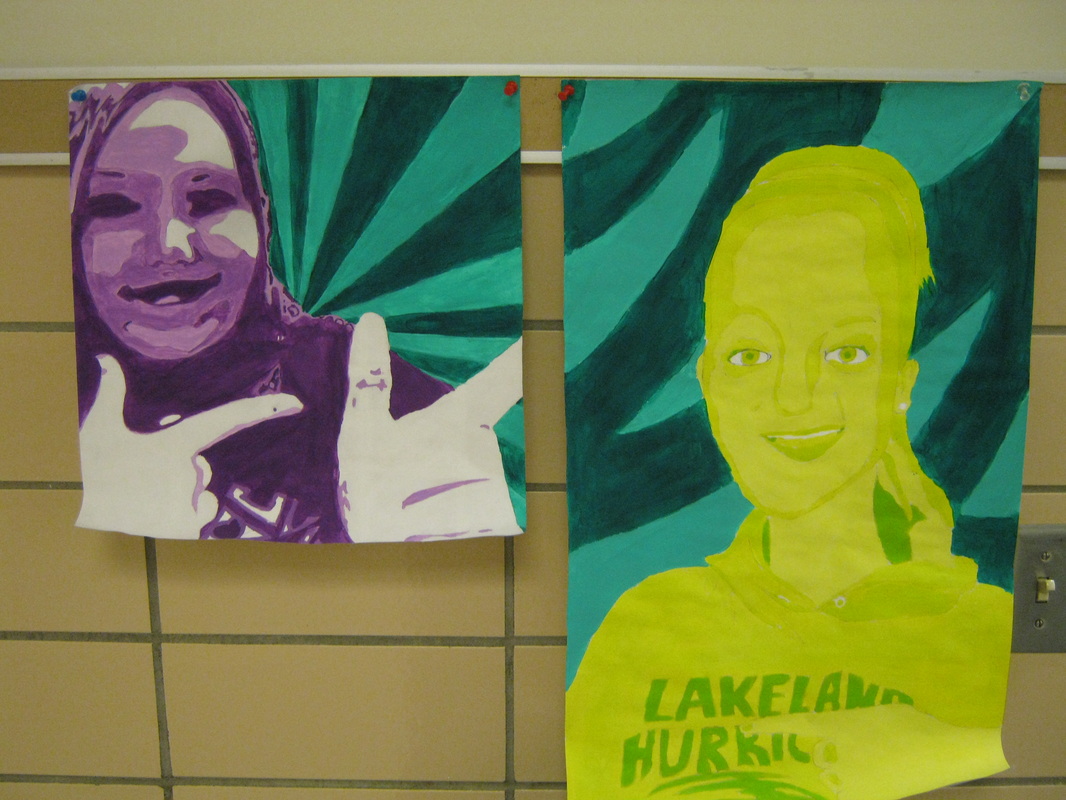
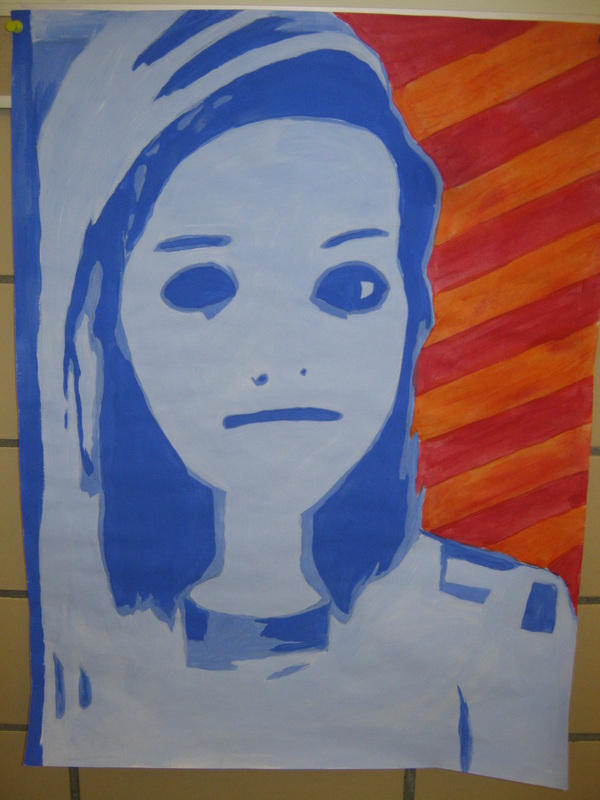
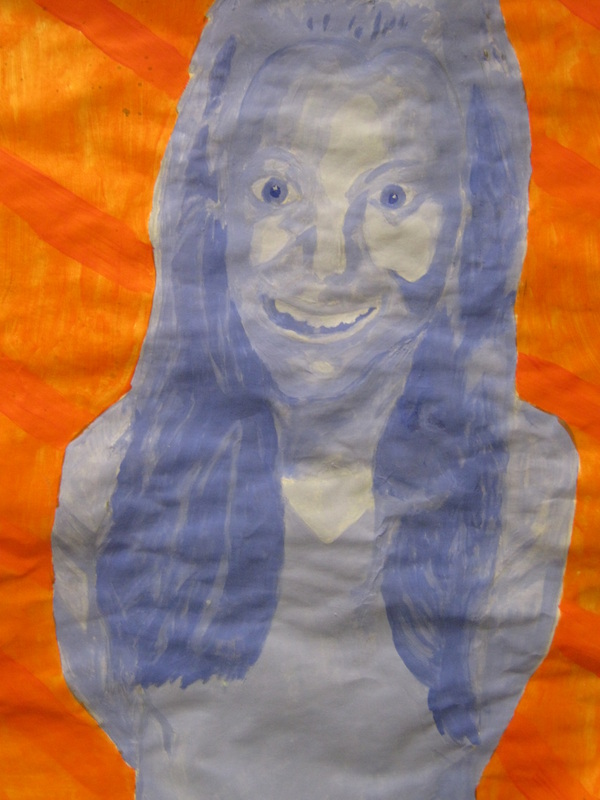
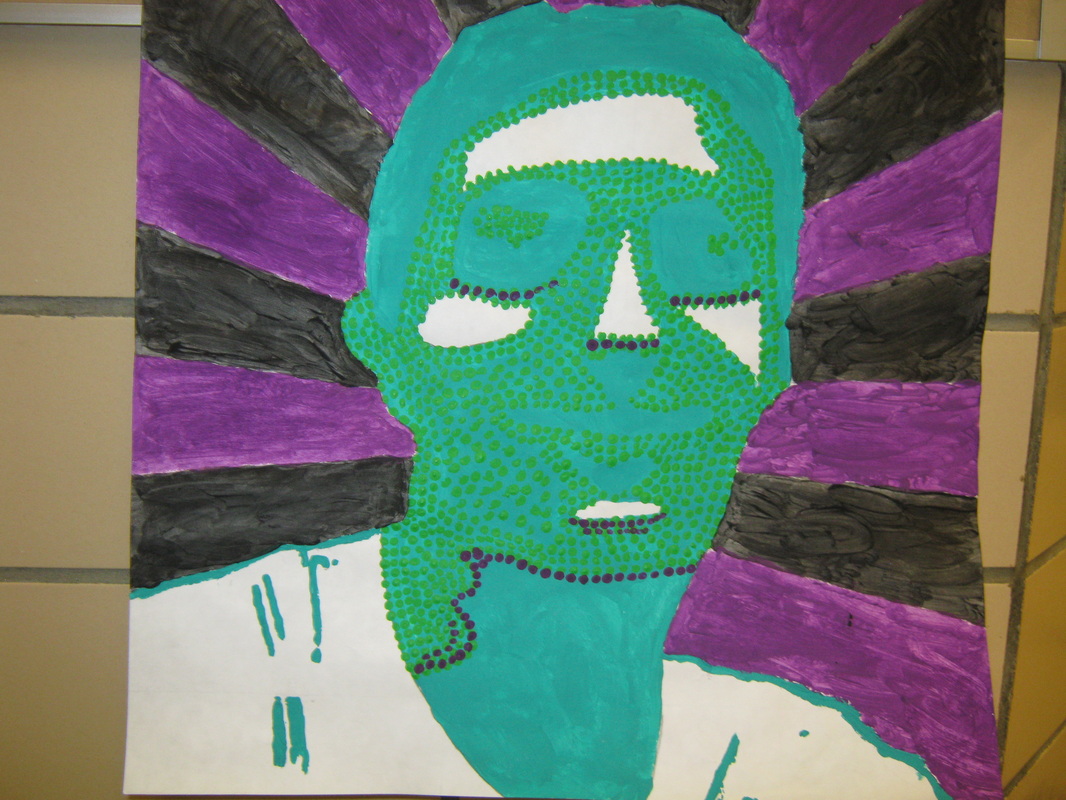
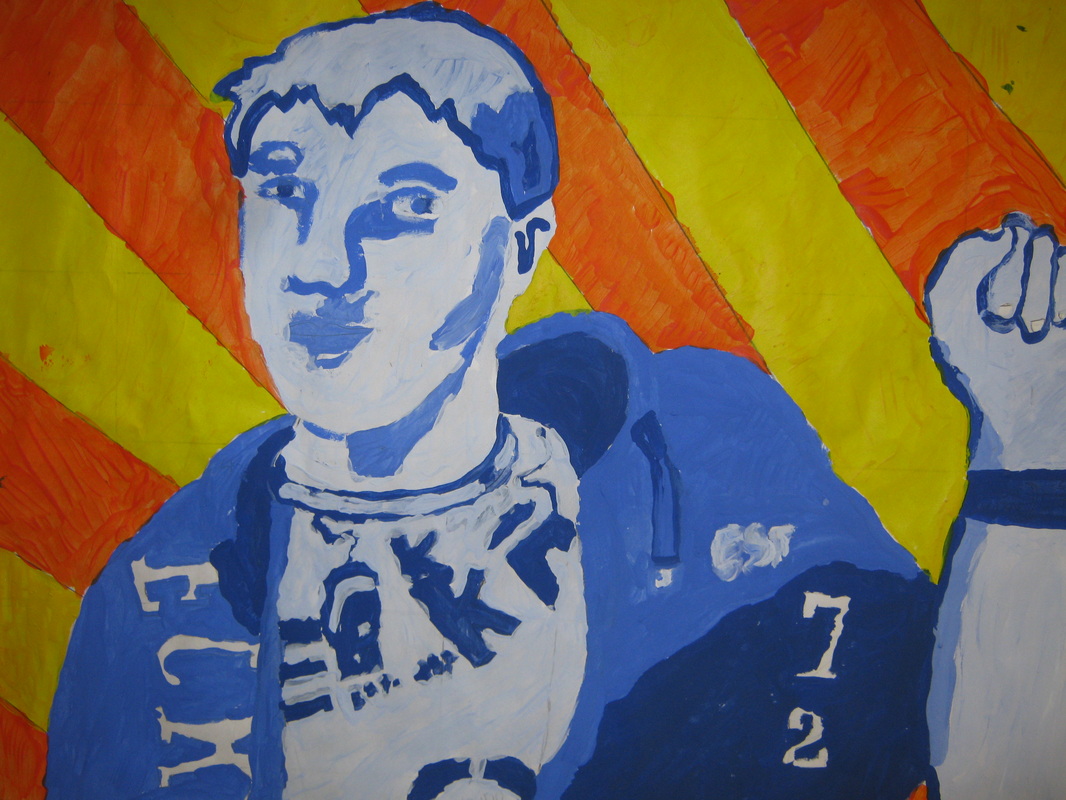
Chuck Close self-portrait
Students will use the website program www.picnik.com to create a posterized image of themselves. Using the grid method created and utilized by contemporary artist Chuck Close, students will create thier own posterized enlargement of themselves.
                                |
| ||||
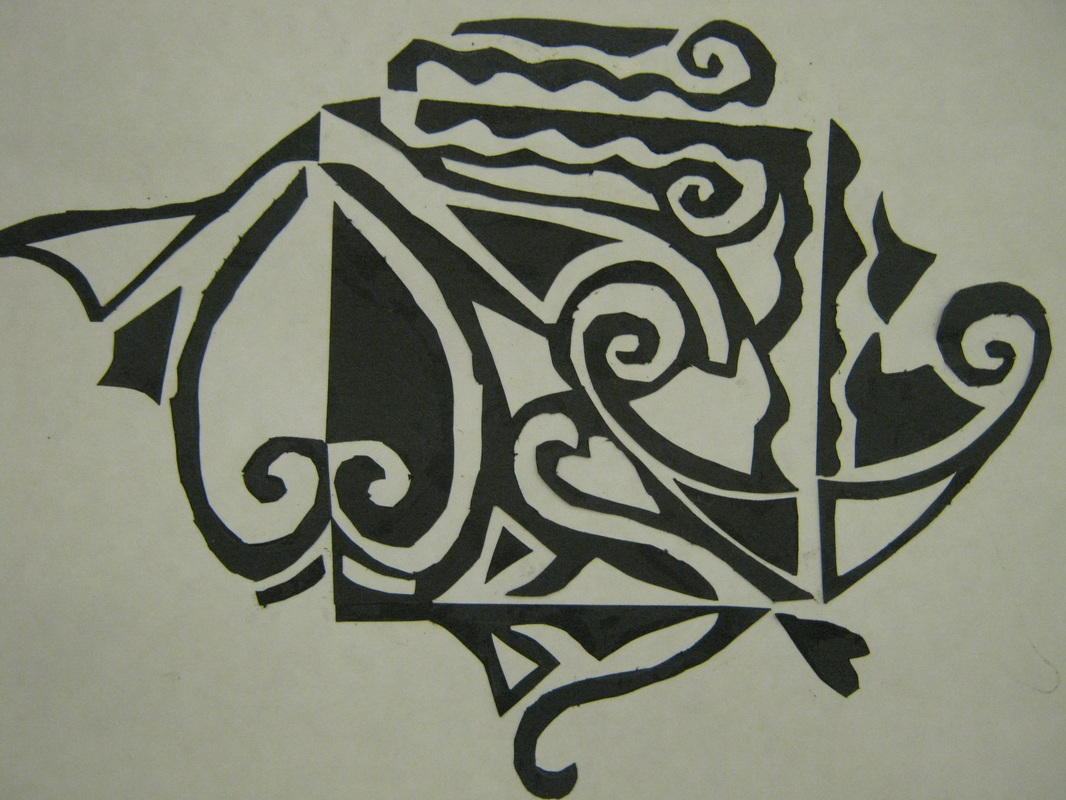
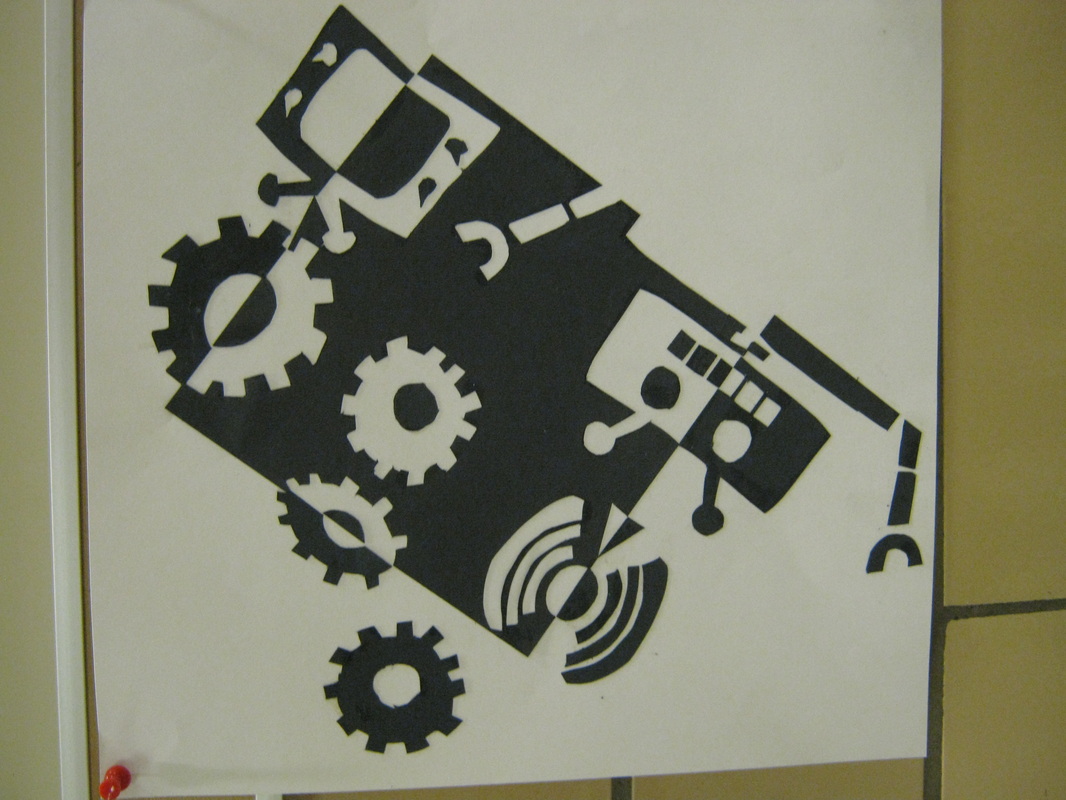
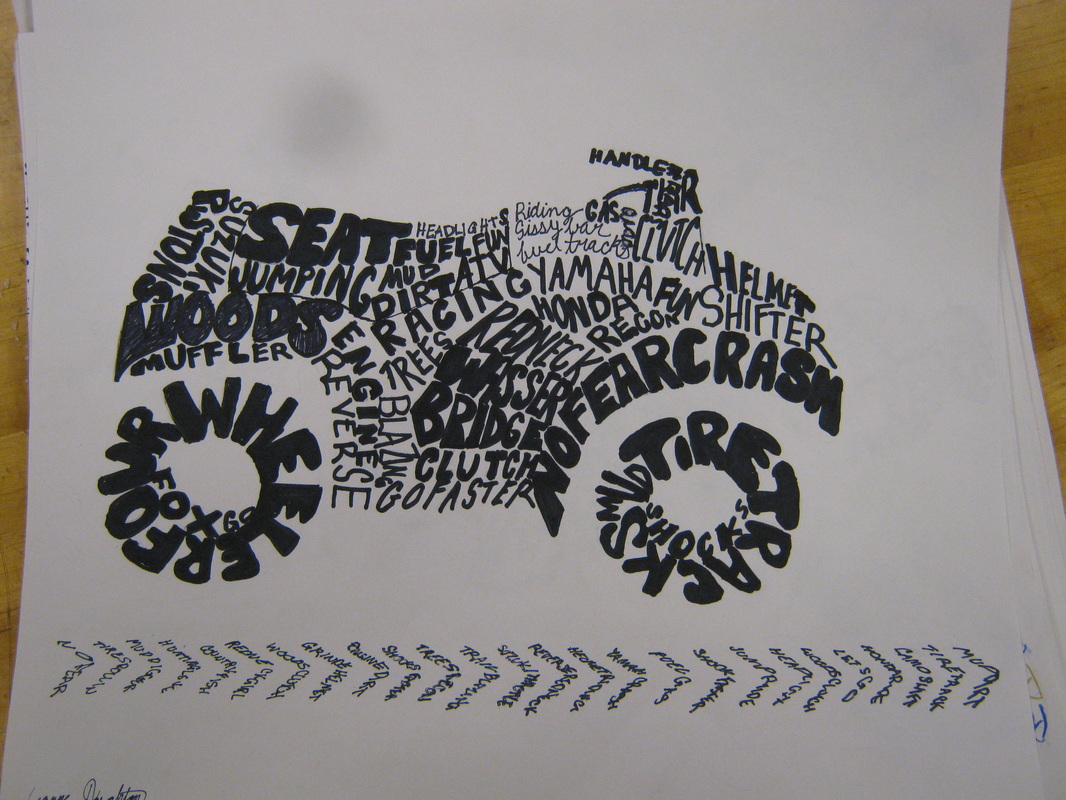
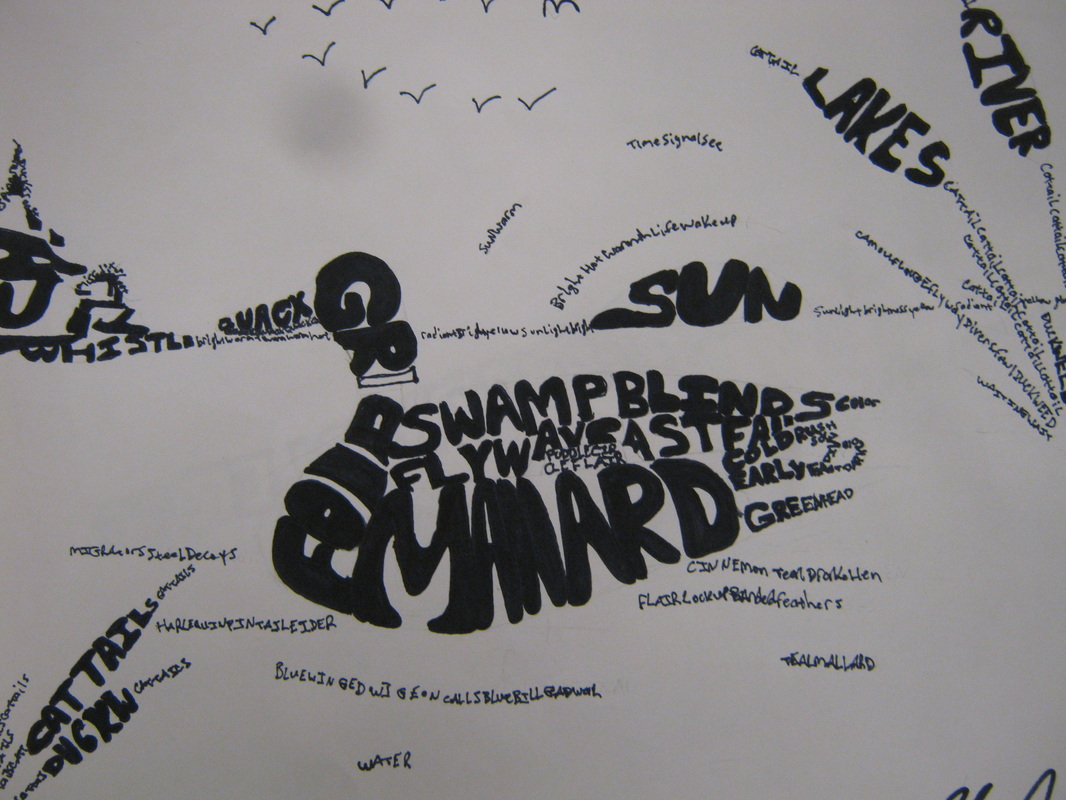
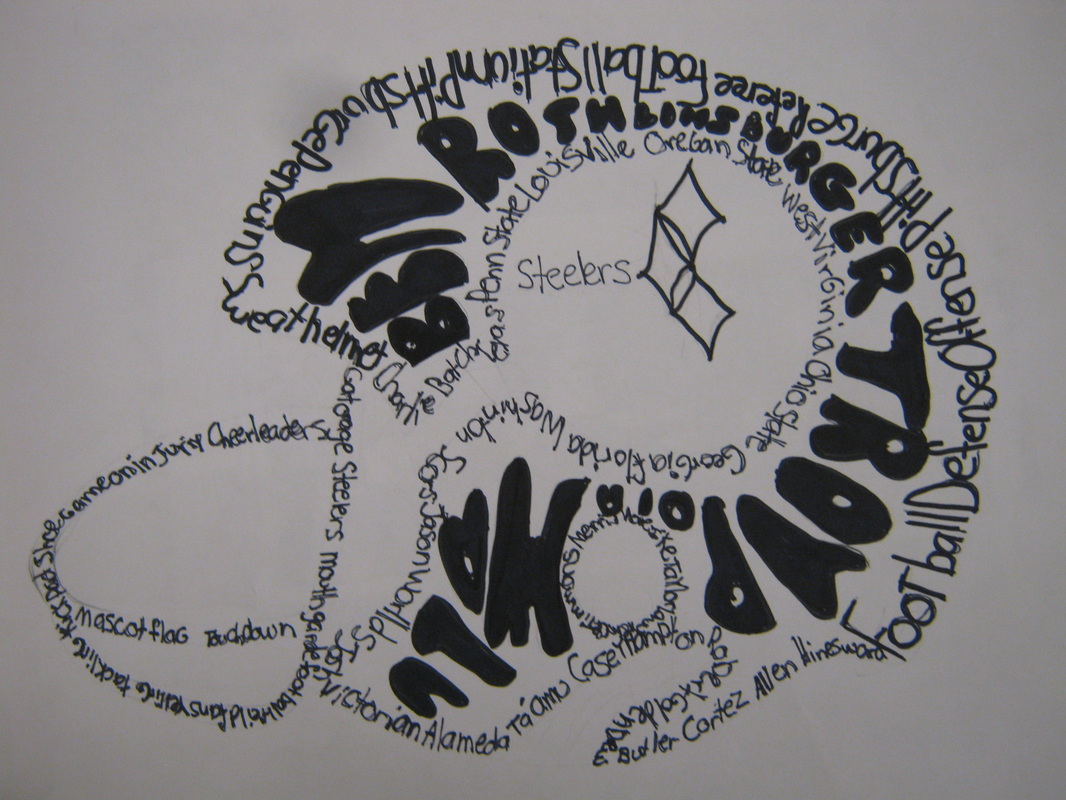
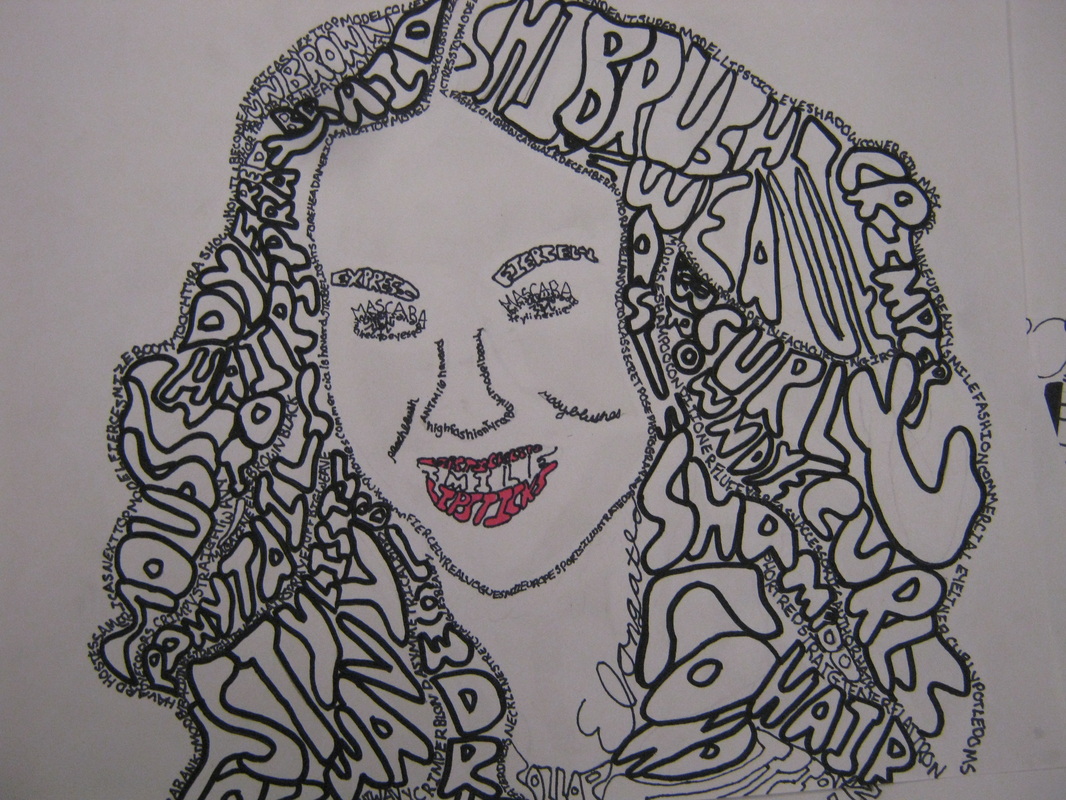
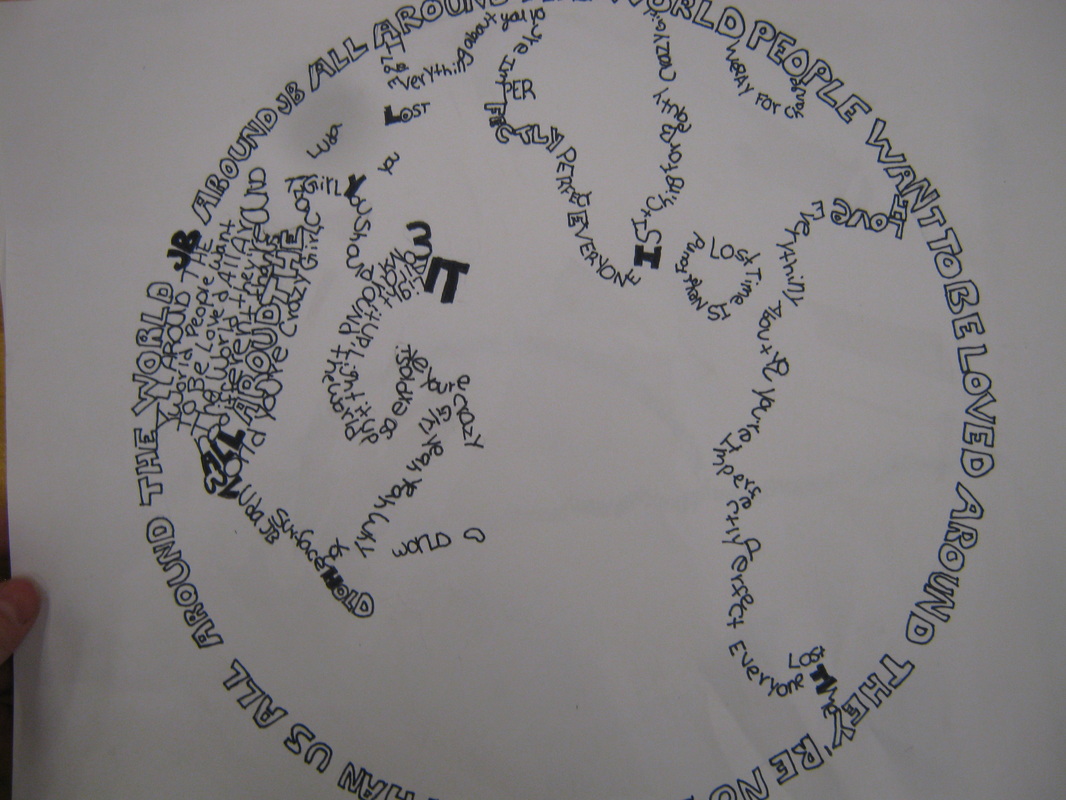
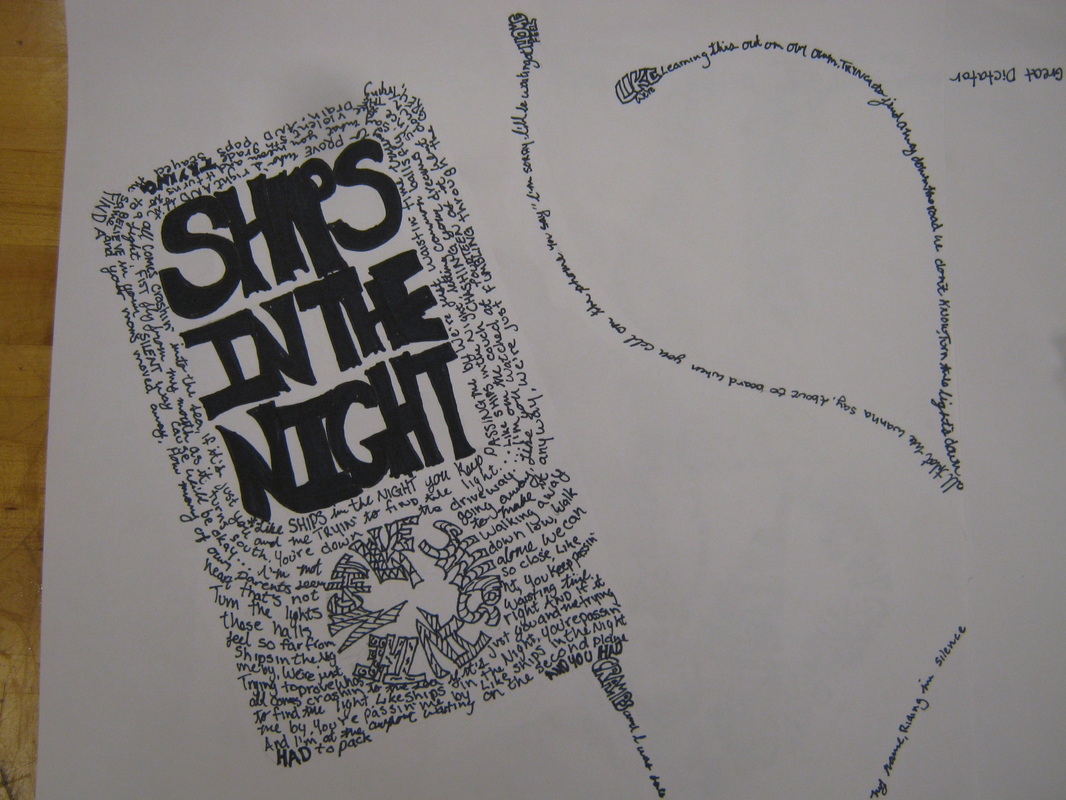
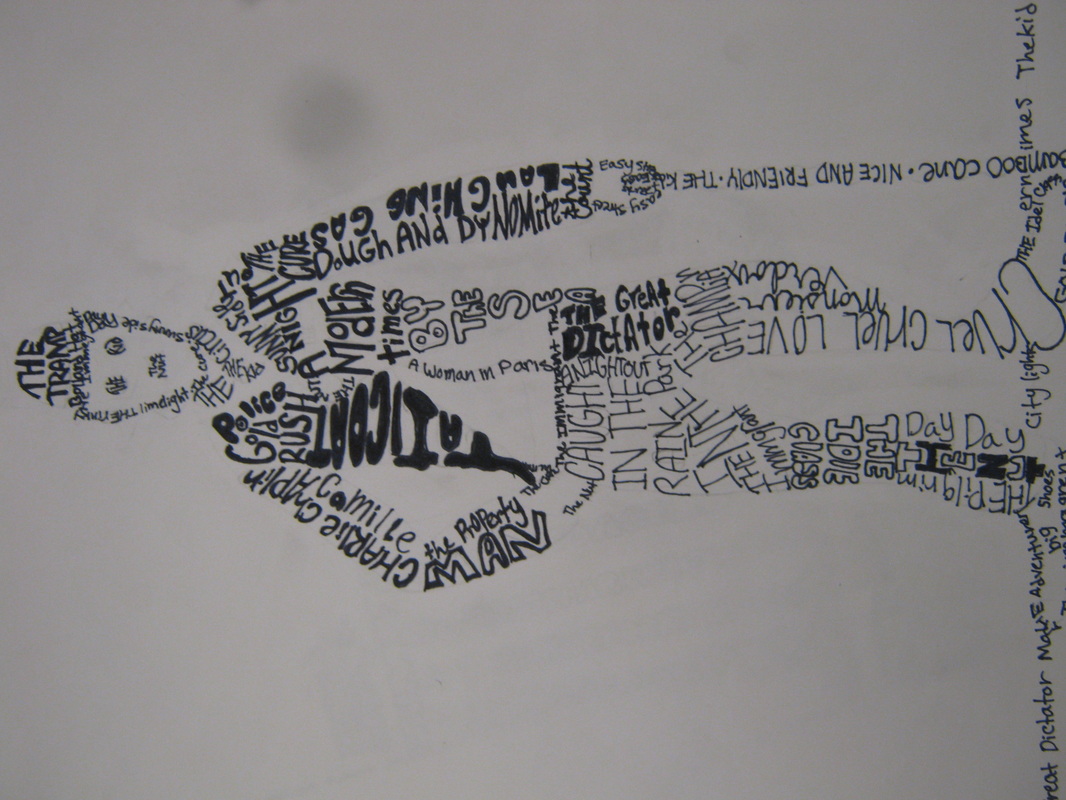
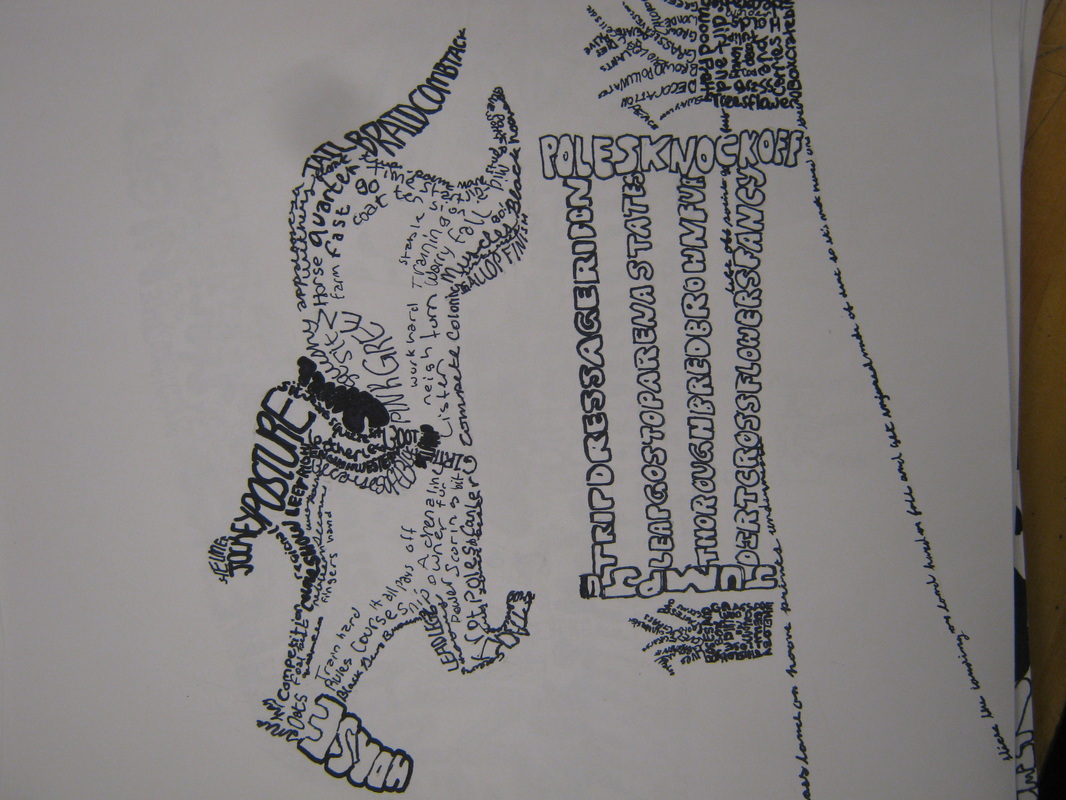
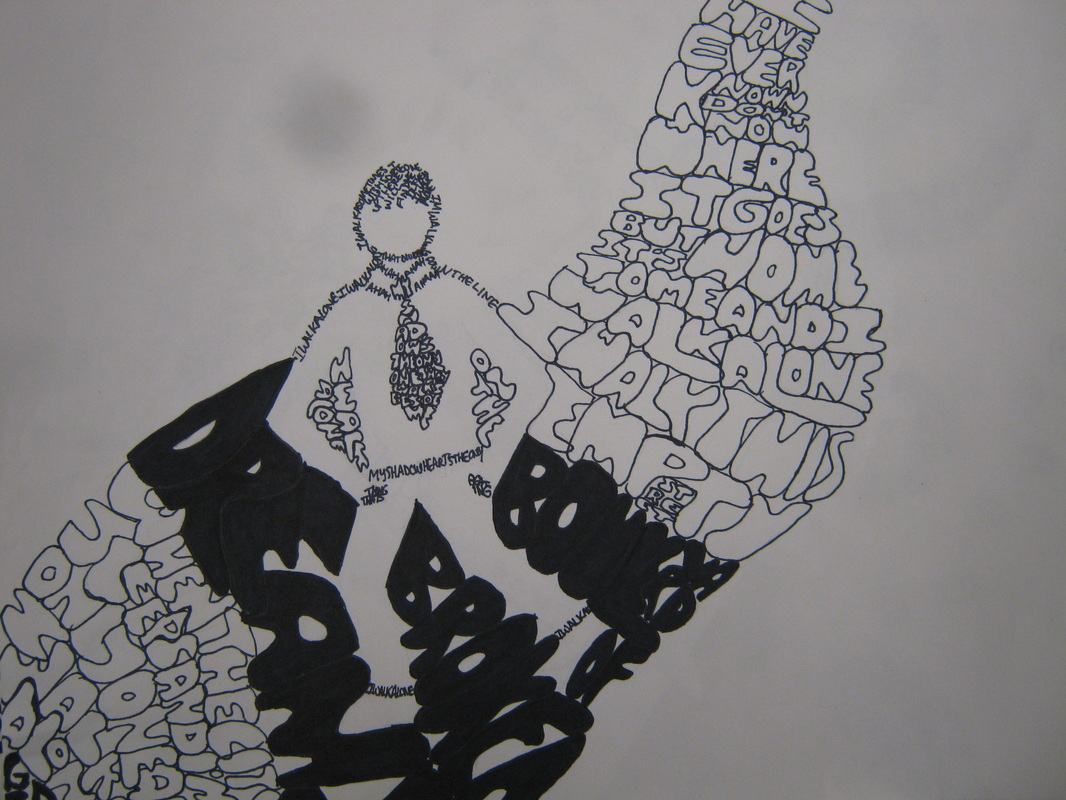
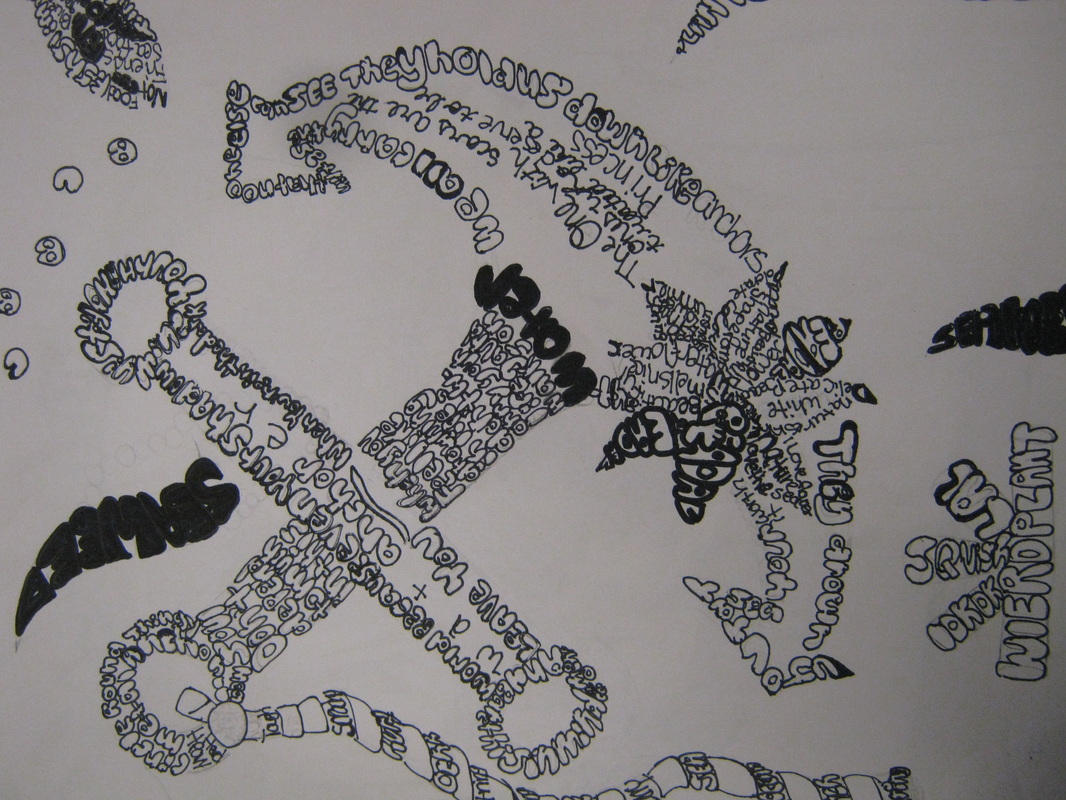
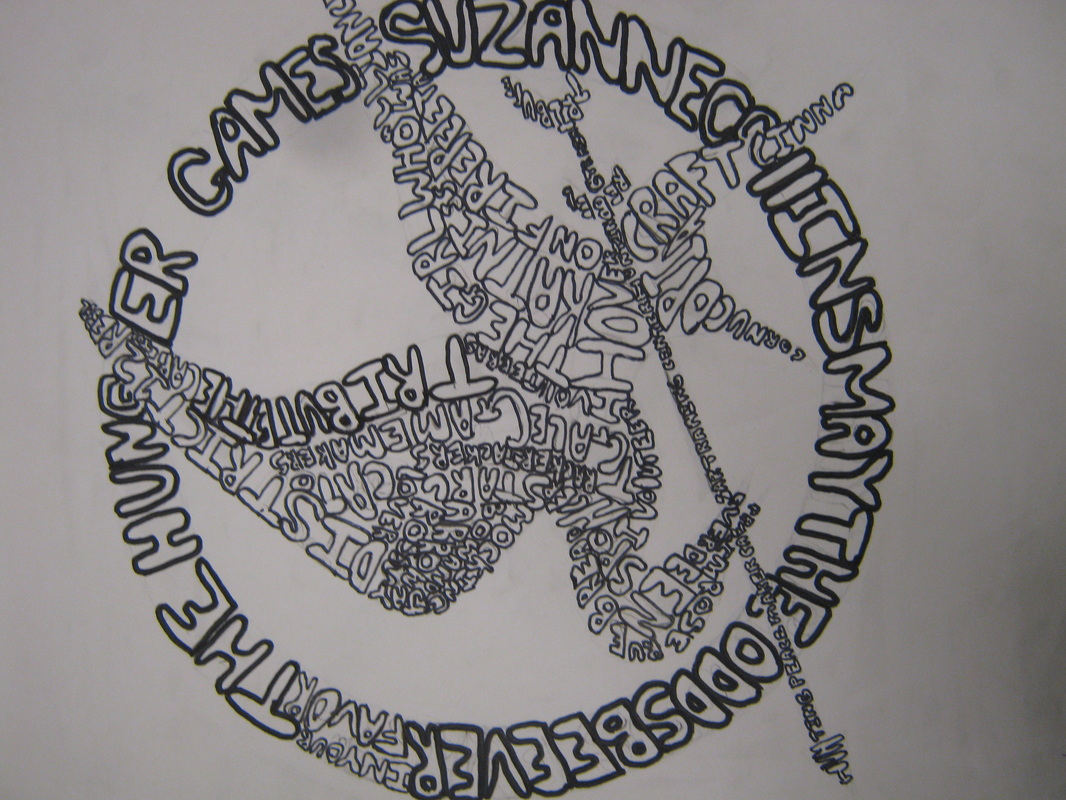
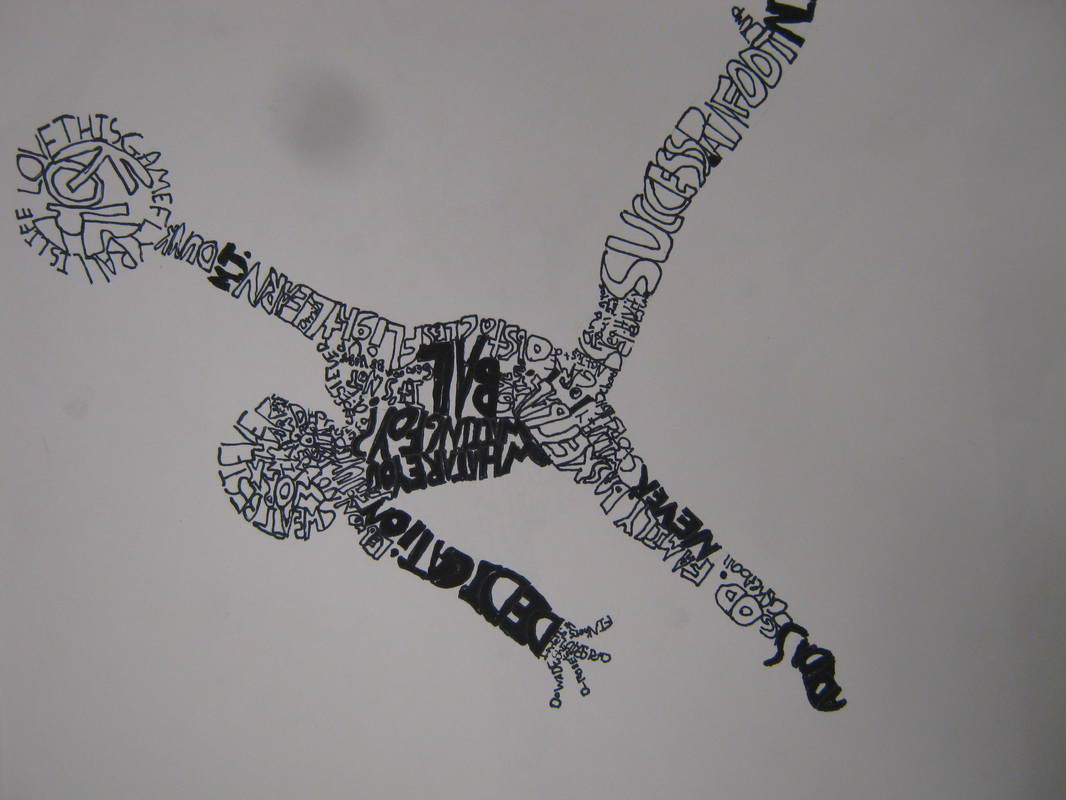
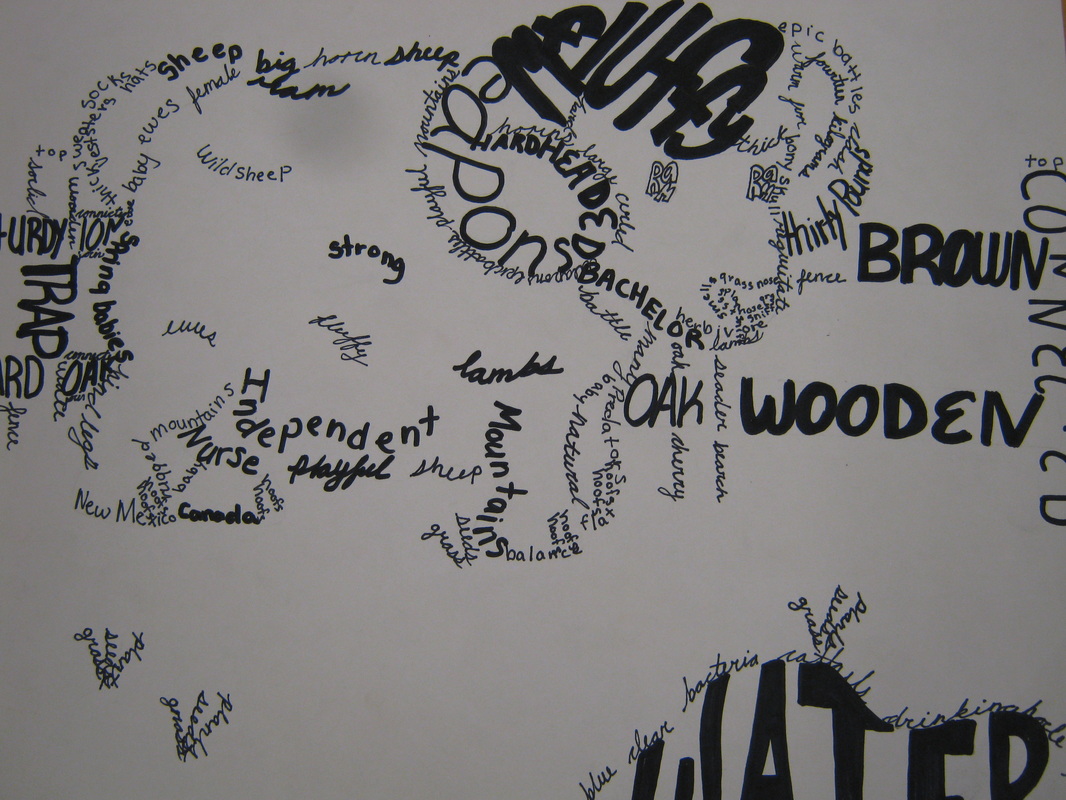
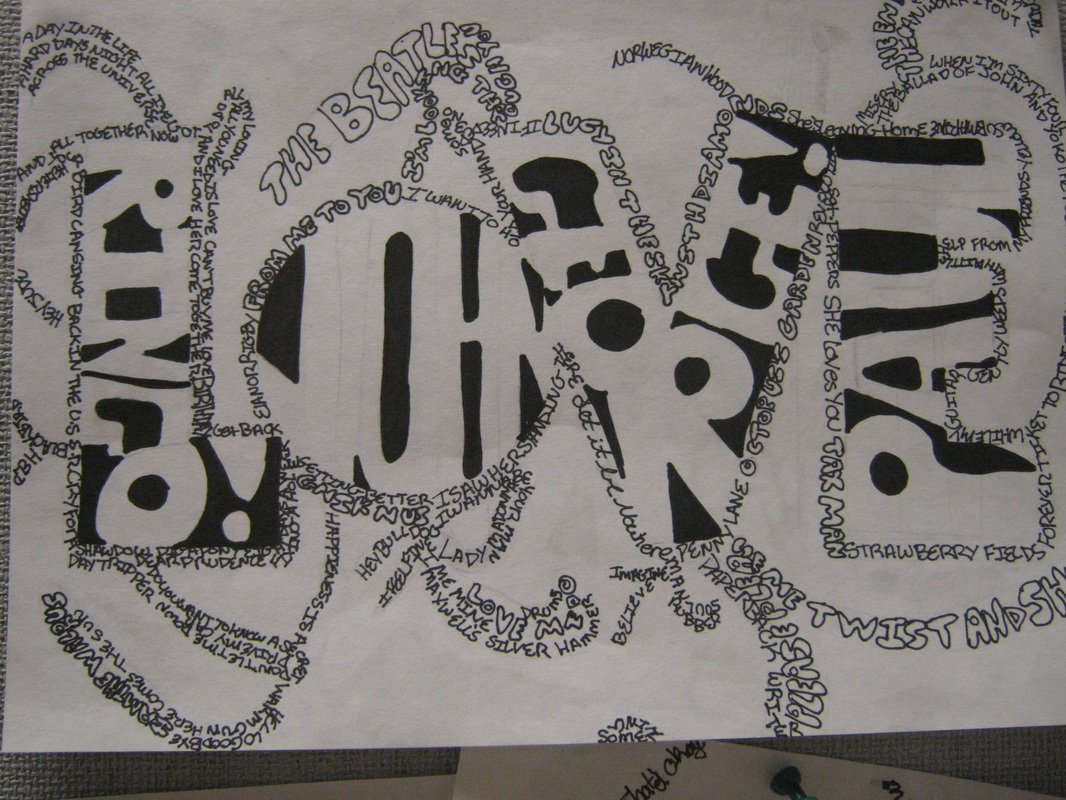
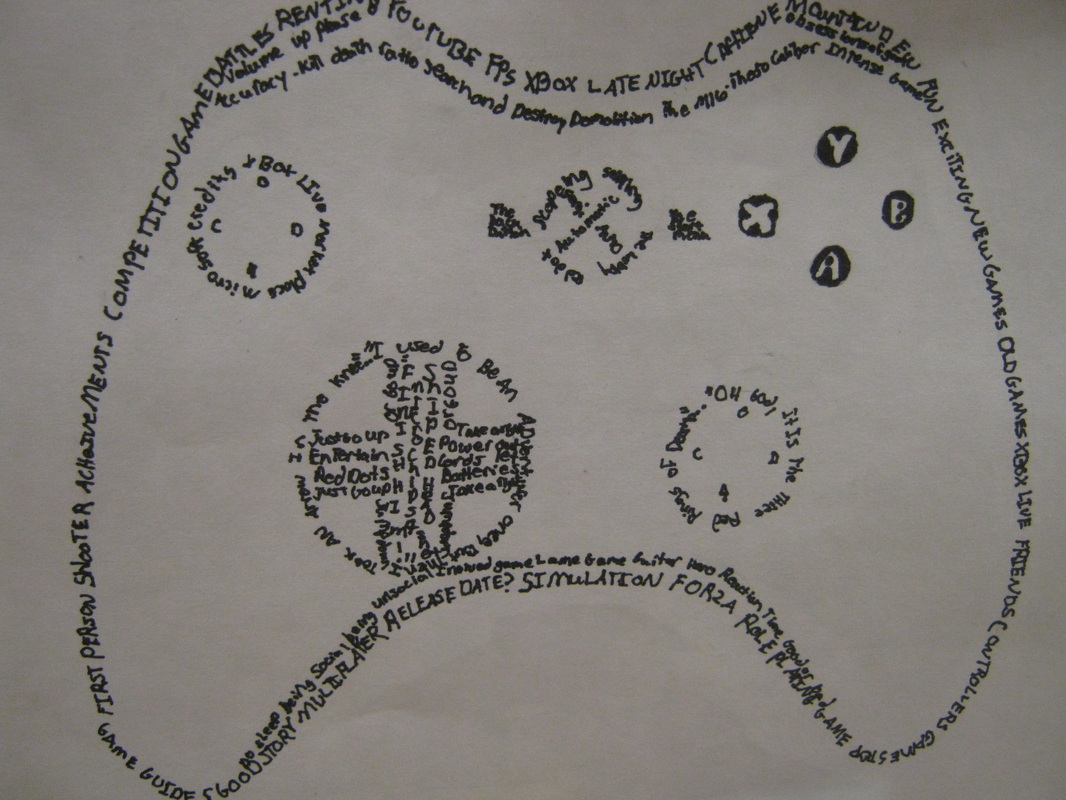
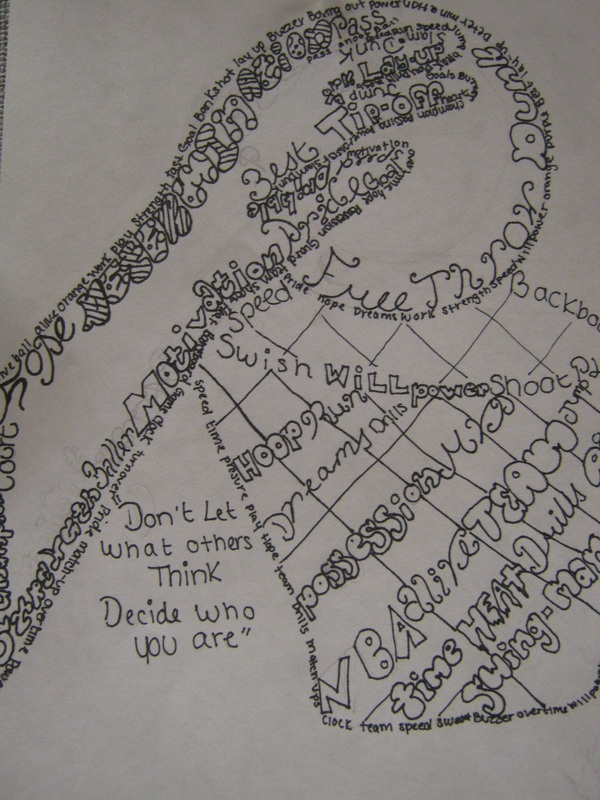
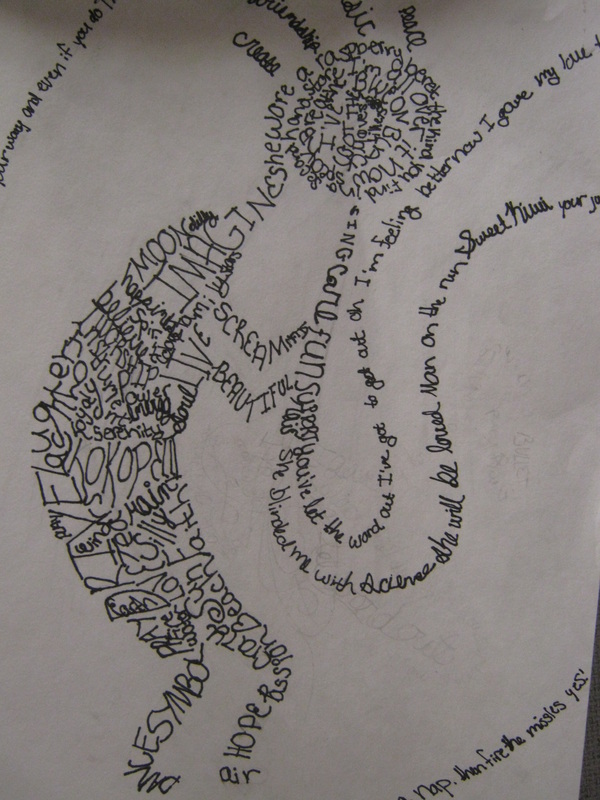
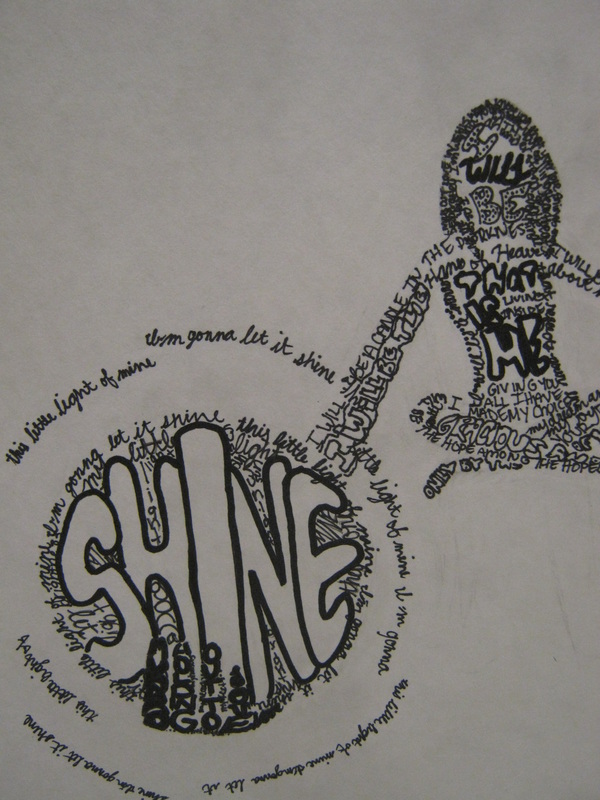
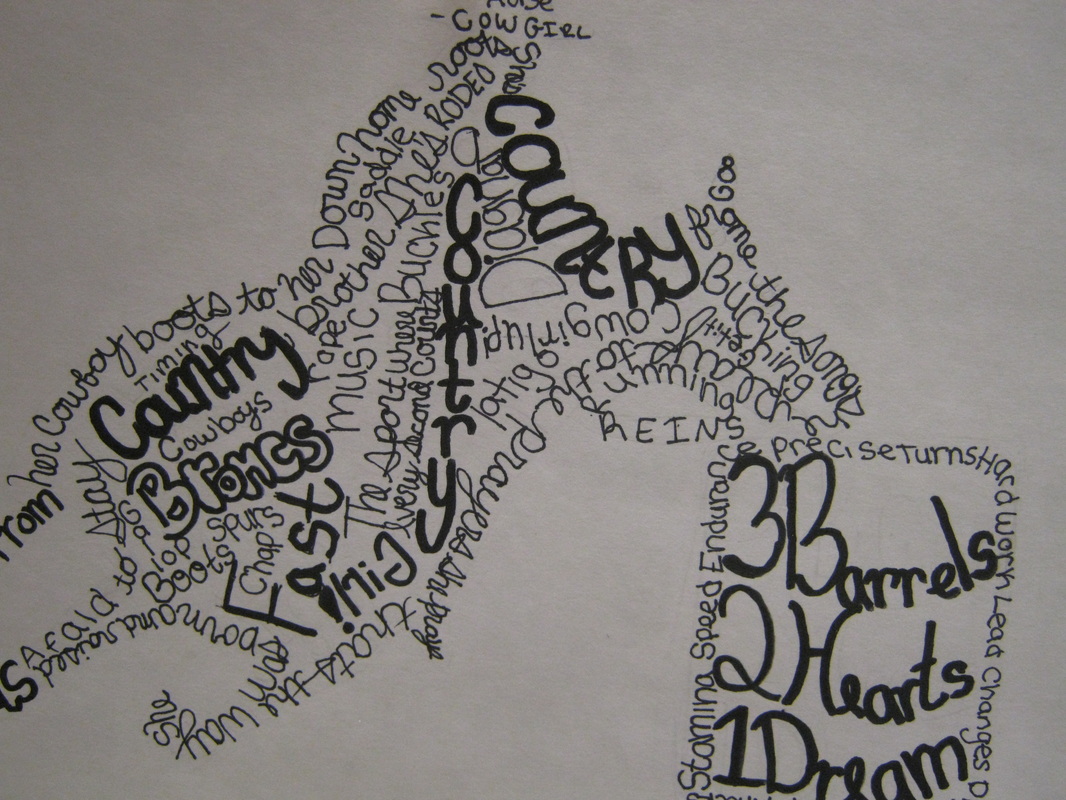
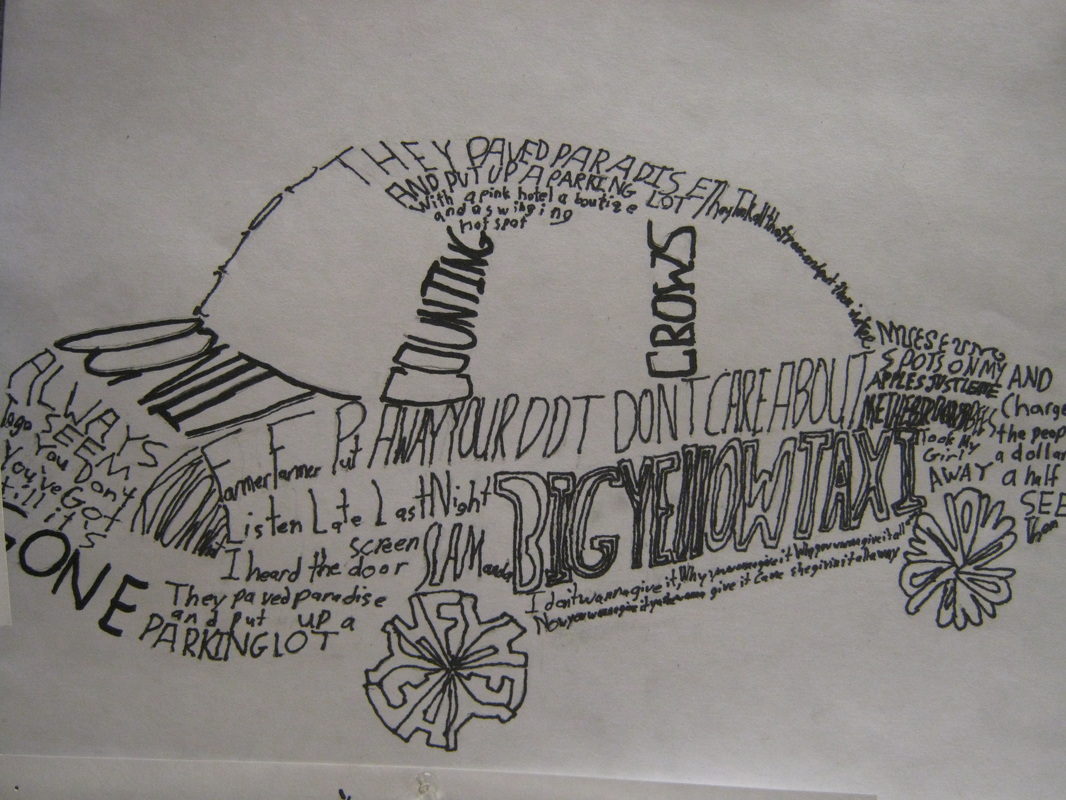
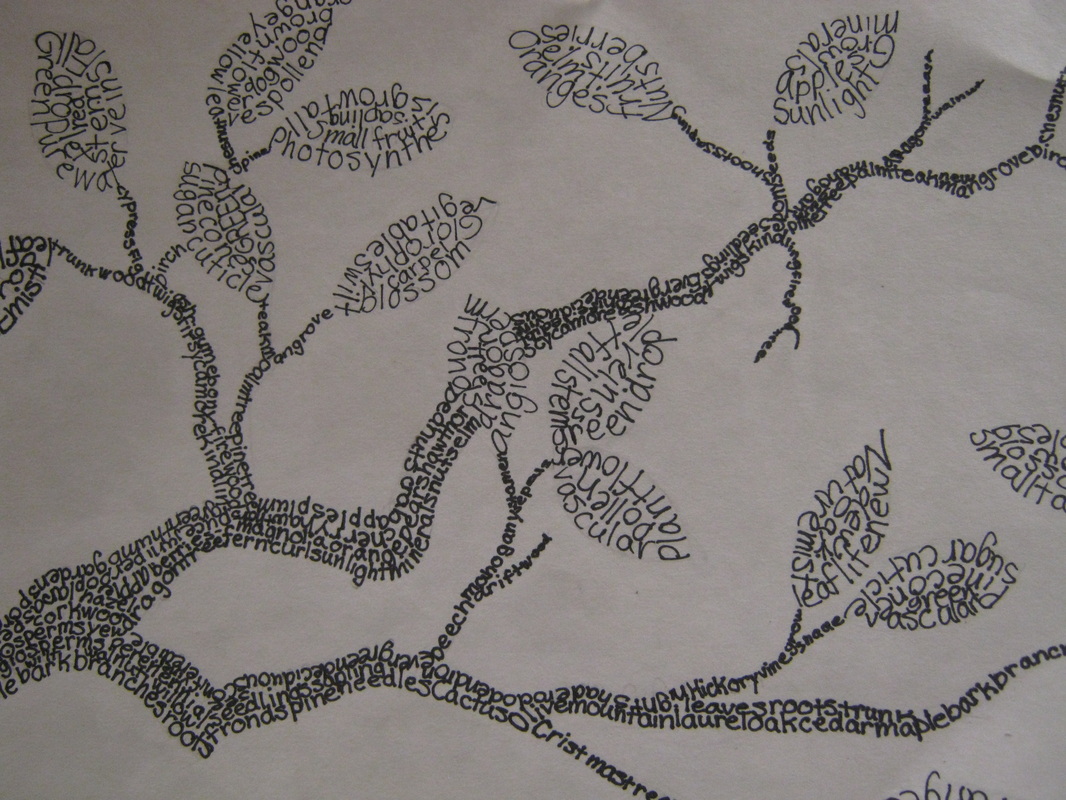
Calligram
Students will create a calligram, an illustration created from text. Students will use thier skills from drawing contour line, adding value with marker, and using thier imagination.
                   |
             | ||
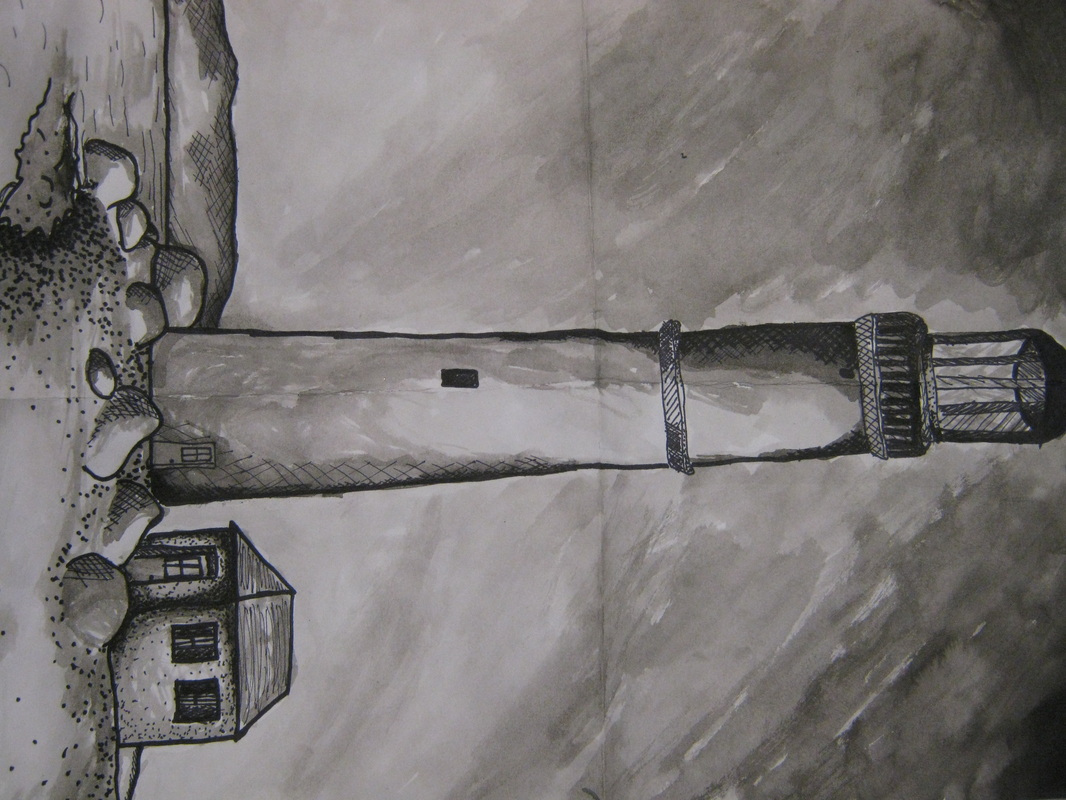
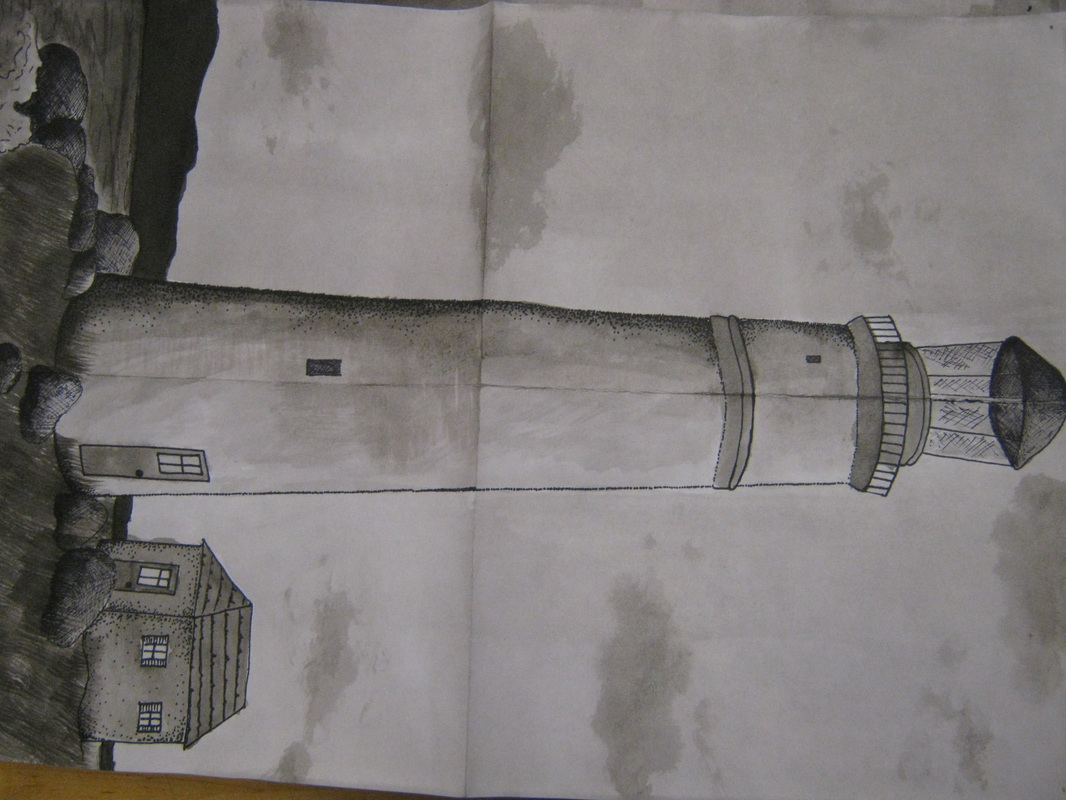
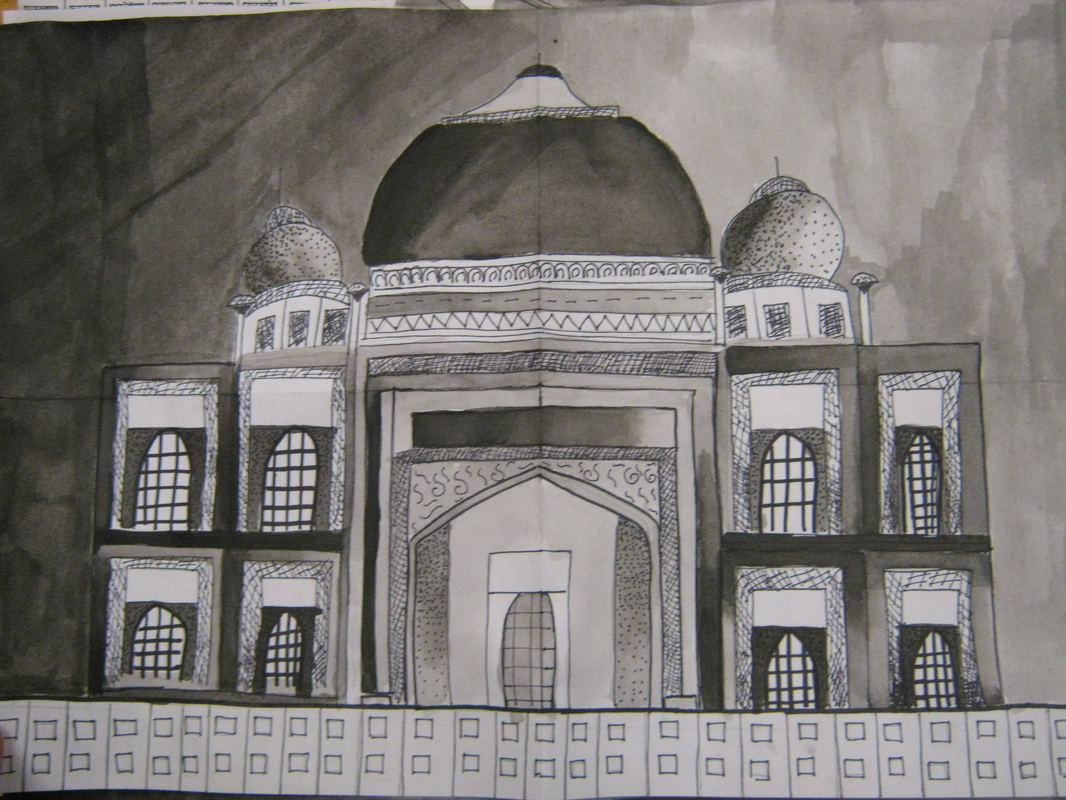
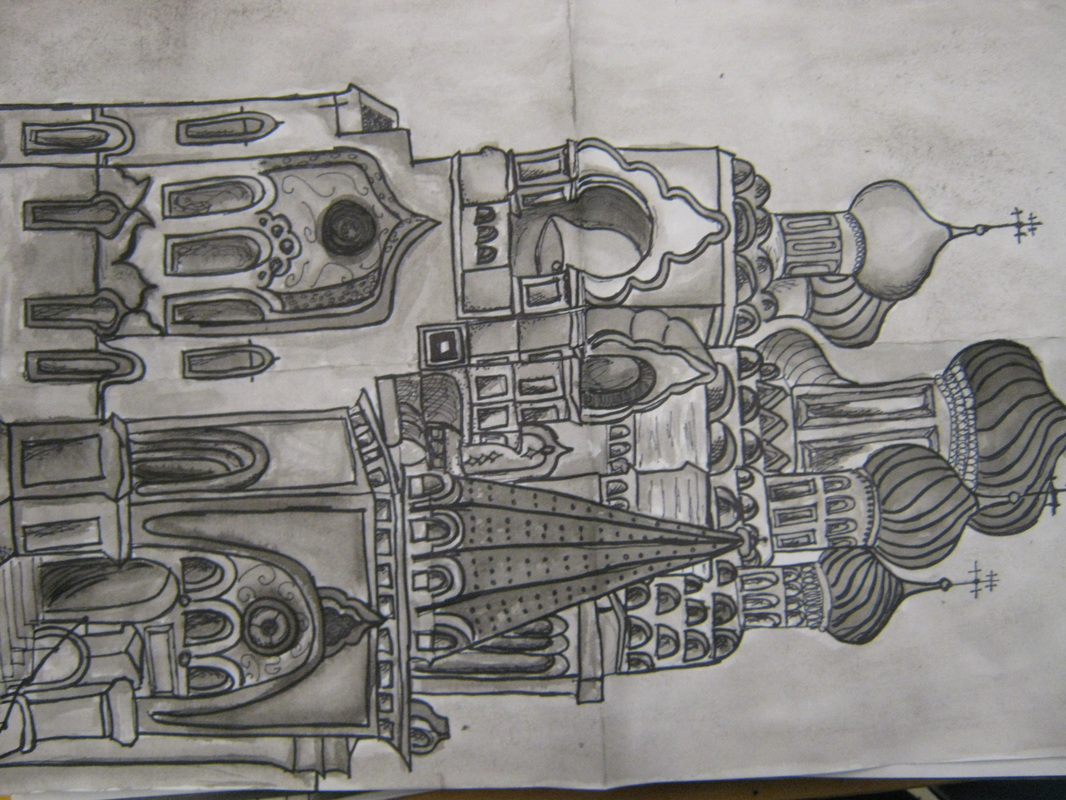
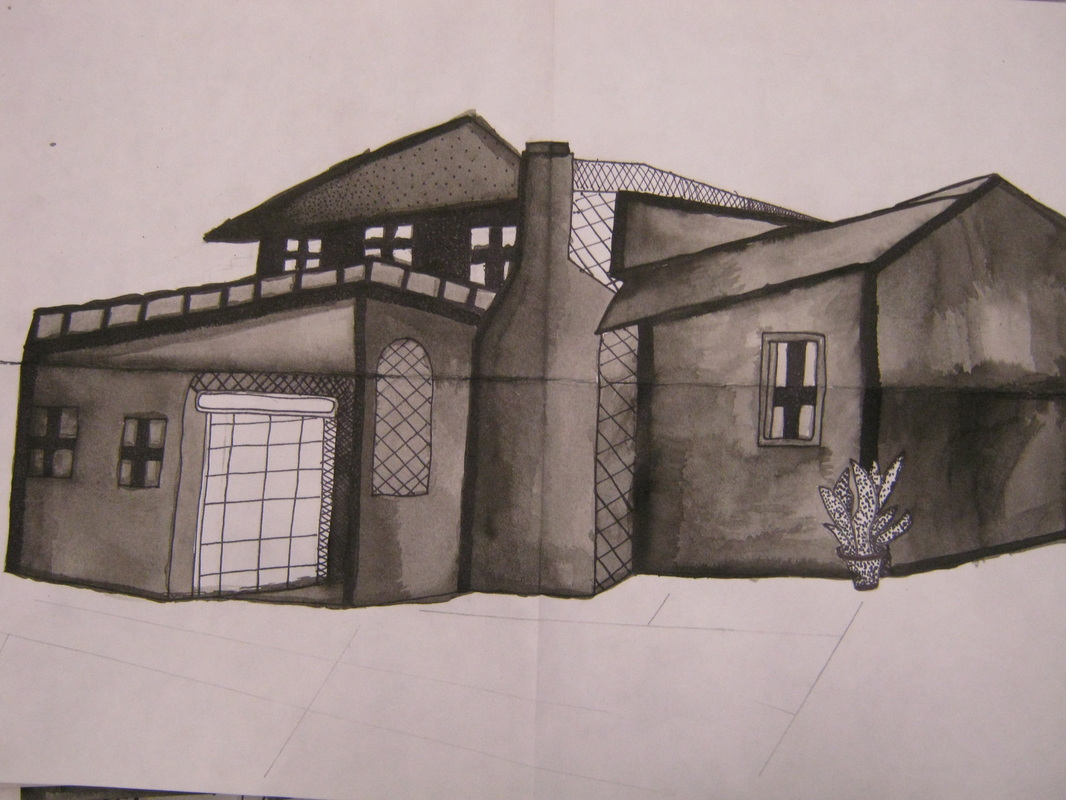
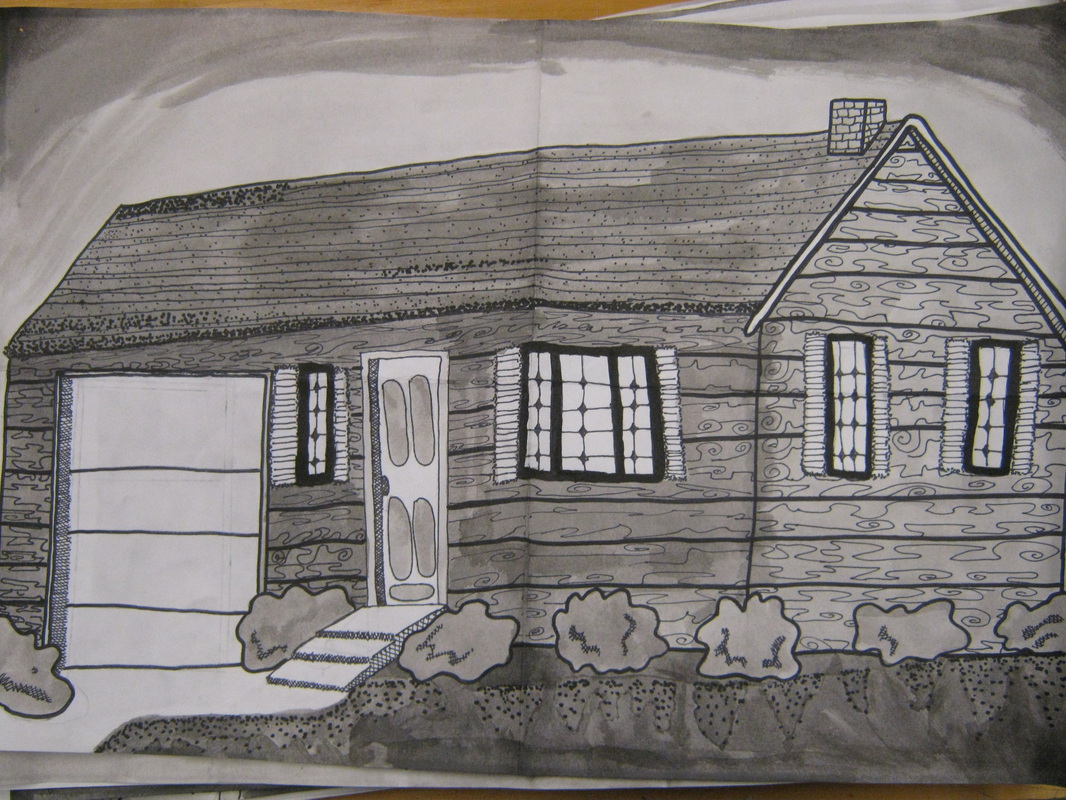
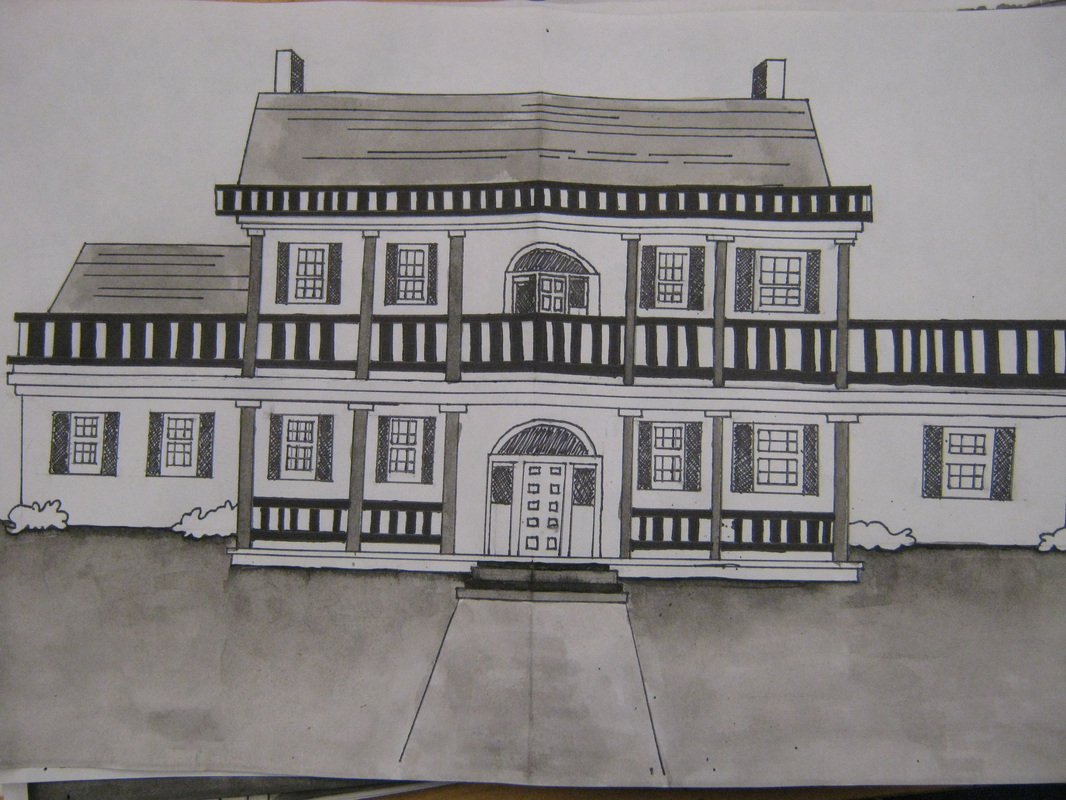
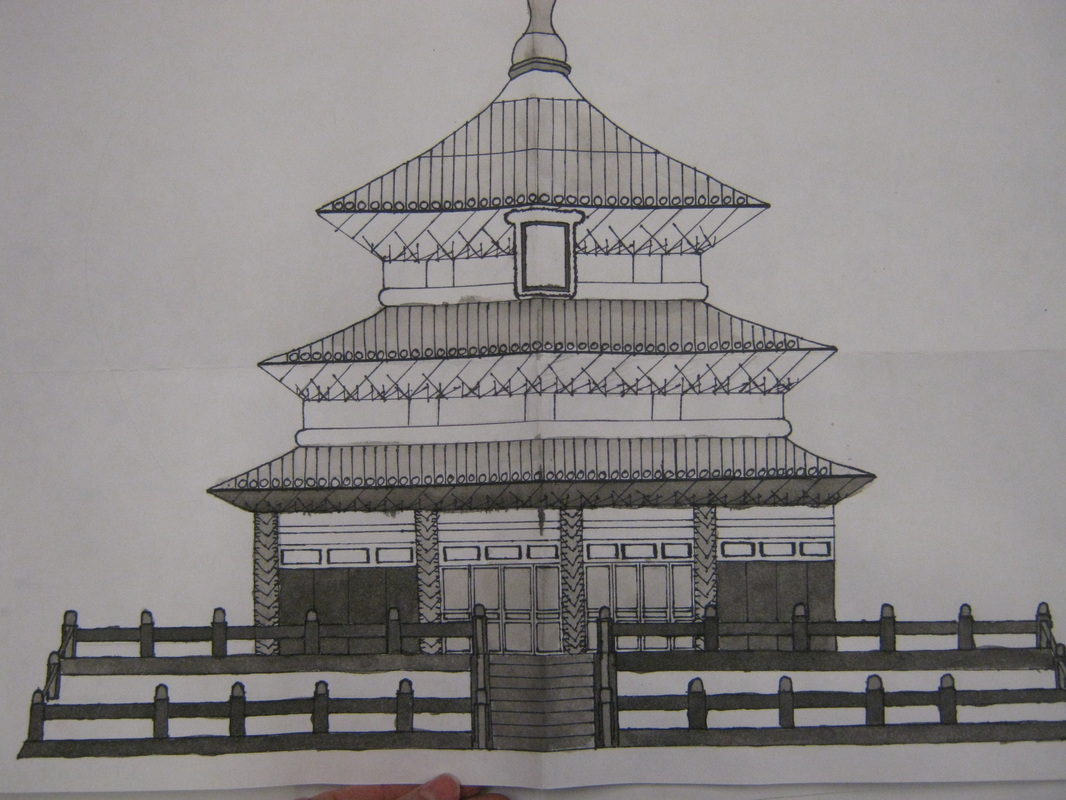
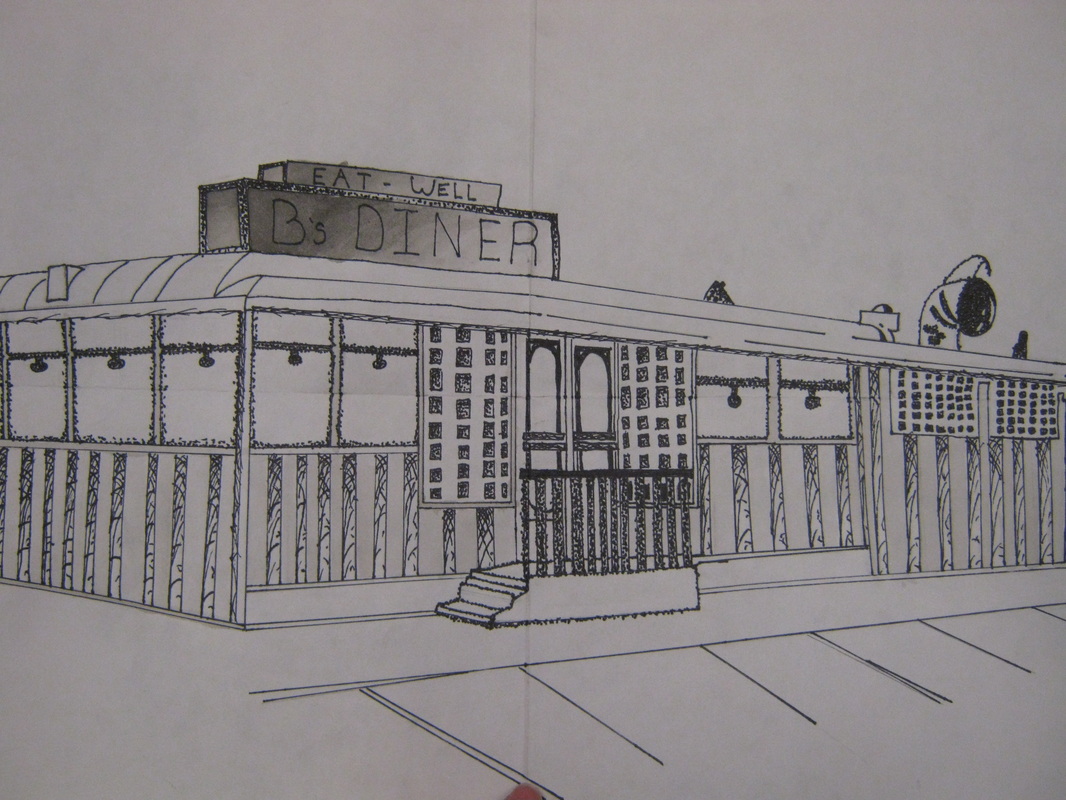
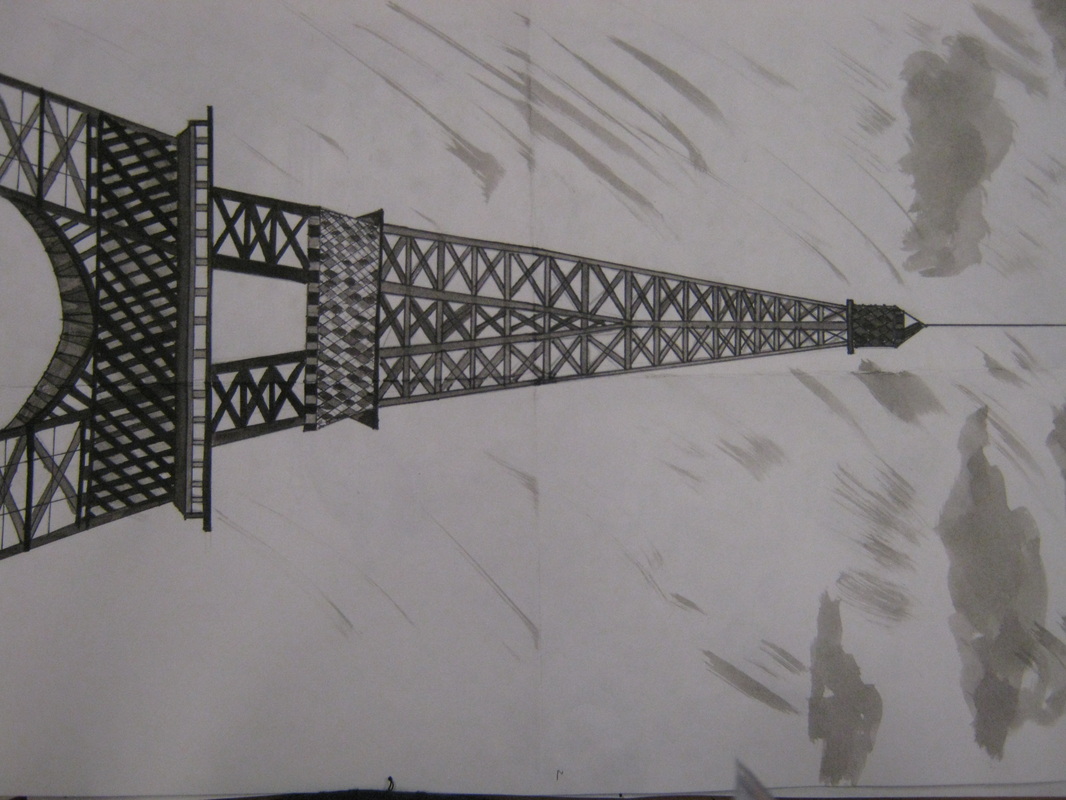
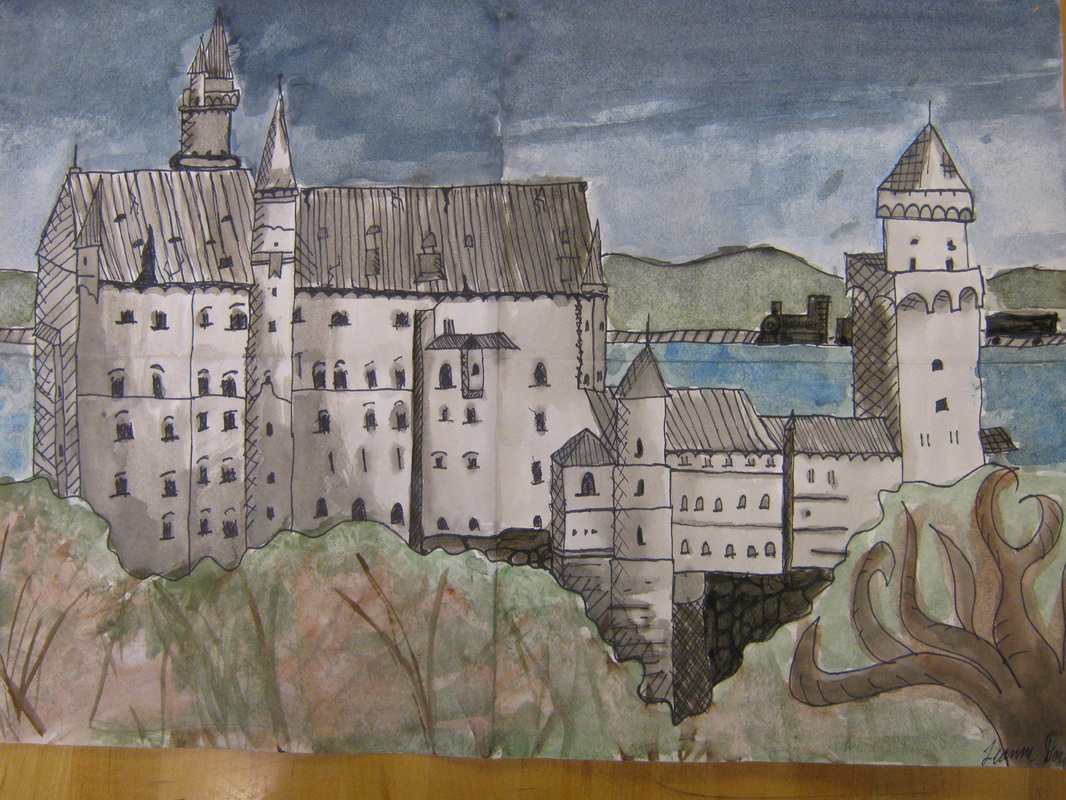
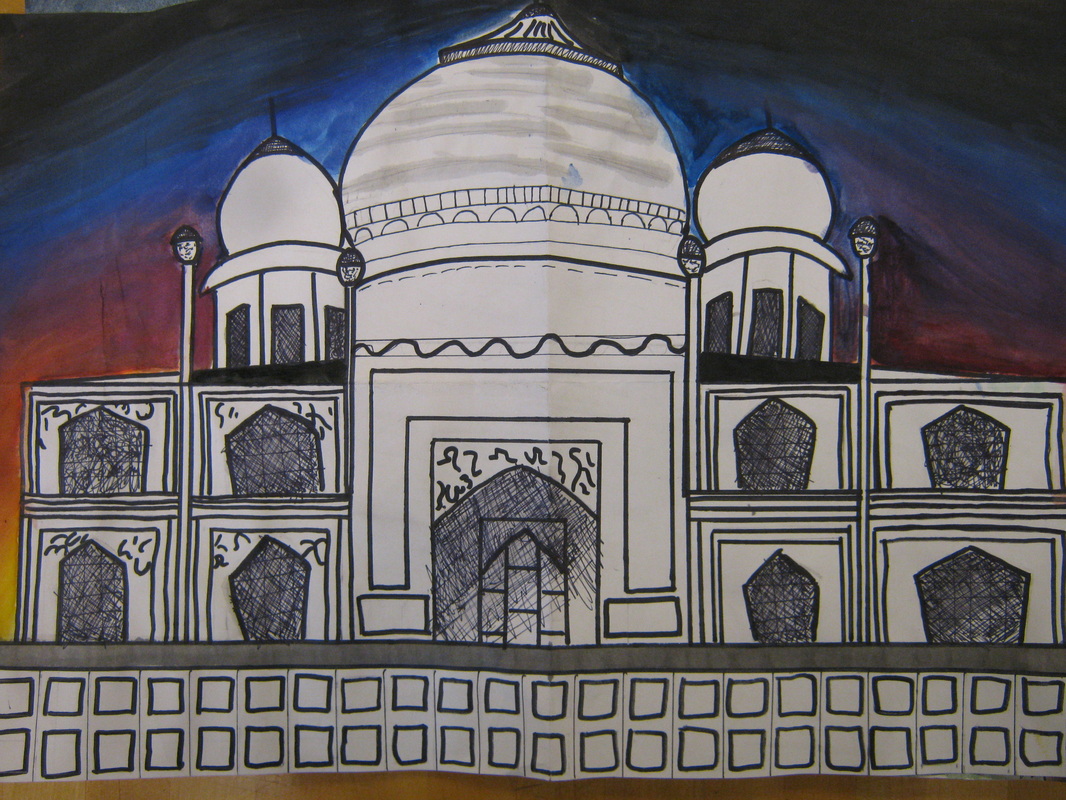
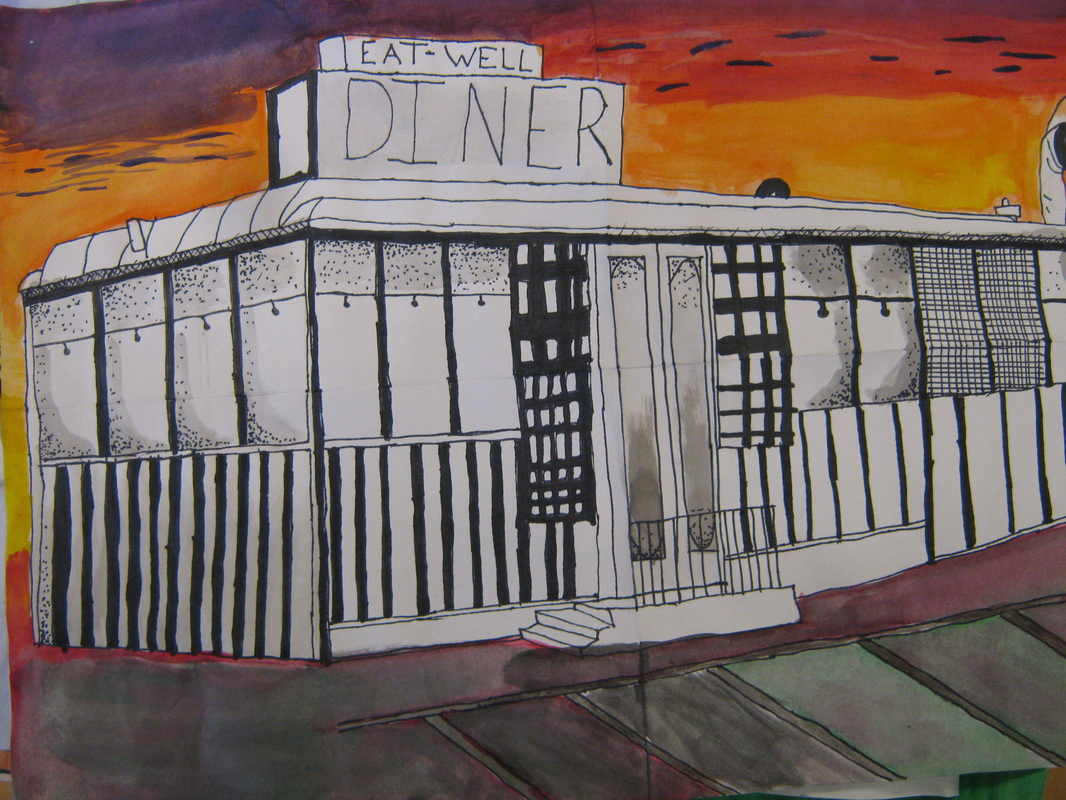
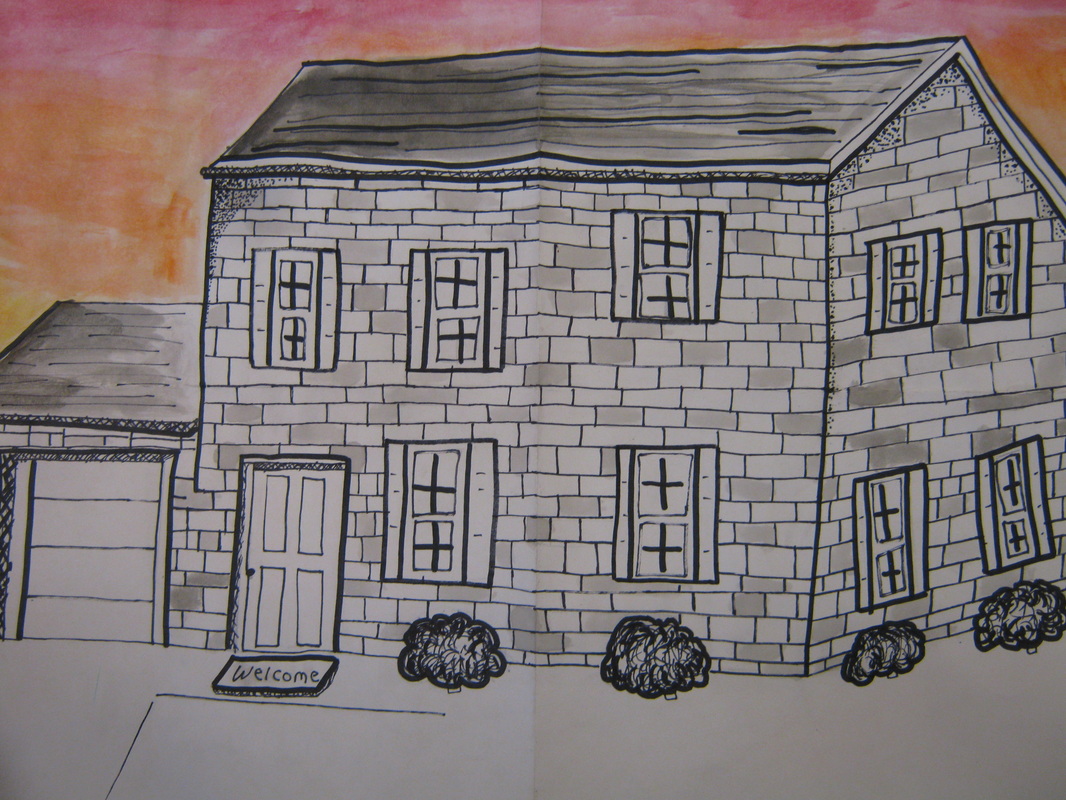
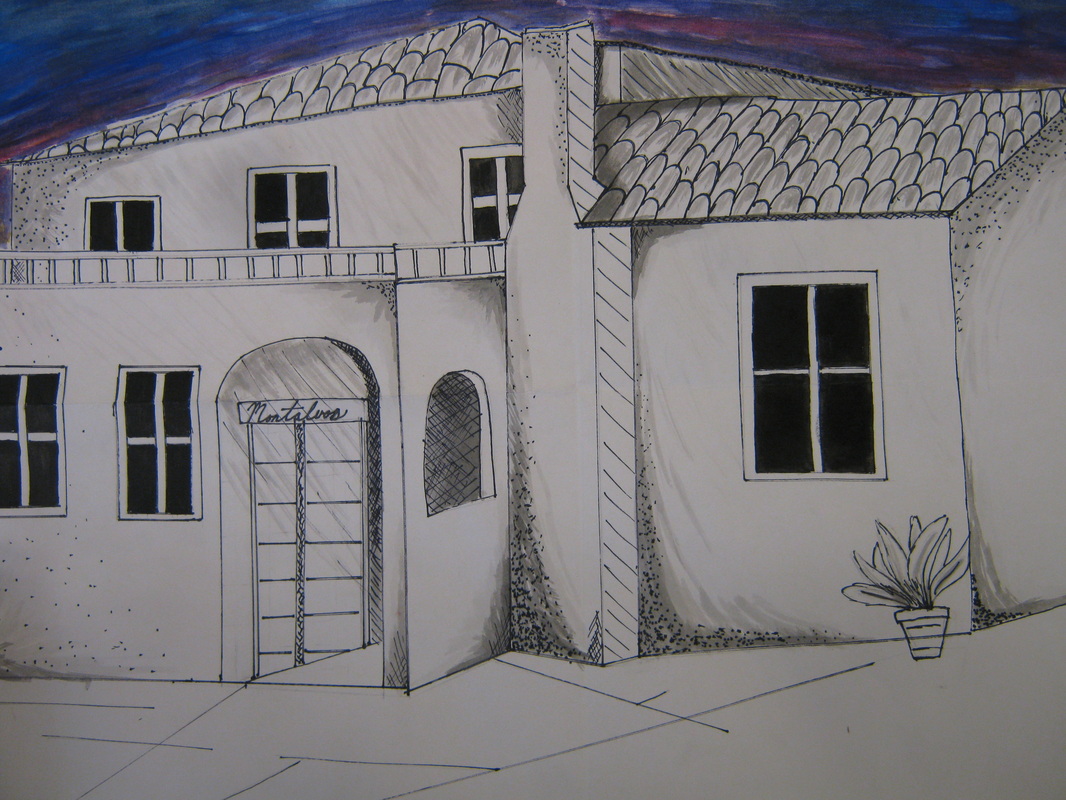
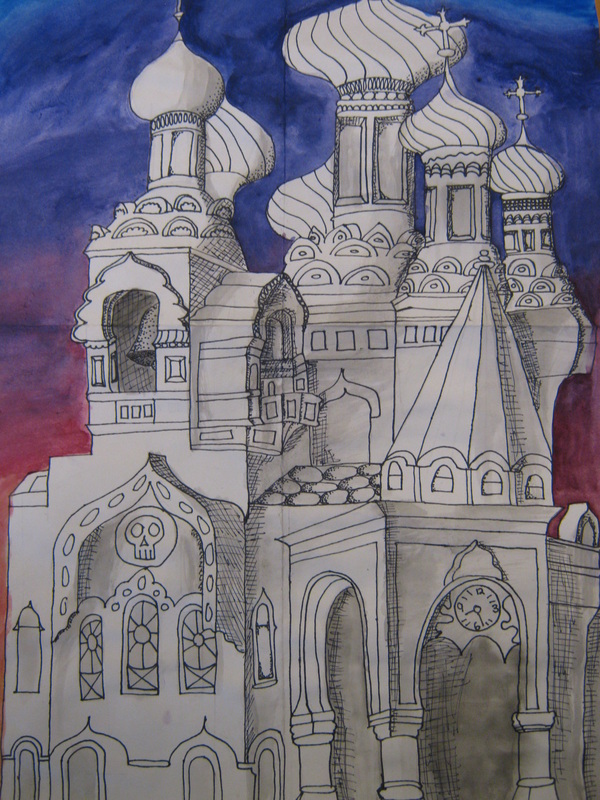
Architectural Design
Students will create a grid building drawing similar to how they created thier self portrait. Each student will research the history of their buildings by who created them, what was thier purpose, and what famous people lived in them. Once buidings are drawn and completed in pencil, students will add an illustrational quality to thier designs by adding cross hatching and ink wash.
| buildingslesson.docx |
| buildings.docx |


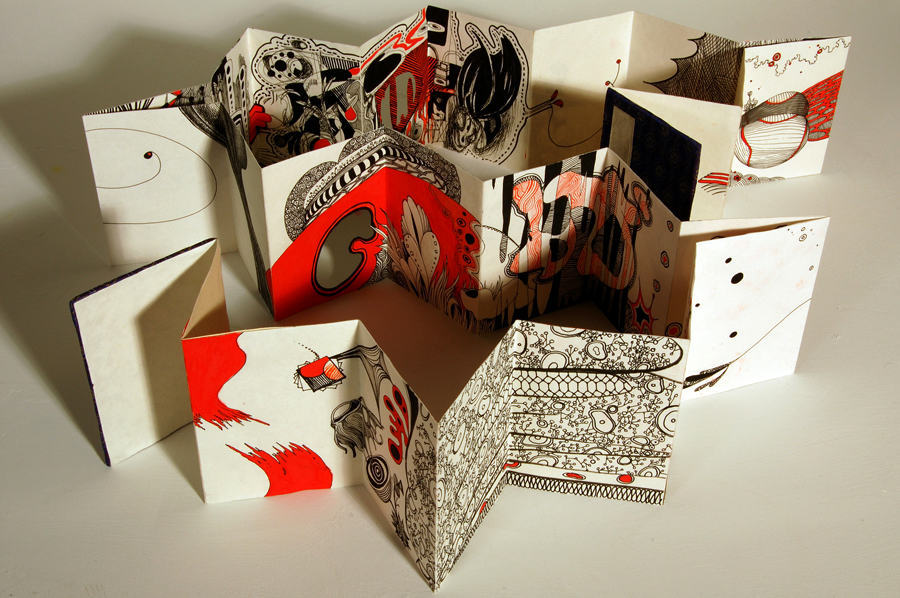
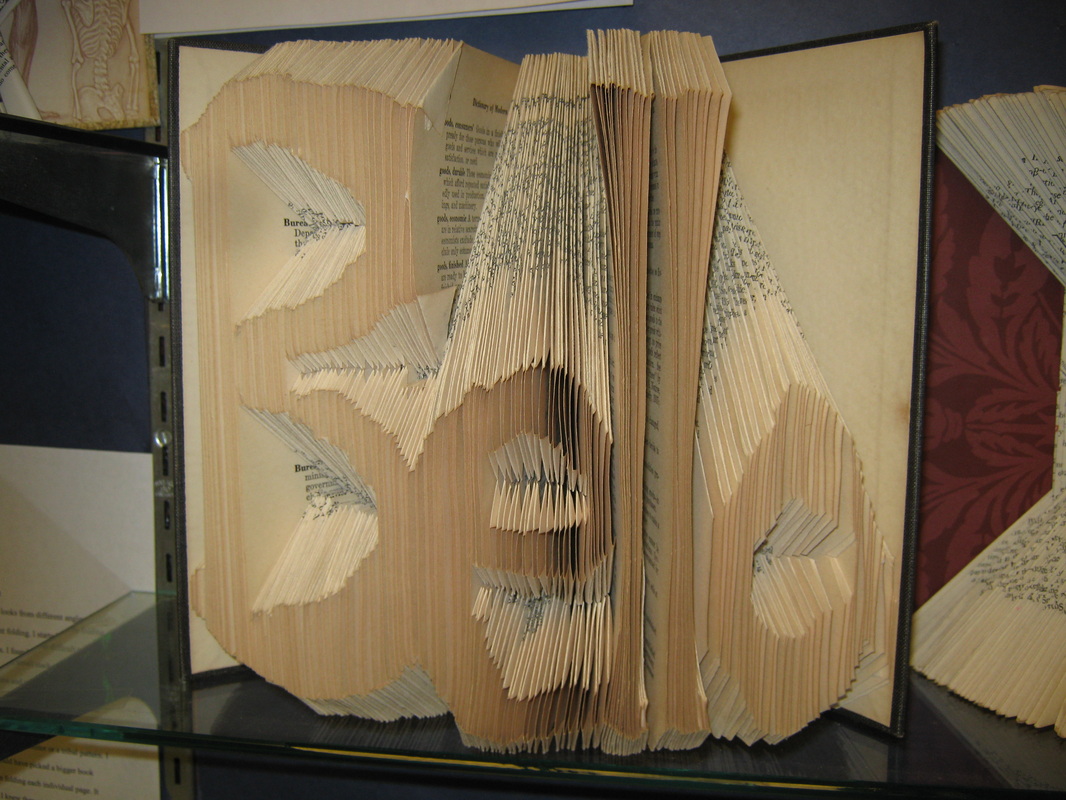
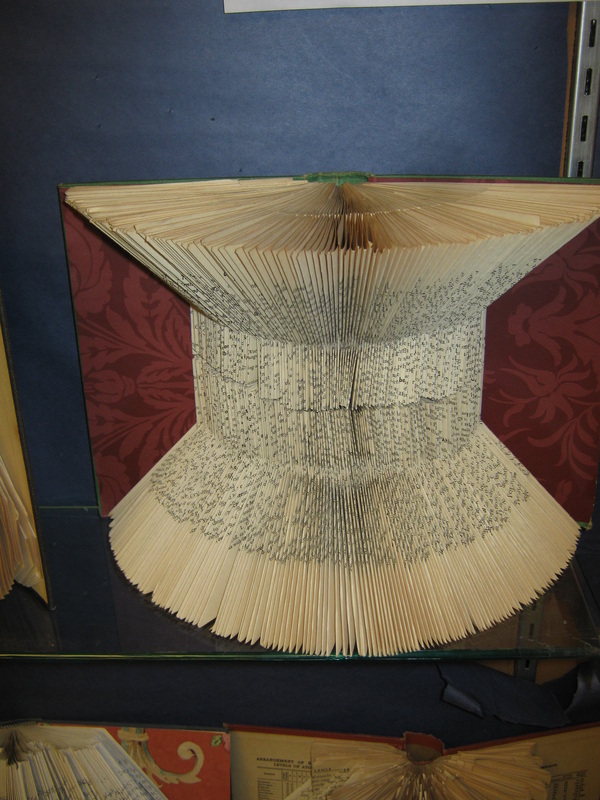
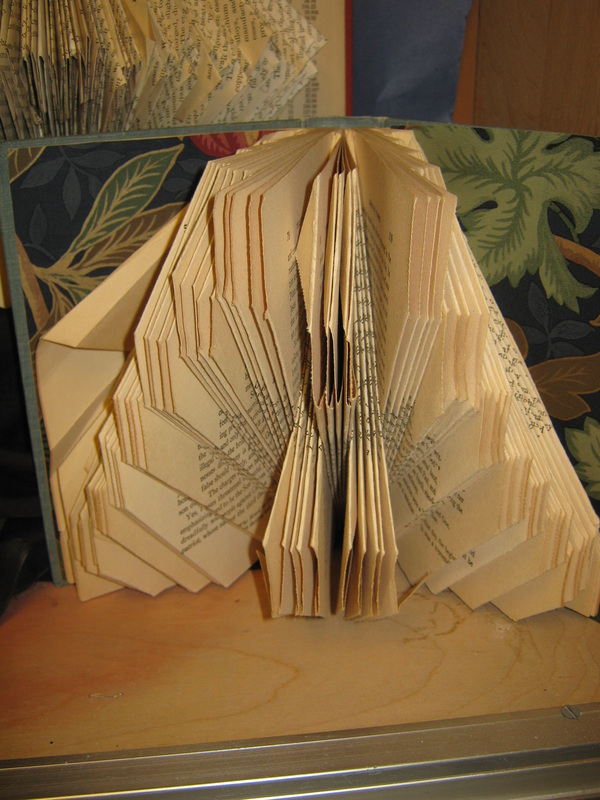
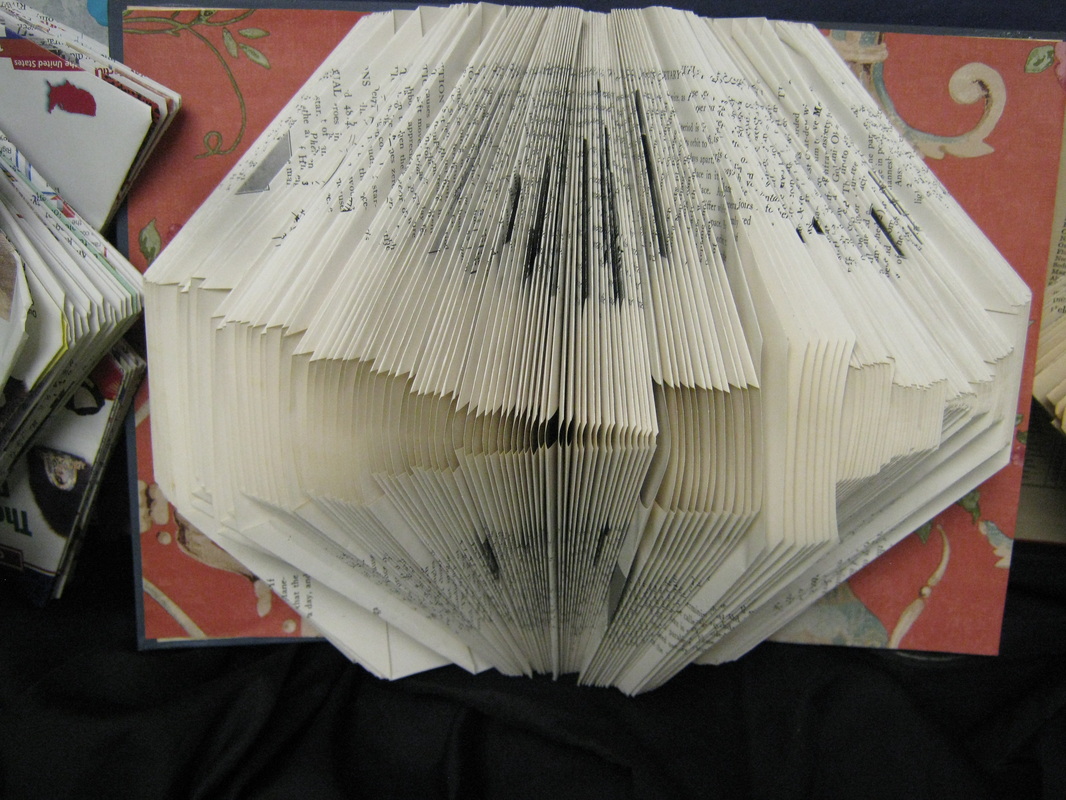
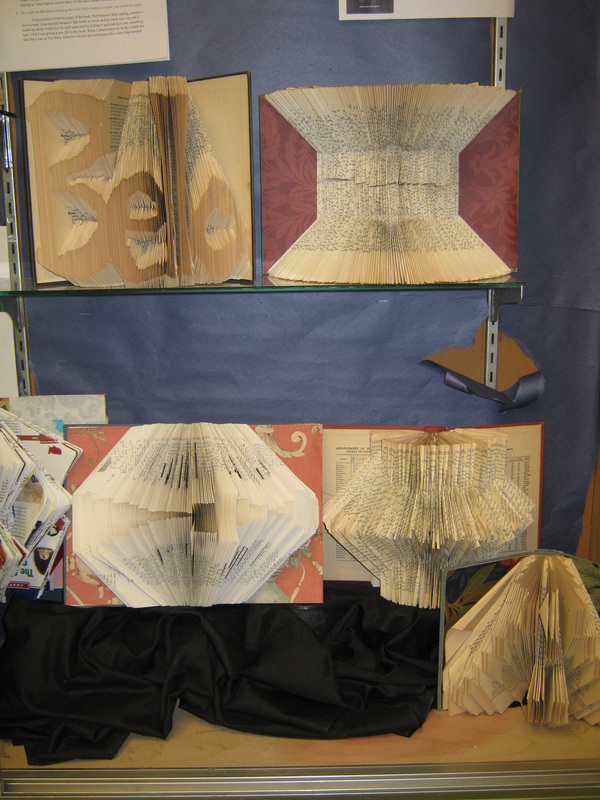
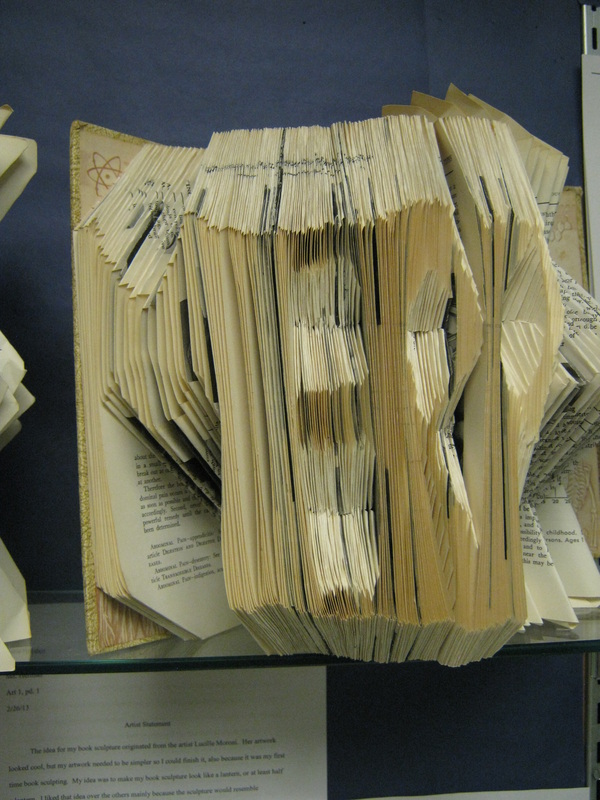
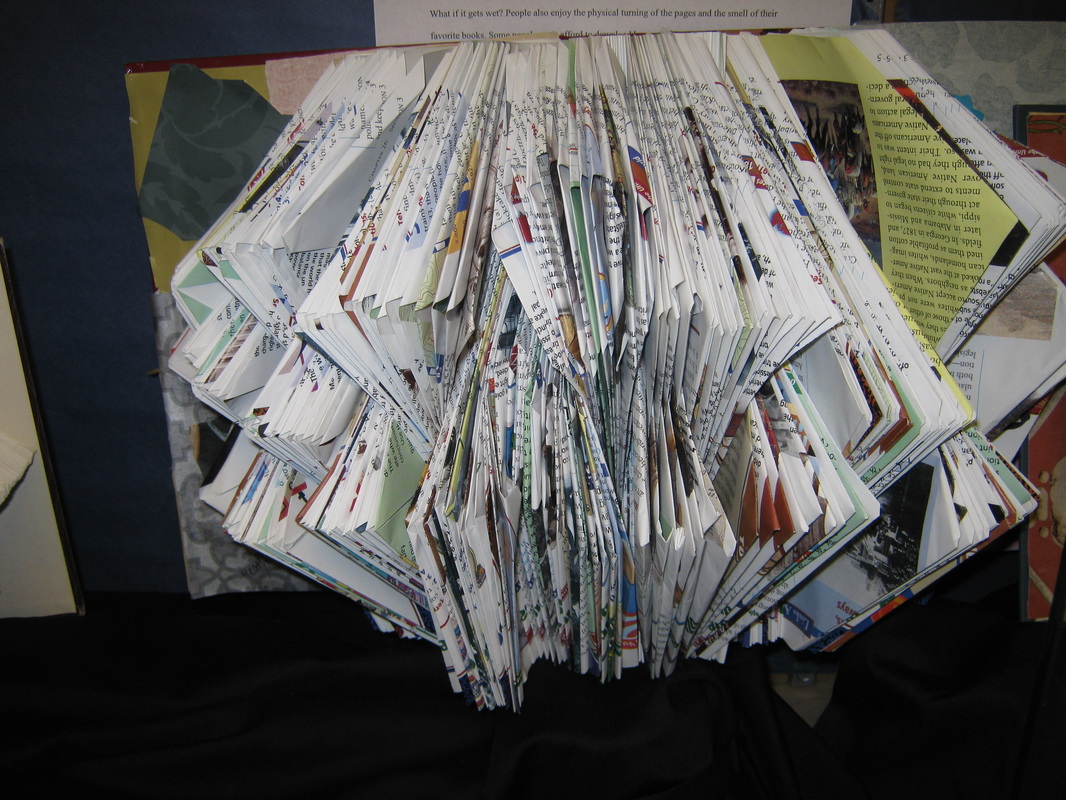
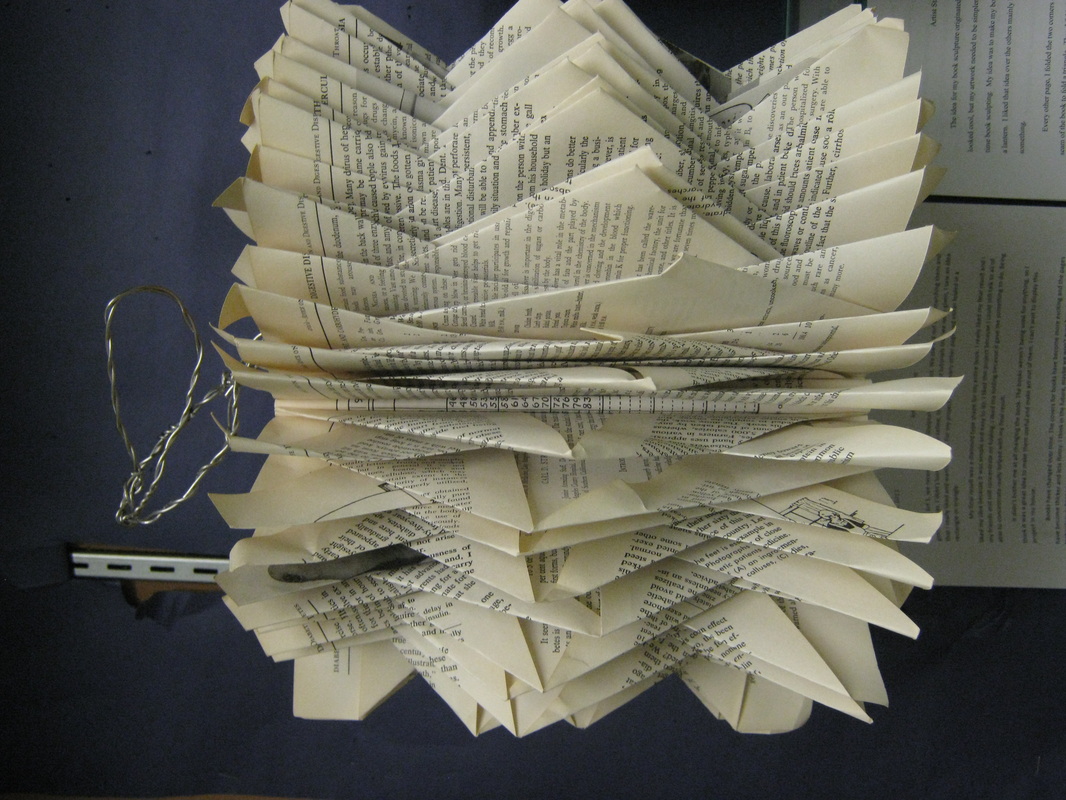
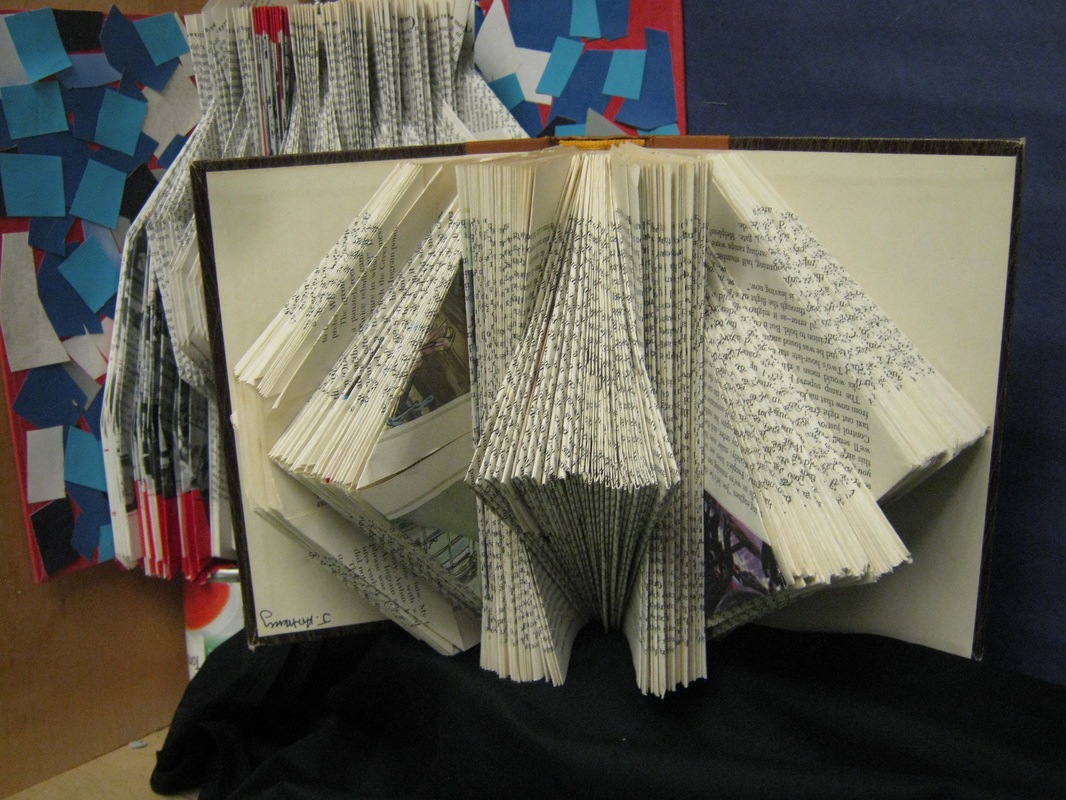
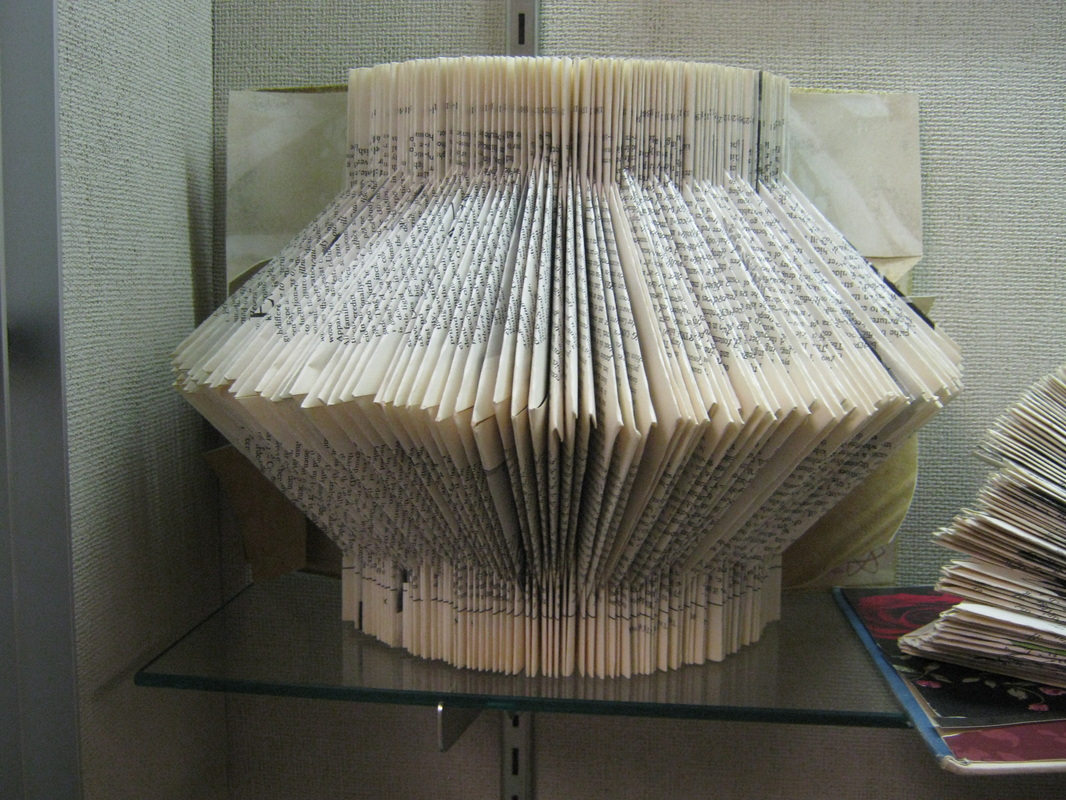
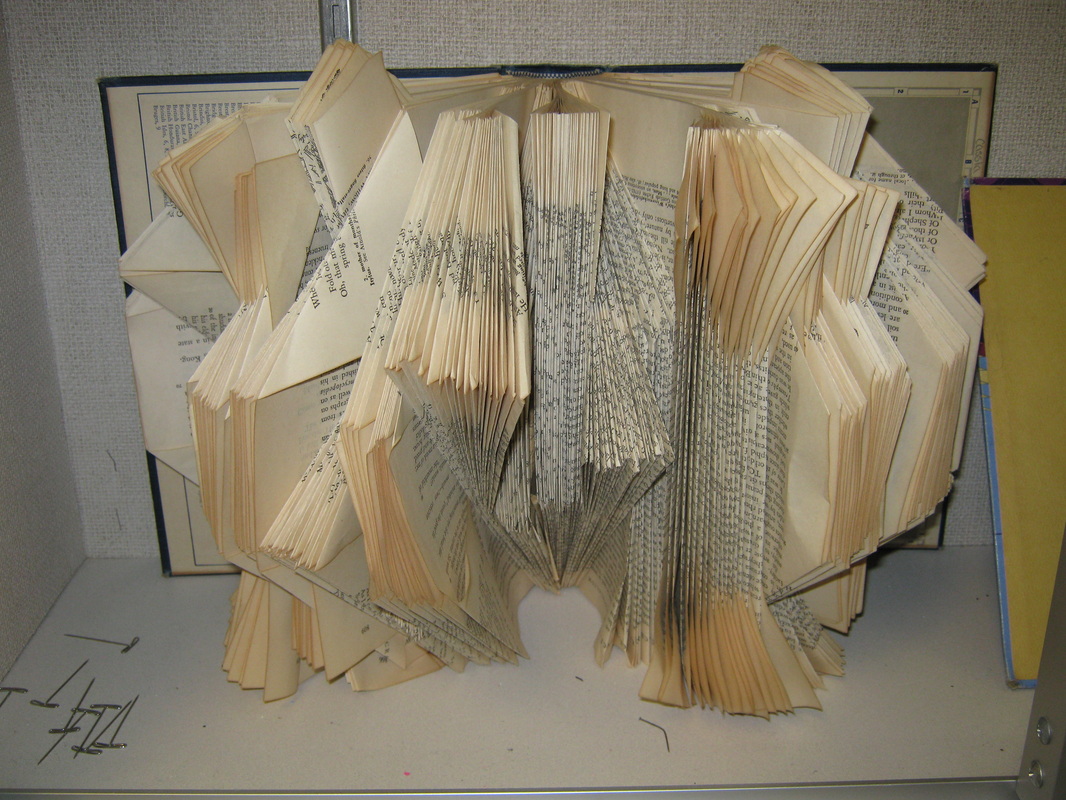
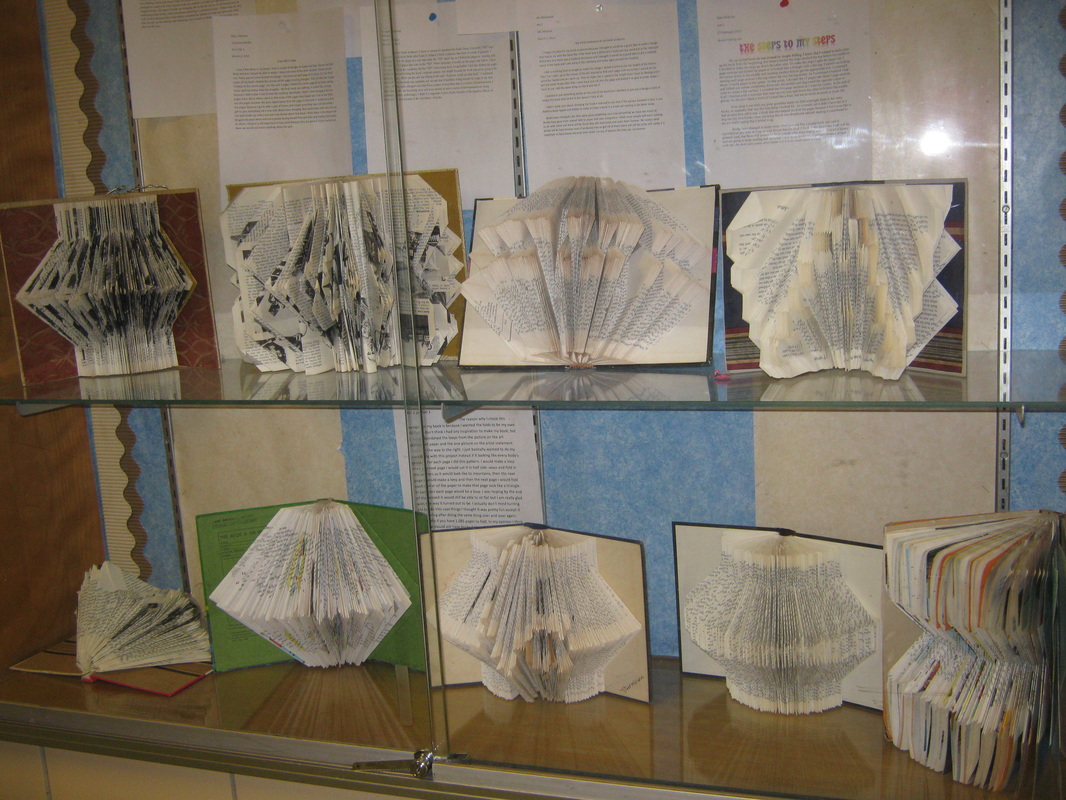
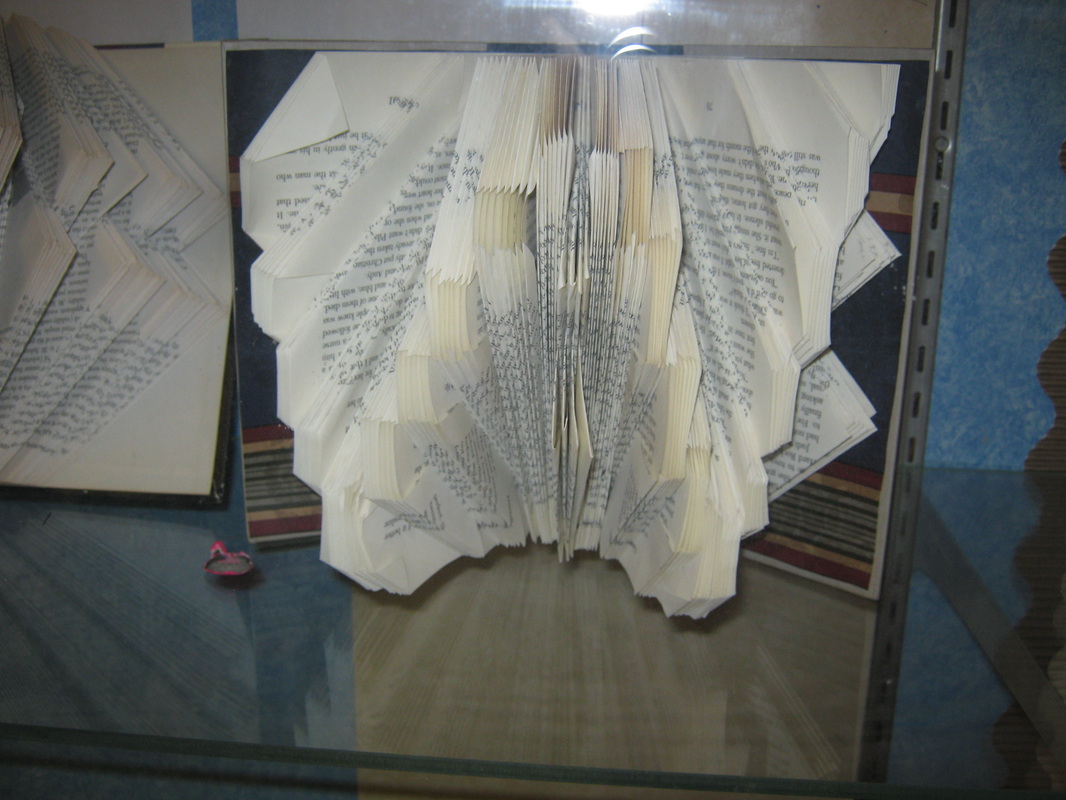
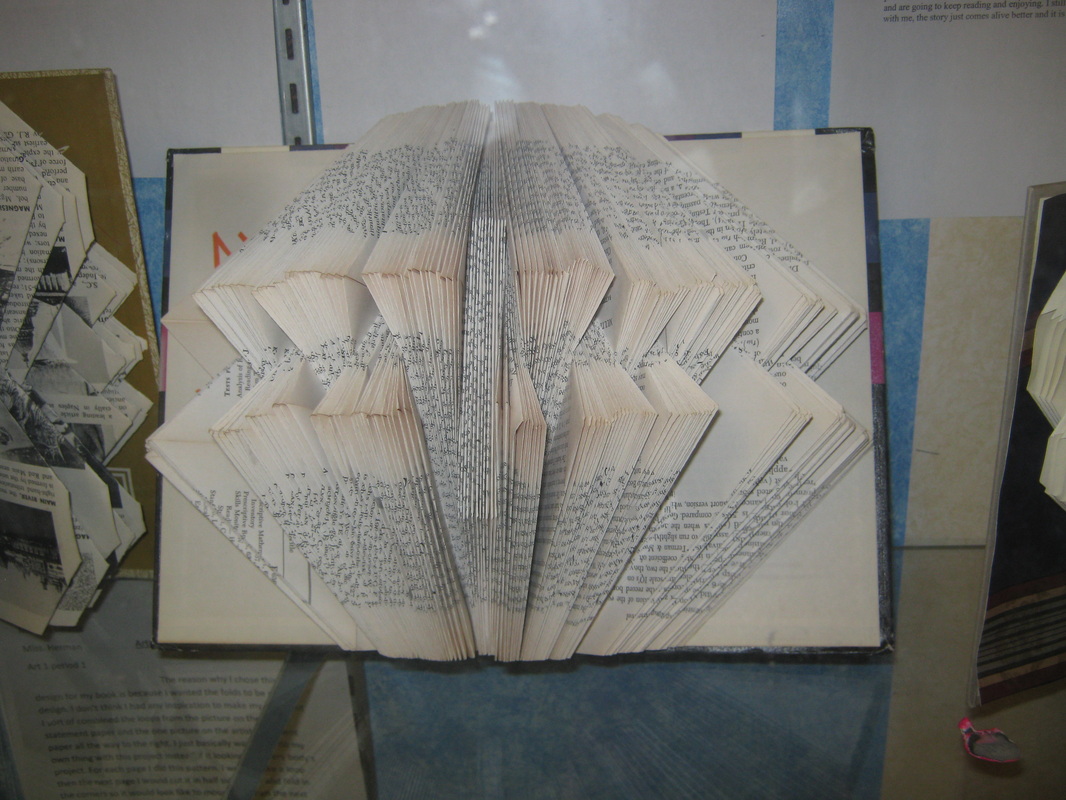
Book-folding Art
Students took inspiration from the local artists at Applefest in Franklin County to create their own book folding art from old, upcycled books. To justify their choices, students then wrote an essay on about how books are effected by technology and the process used to create their artwork.
| booksculpturelesson.docx |


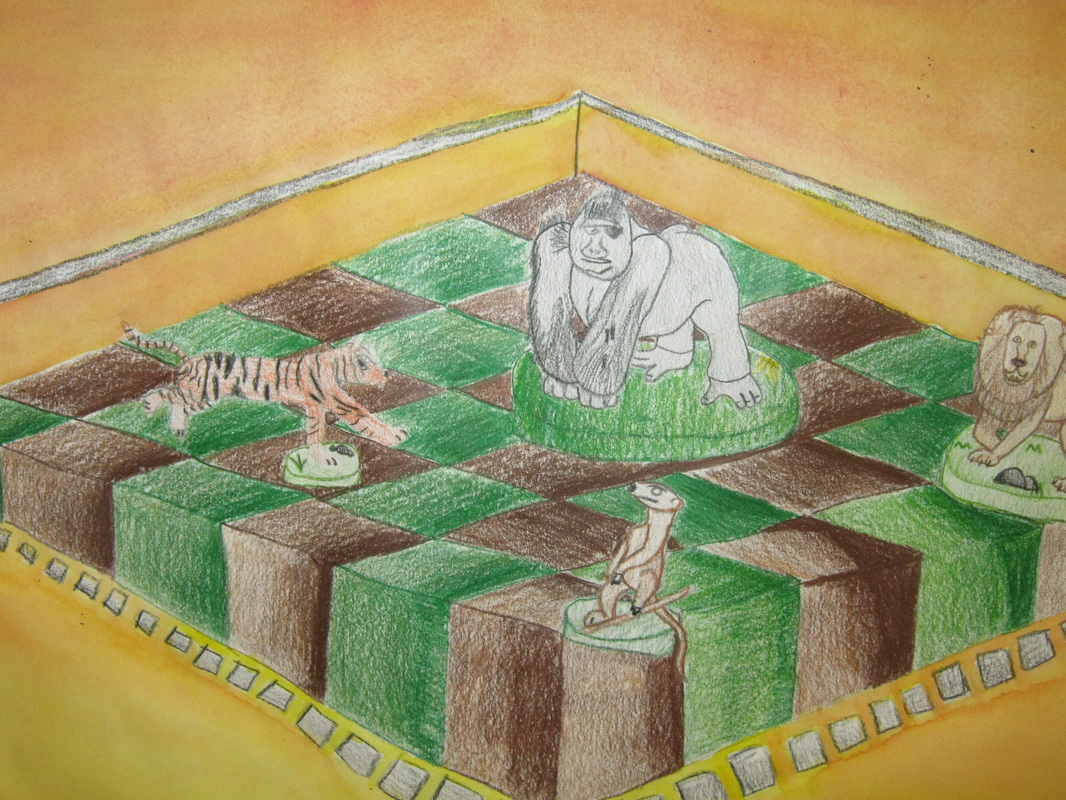
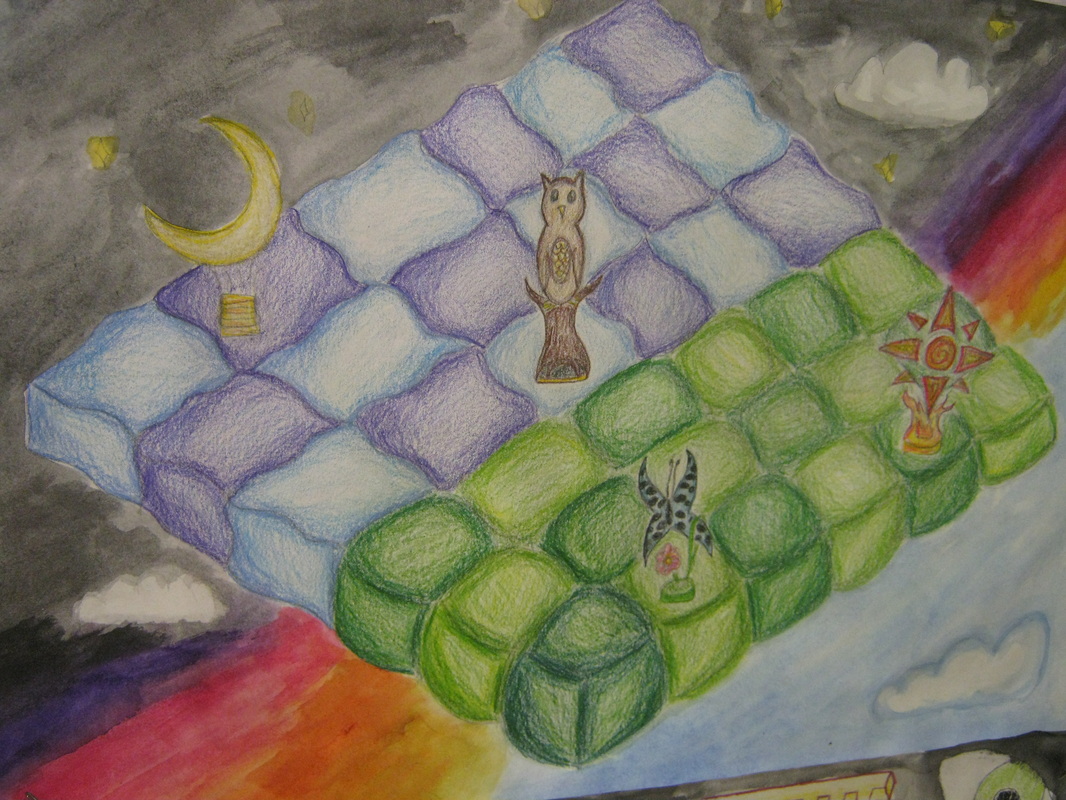
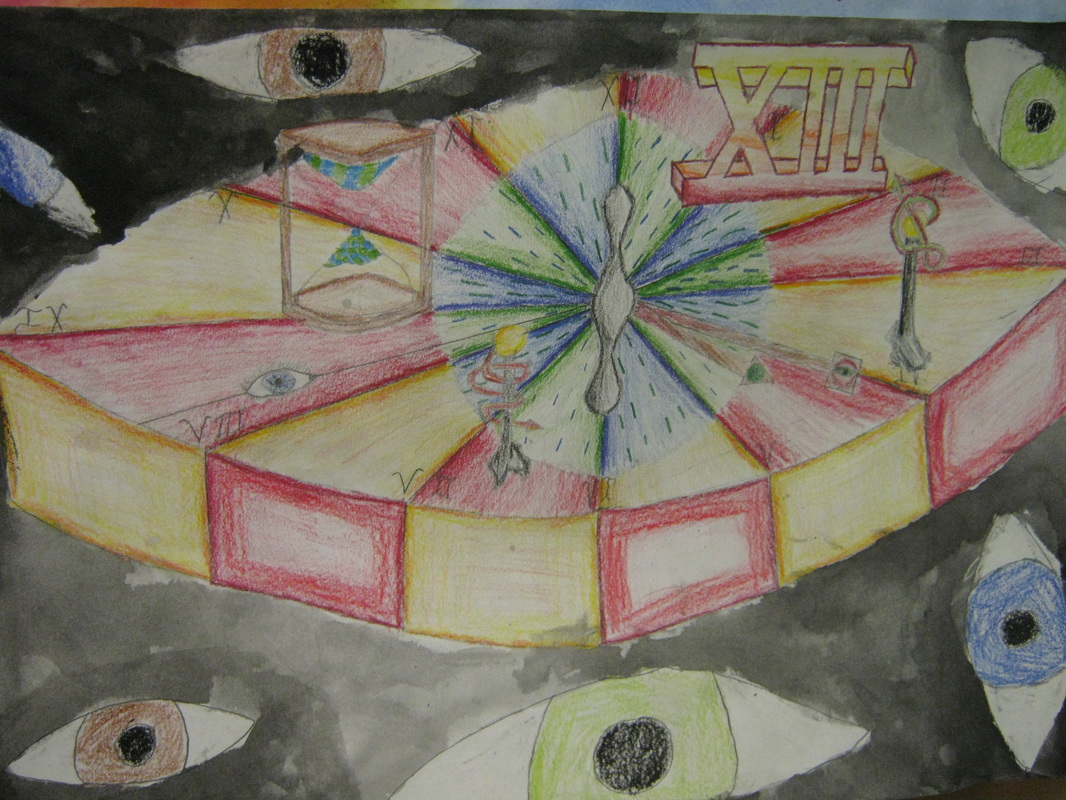
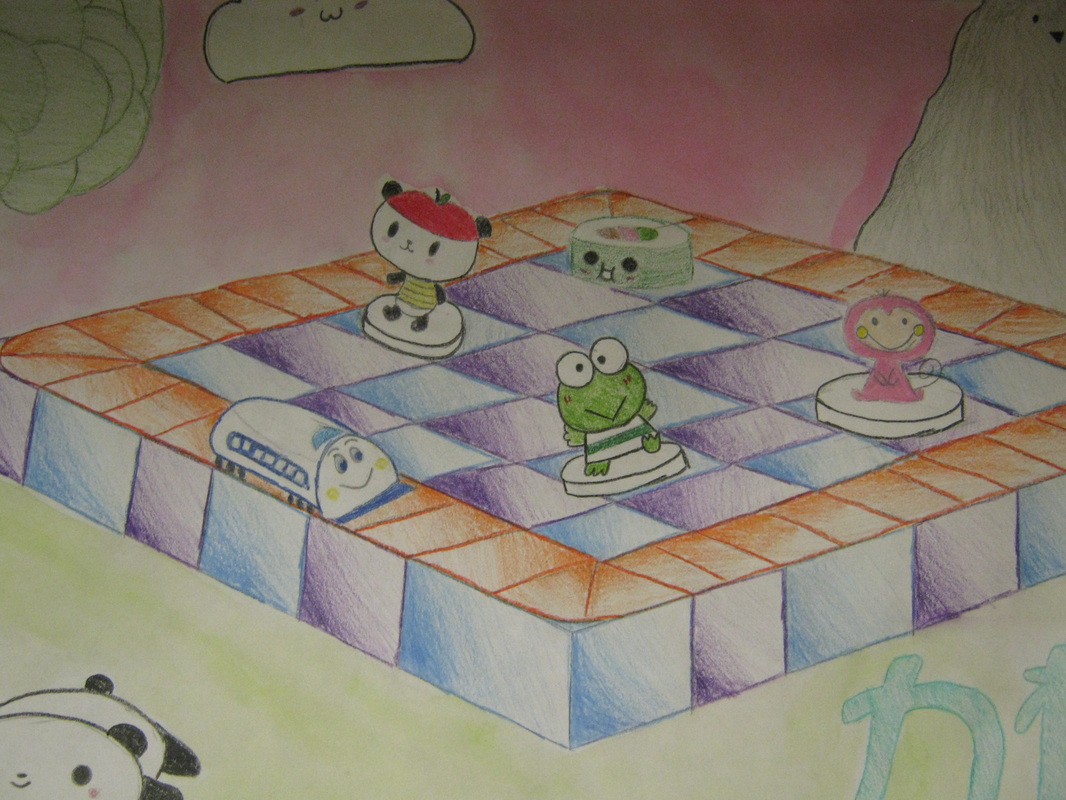
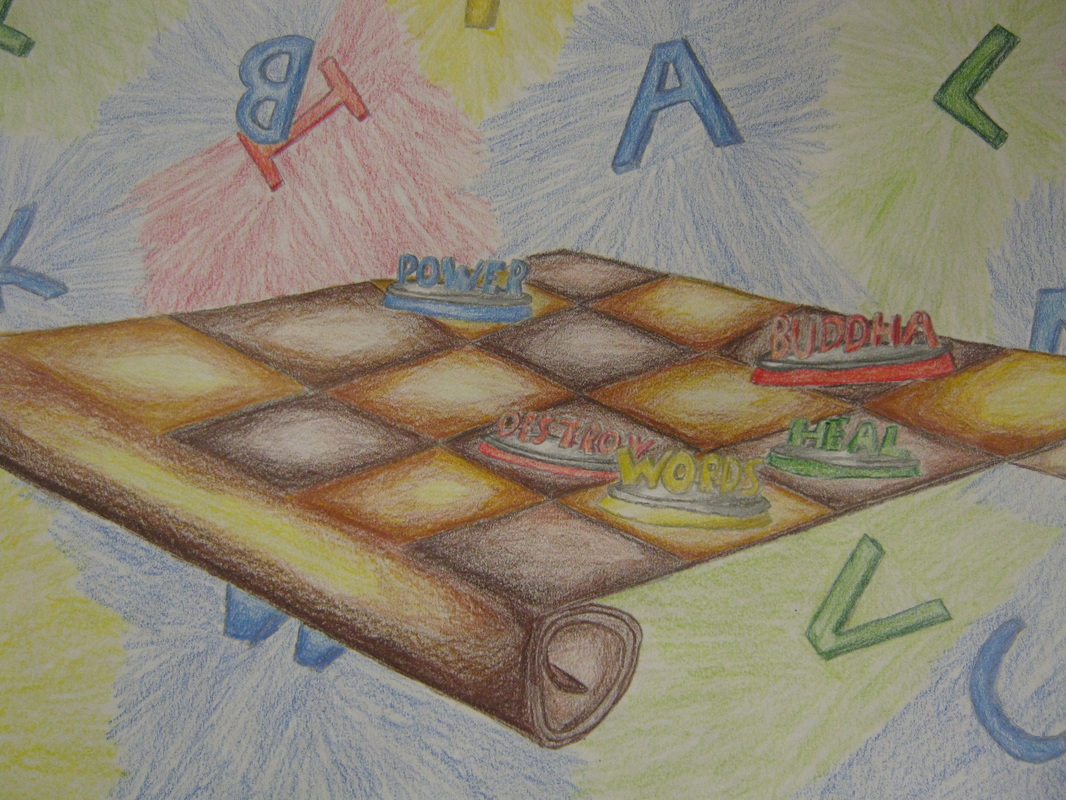
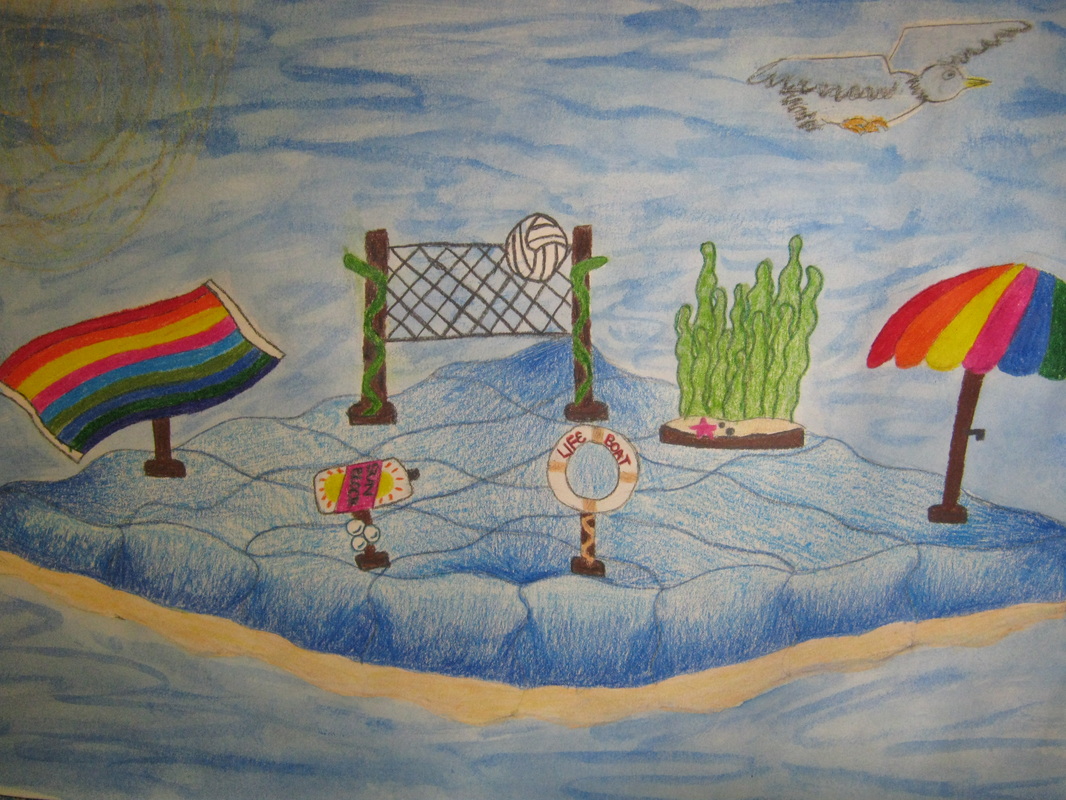
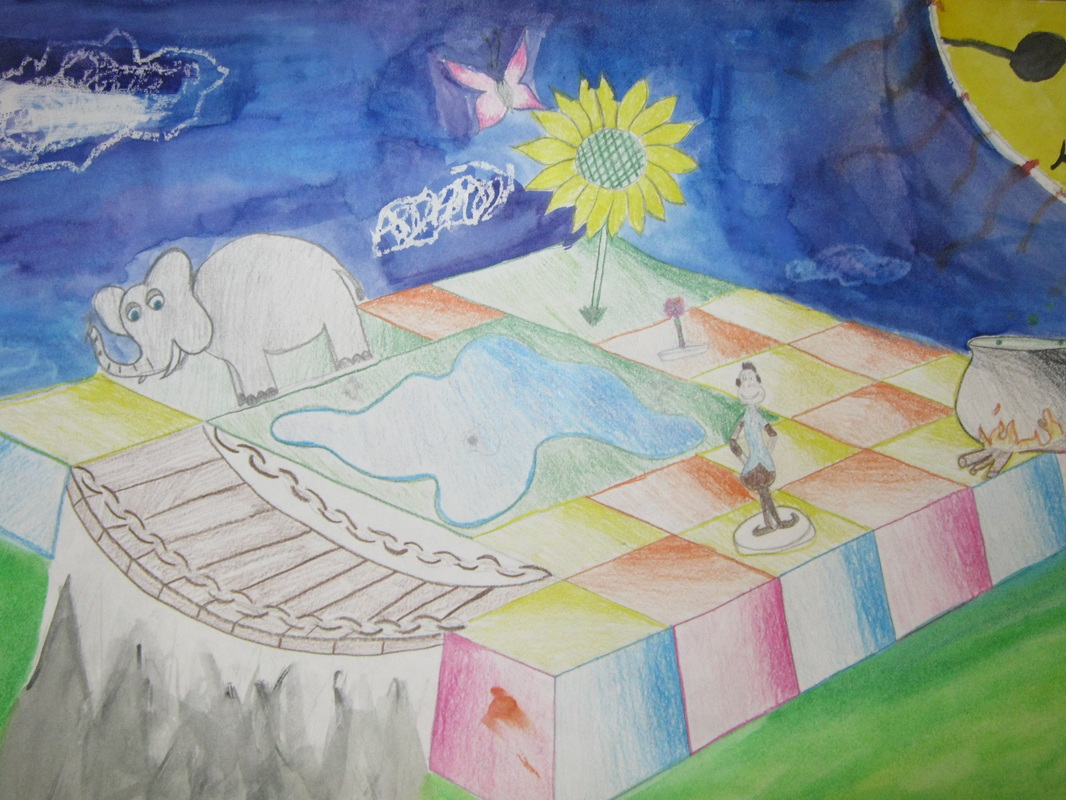
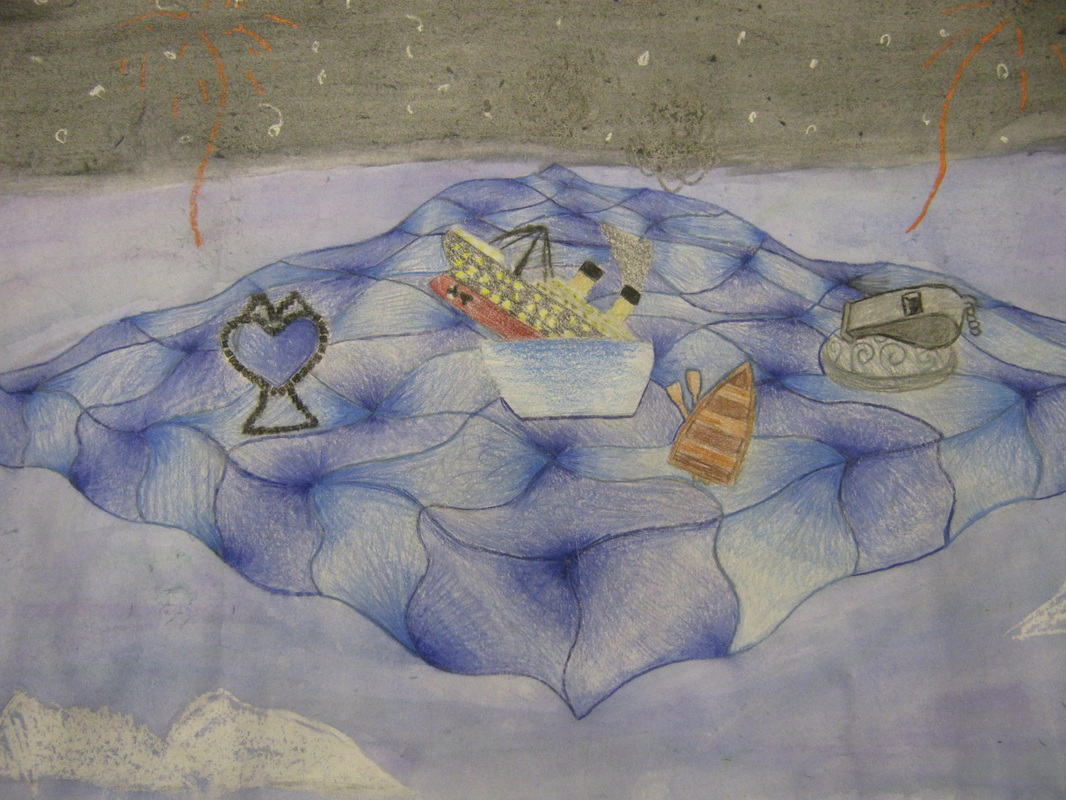
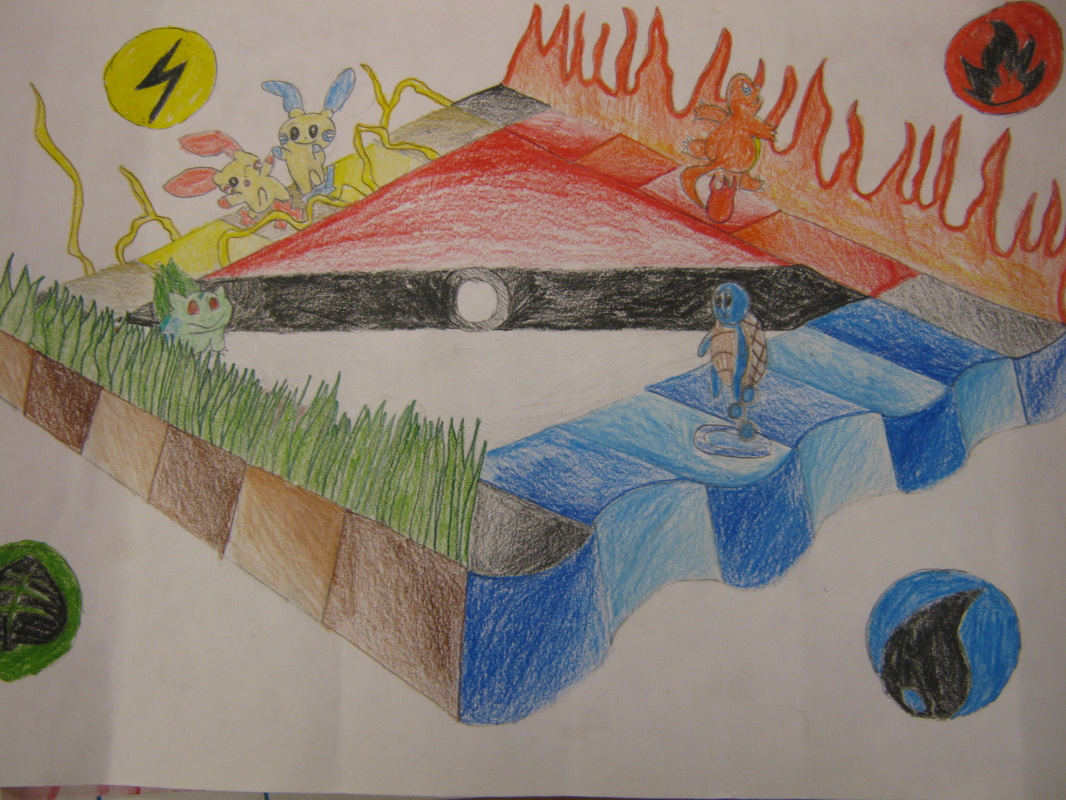
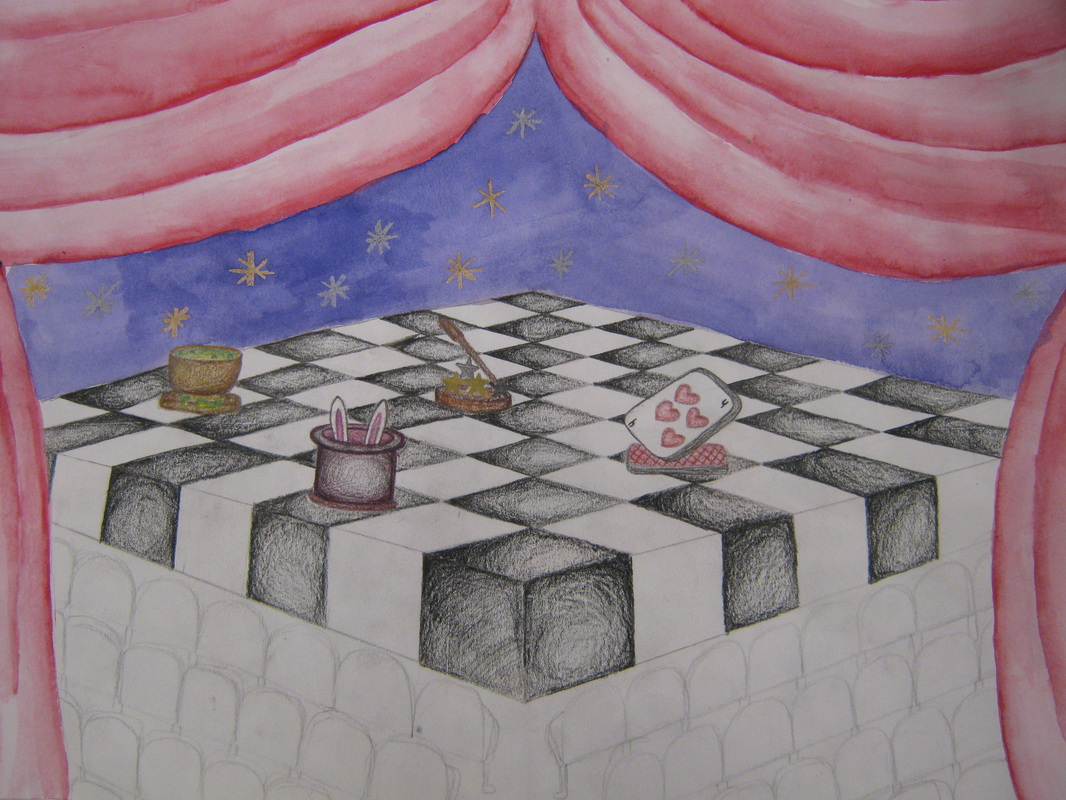
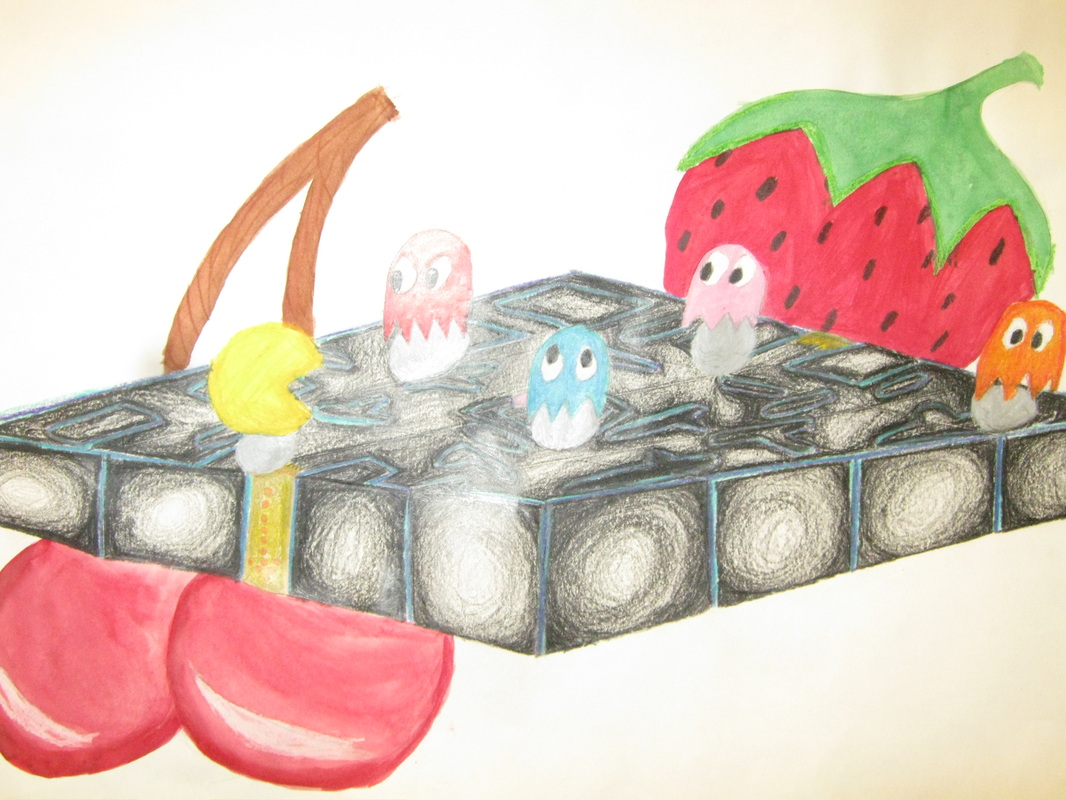
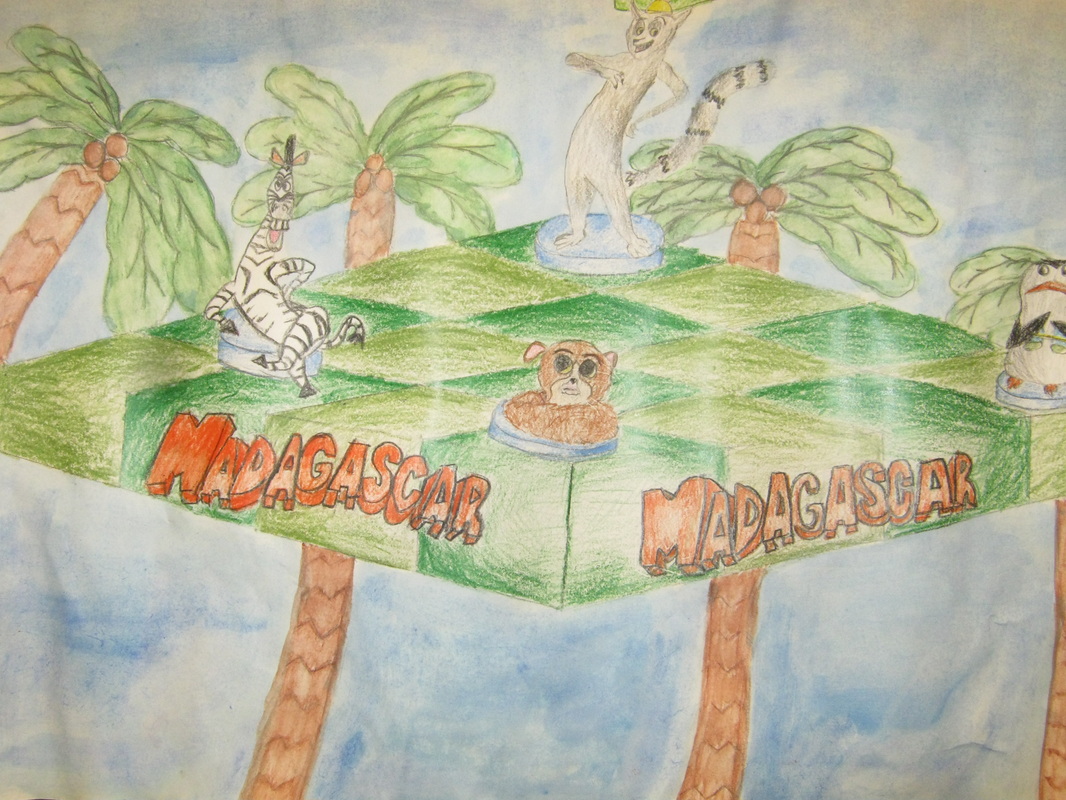
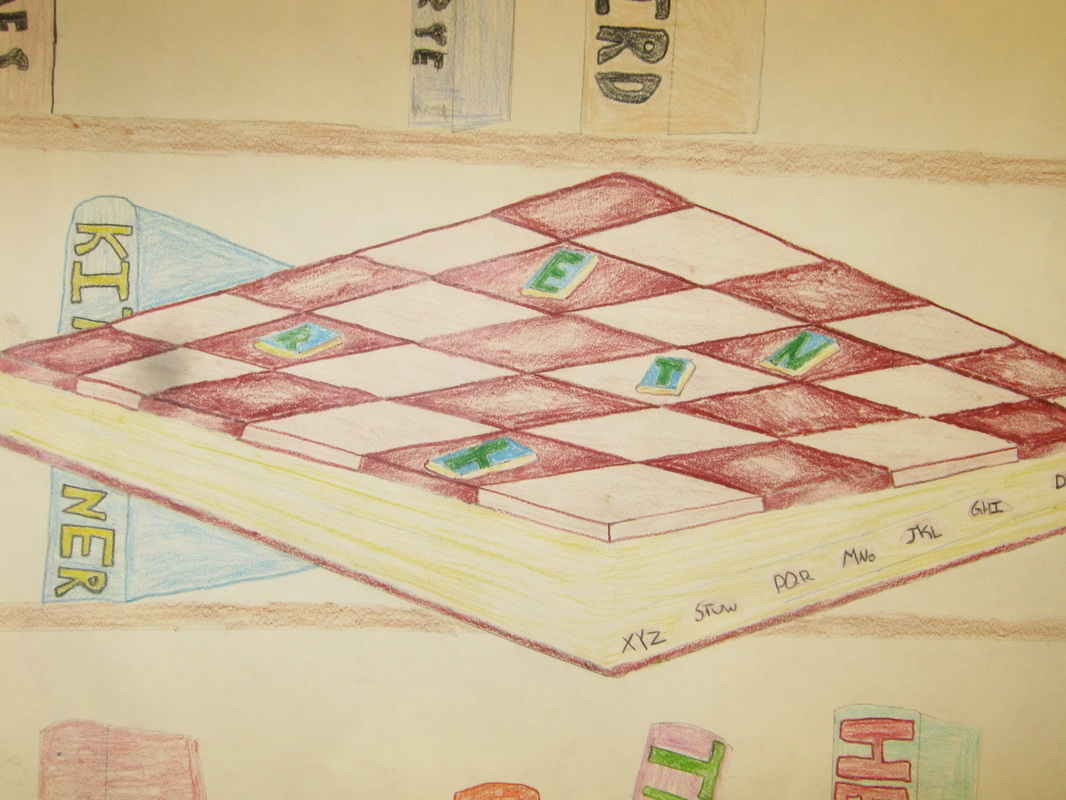
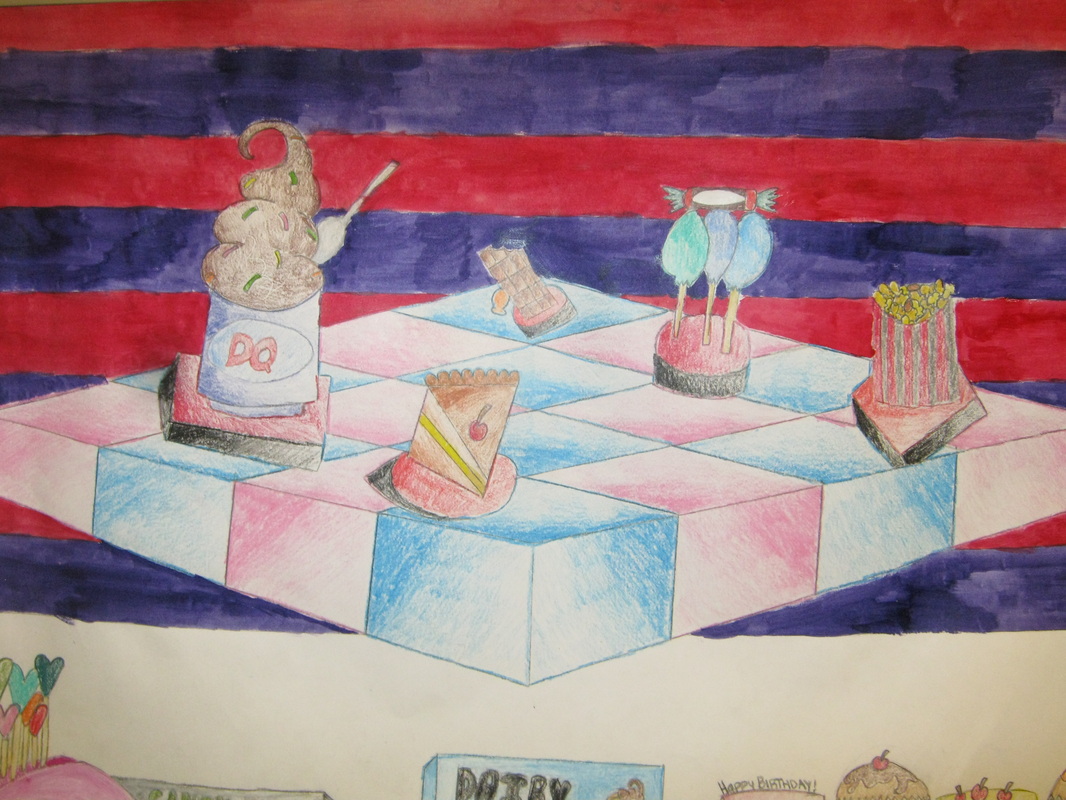
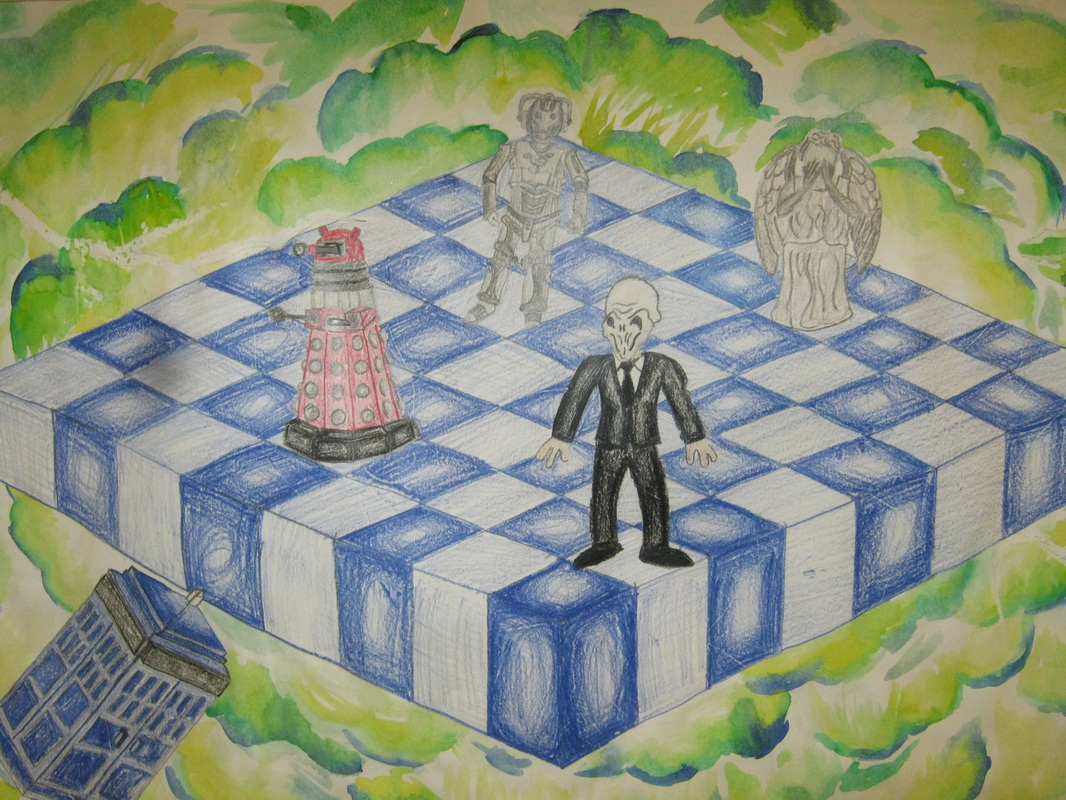
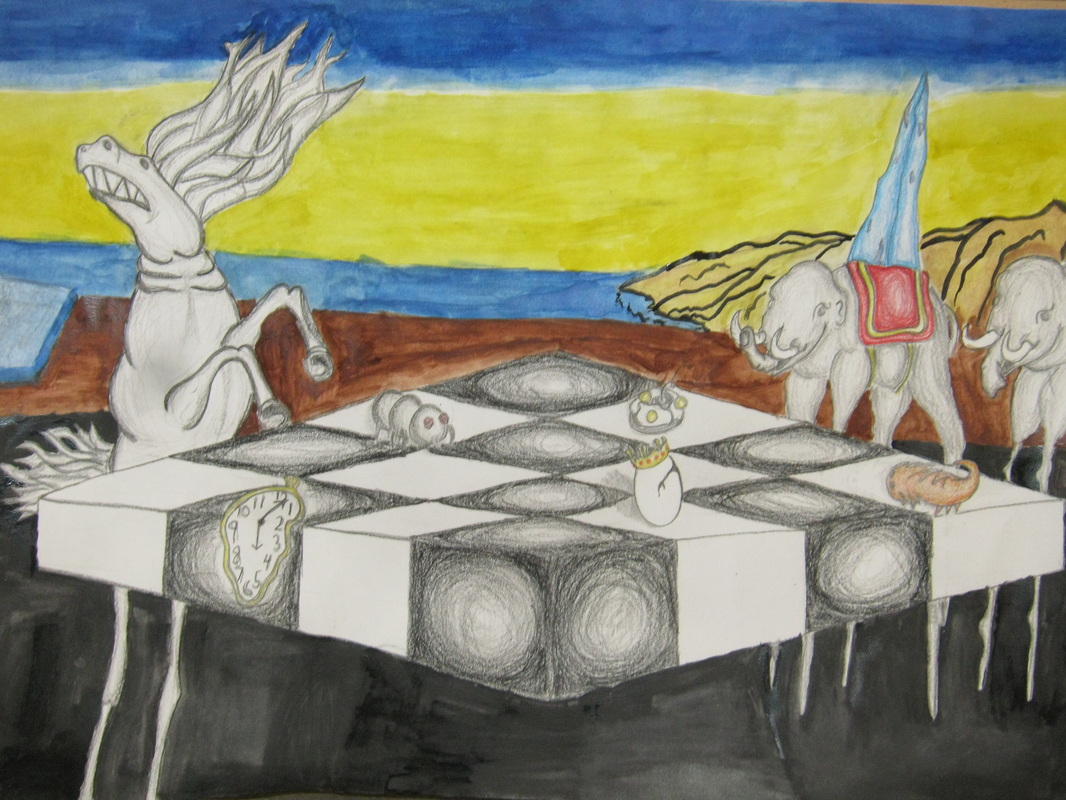
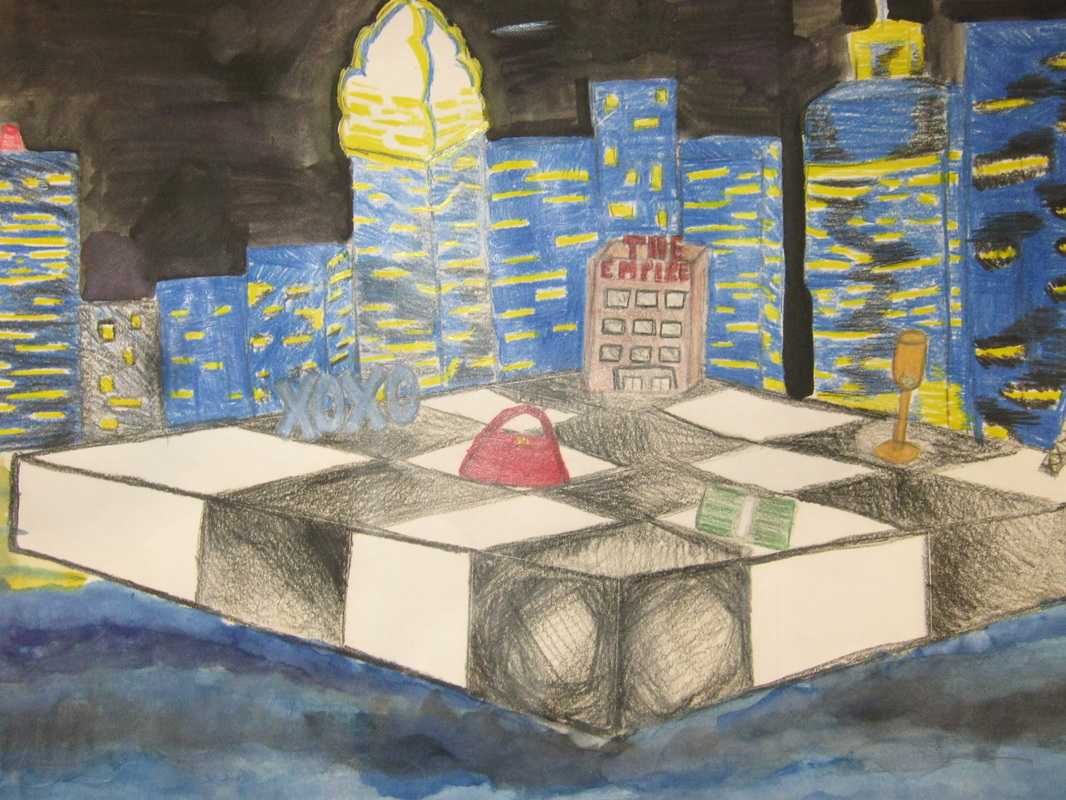
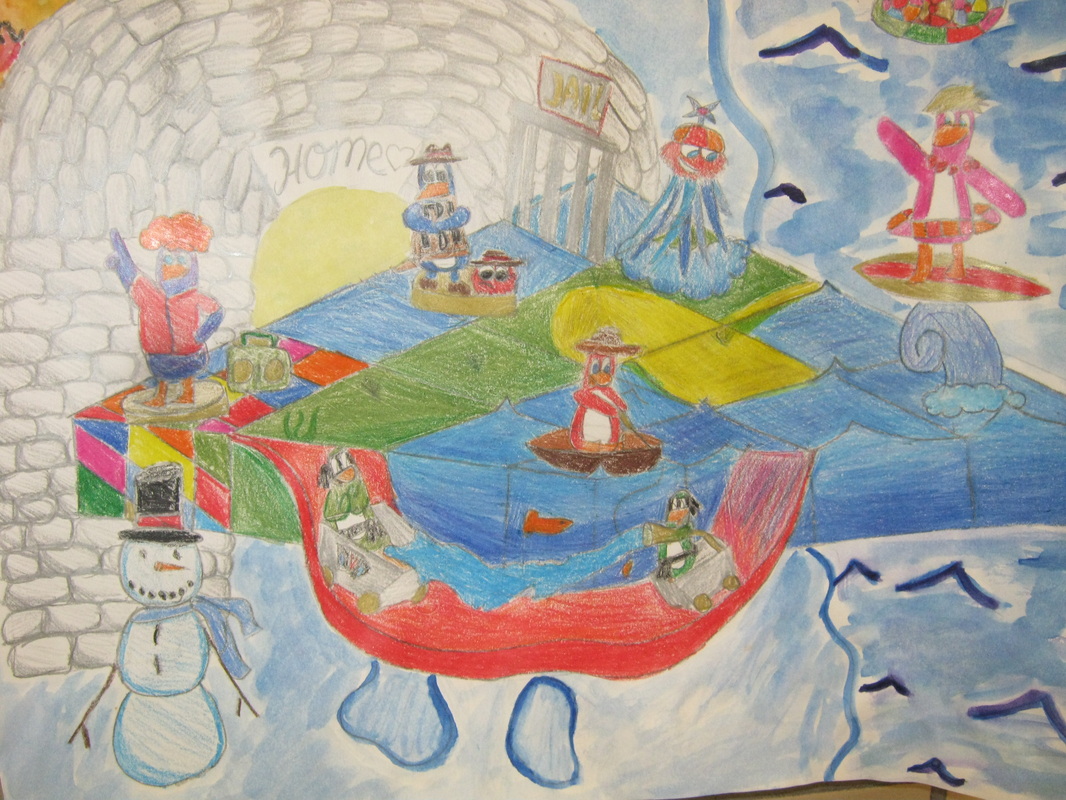
Surrealist Gameboard
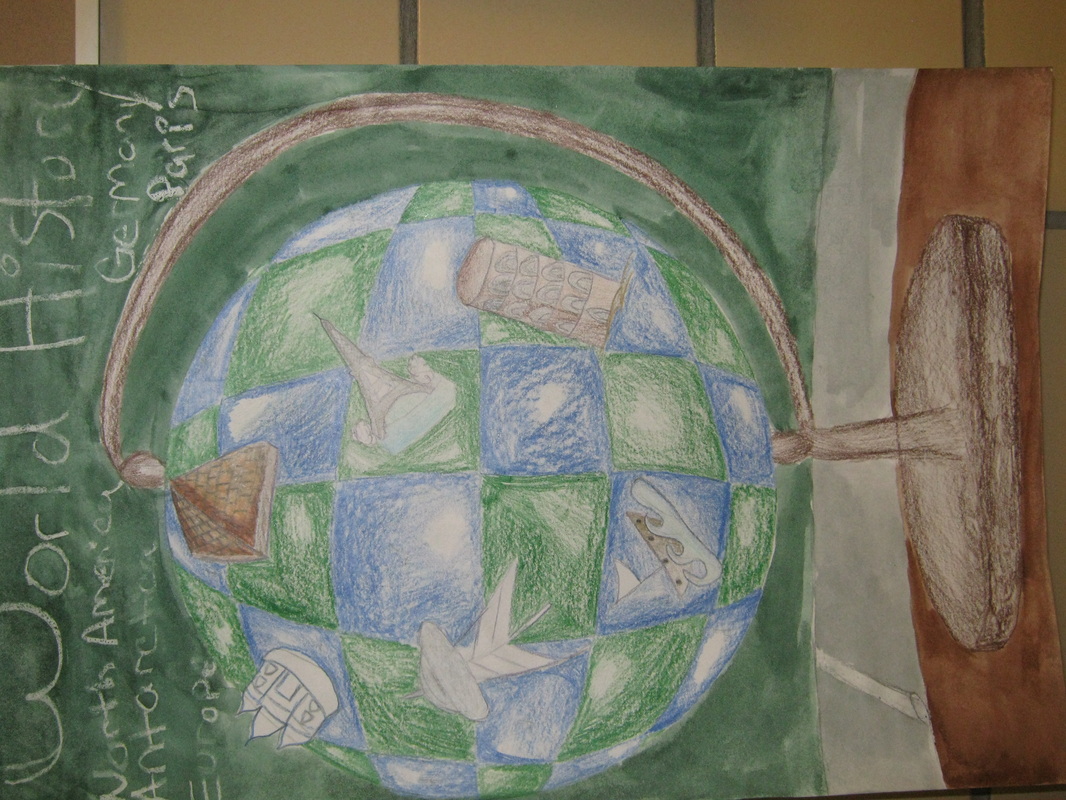
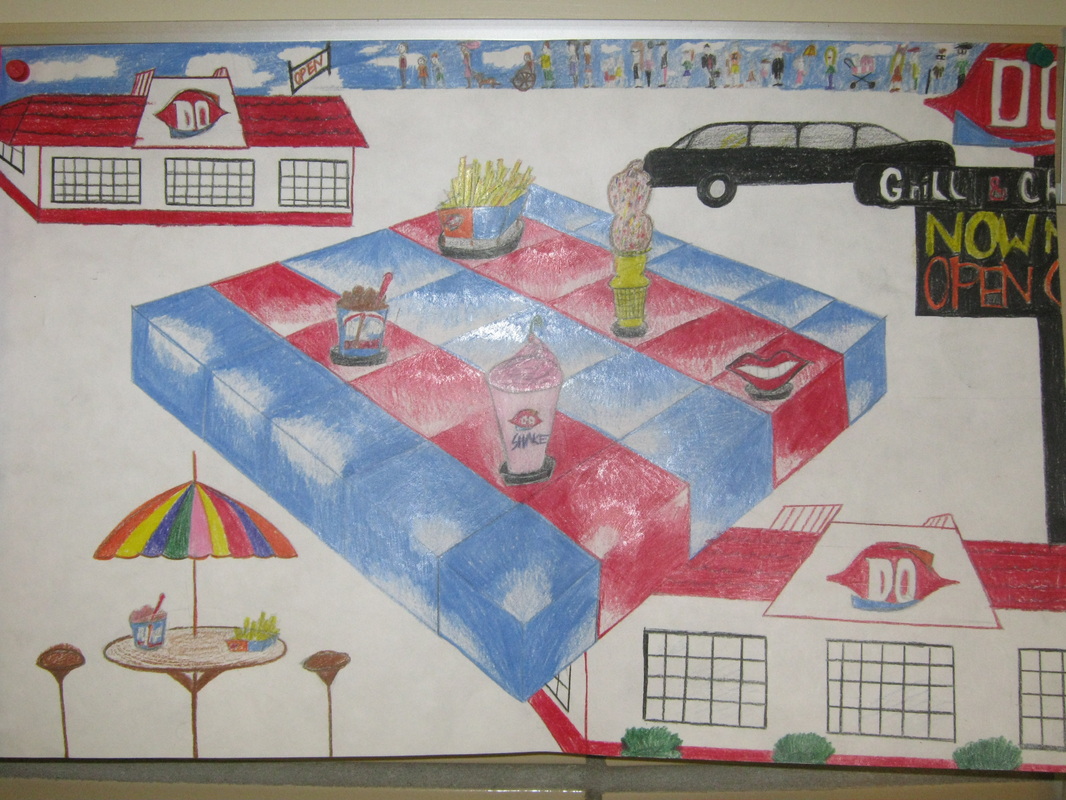
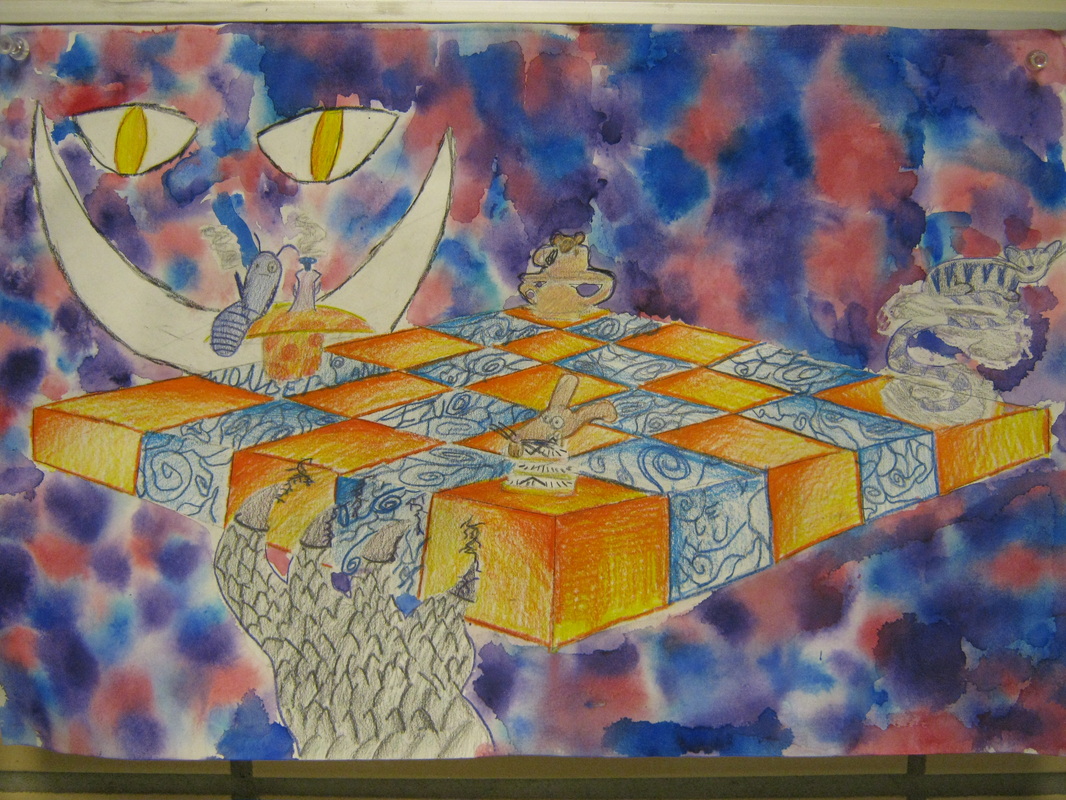
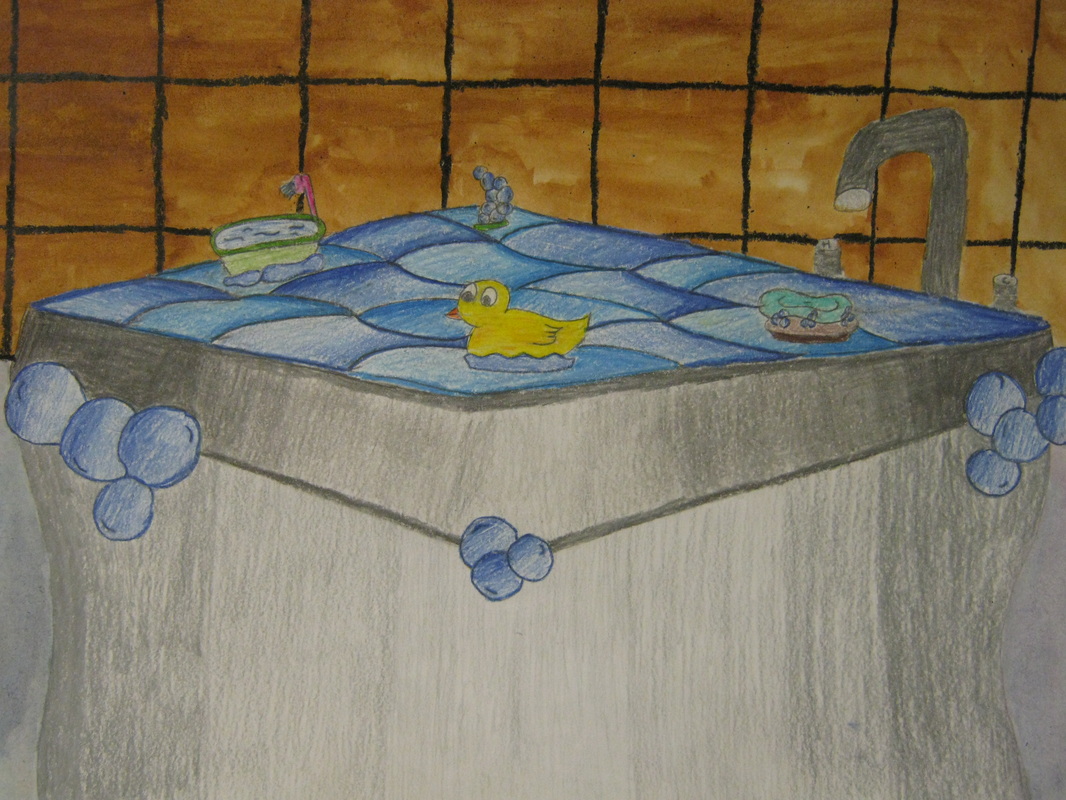
Students will study and draw conclusions about the surrealist artists Salvador Dali, and the juxaposition of objects that create the theme of this artworks. Using this concept along with the use of 2 point perspective, students will create a surrealist gameboard based off of a big idea of their choosing.
Each student will design 3 game pieces, a 2pt perspective game board, and an environment. The boards will done in colored pencil and the background in crayon and watercolor.
Each student will design 3 game pieces, a 2pt perspective game board, and an environment. The boards will done in colored pencil and the background in crayon and watercolor.
|
| ||||


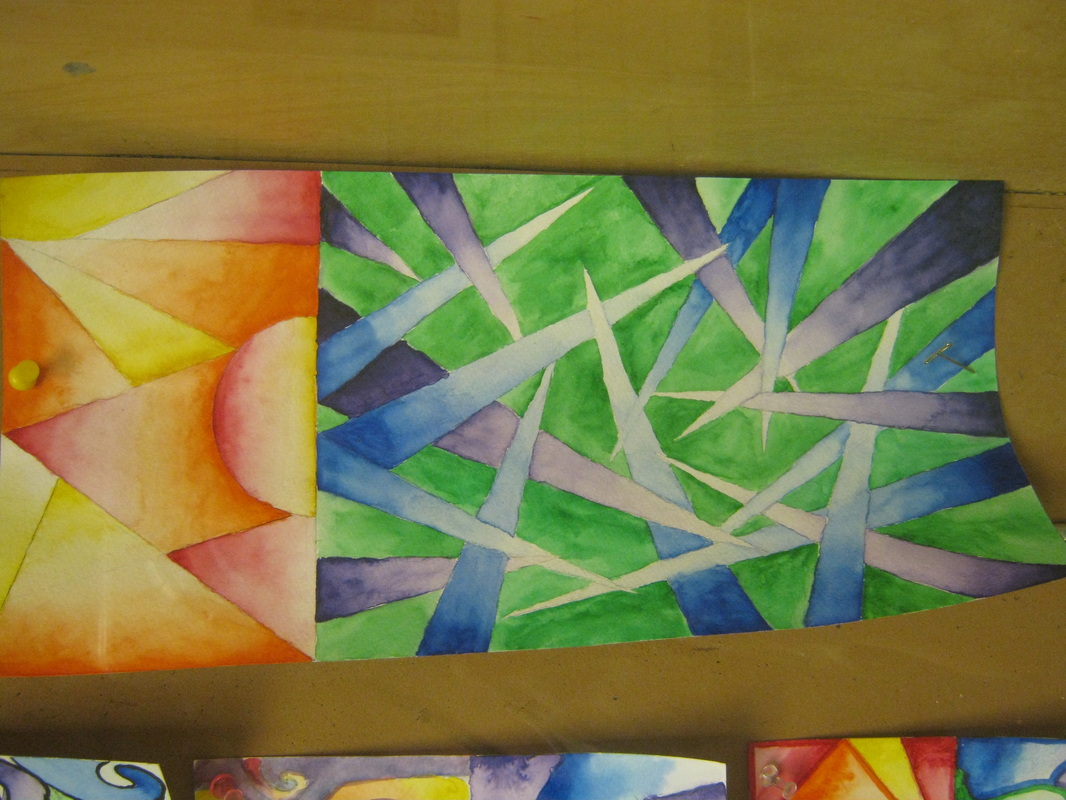
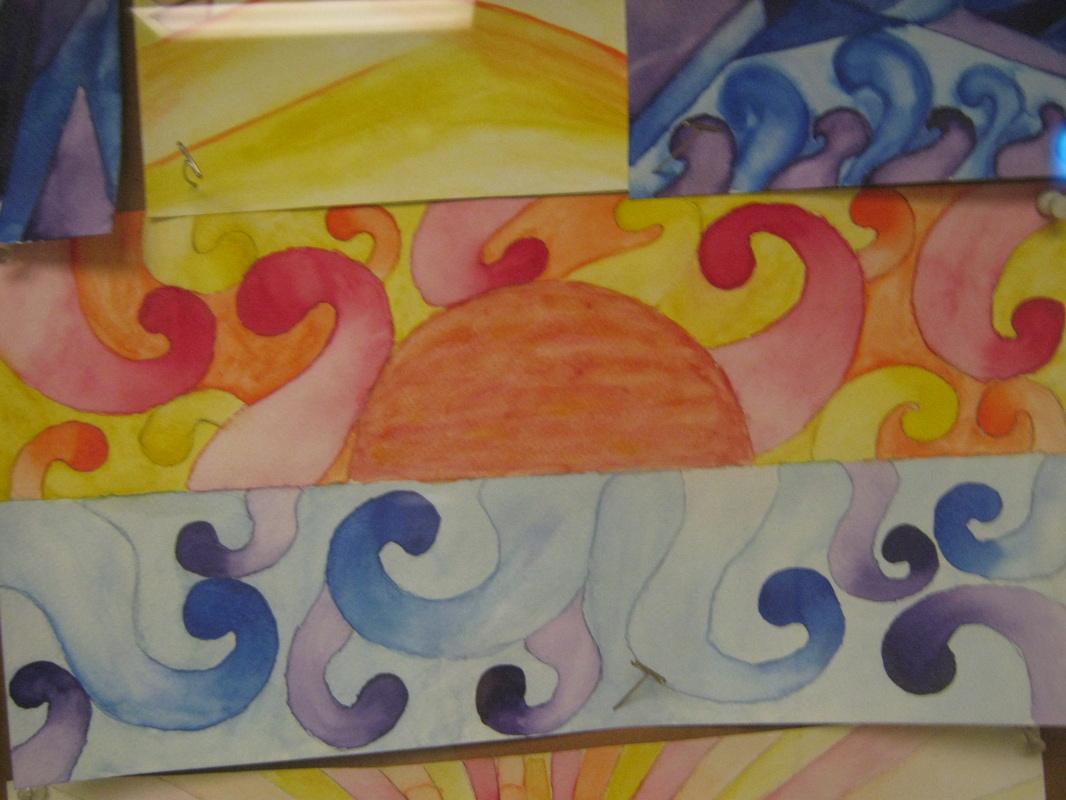
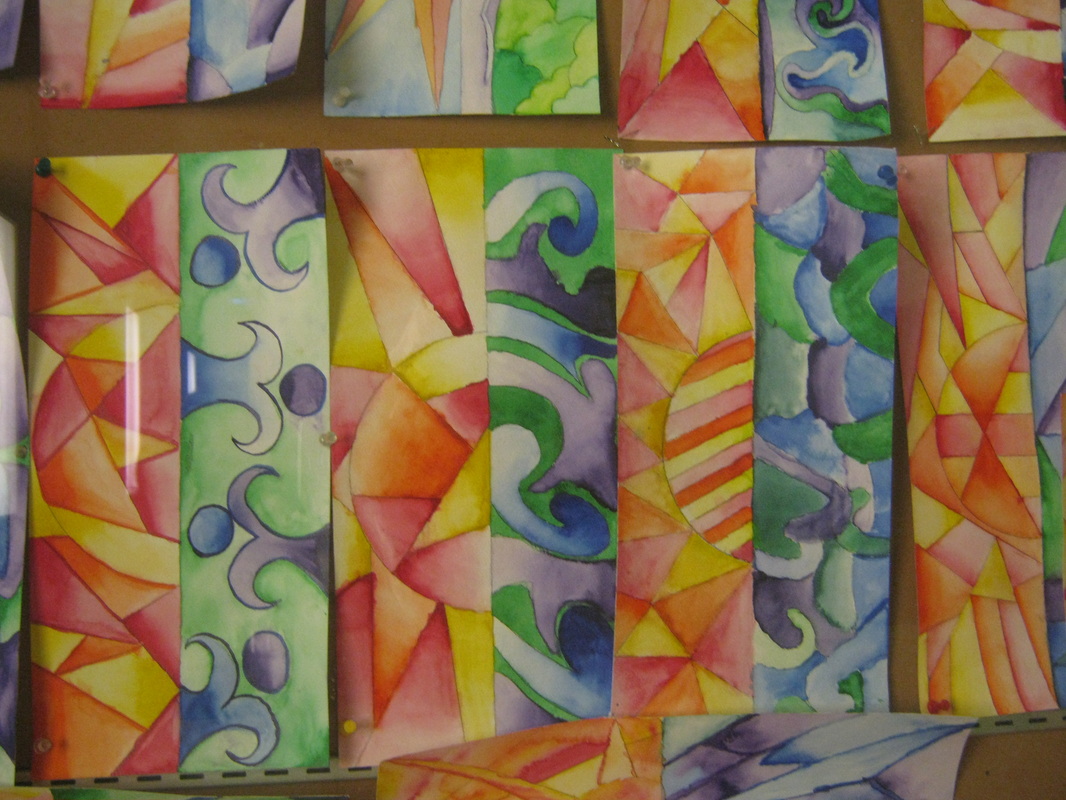
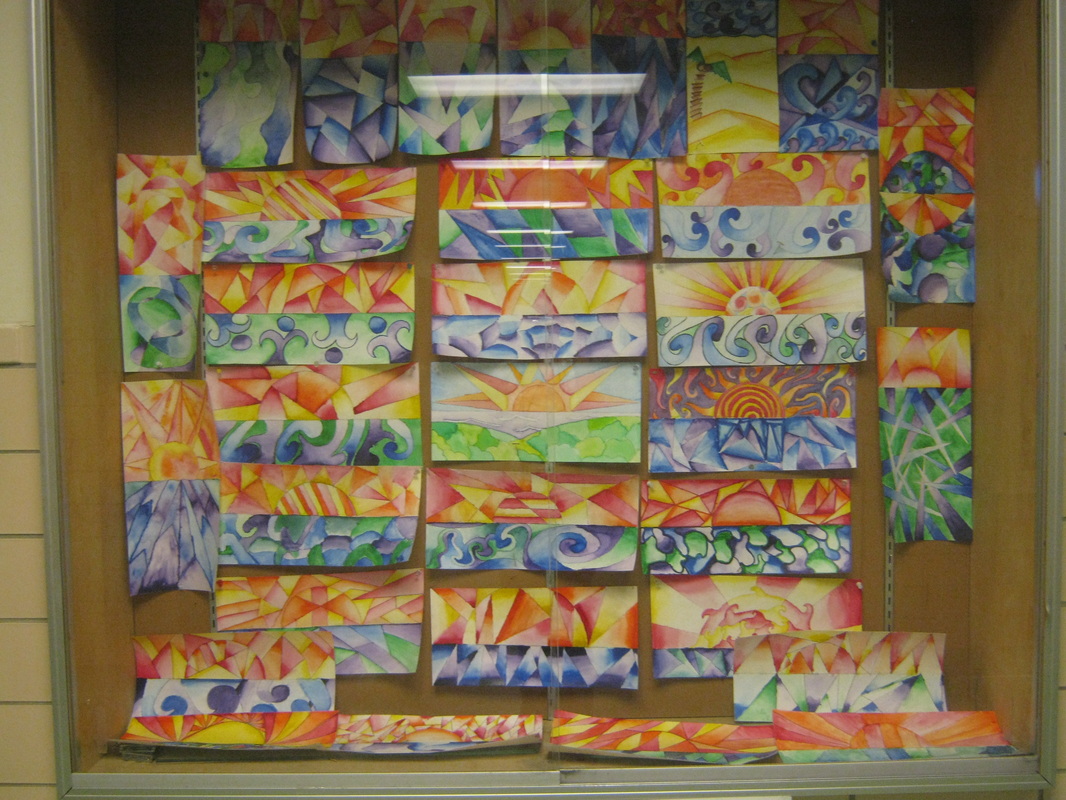
Watercolor Gradient Value
Students will practice a skill technique by pulling a watercolor gradient value drawing with paint. Each student will create a sunrise/sunset and break up their composition into at least 25 sections. Each section will then be filled with a gradient of watercolor.
| watercolor_gradation.docx |


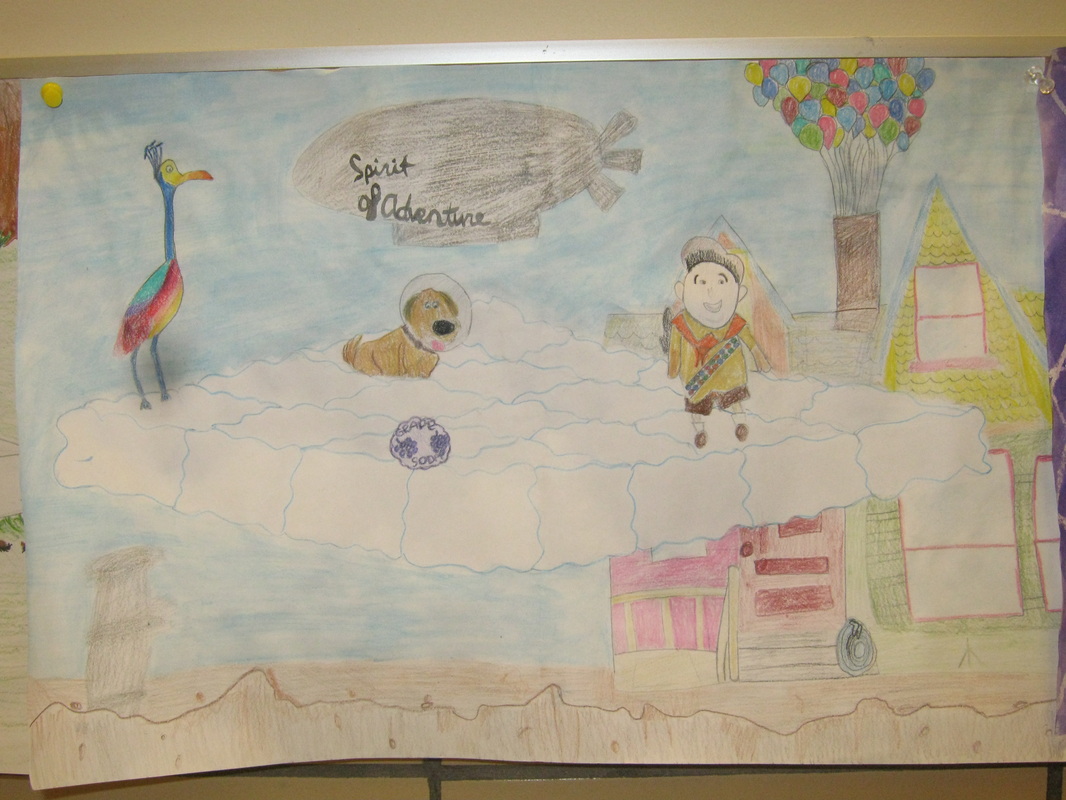
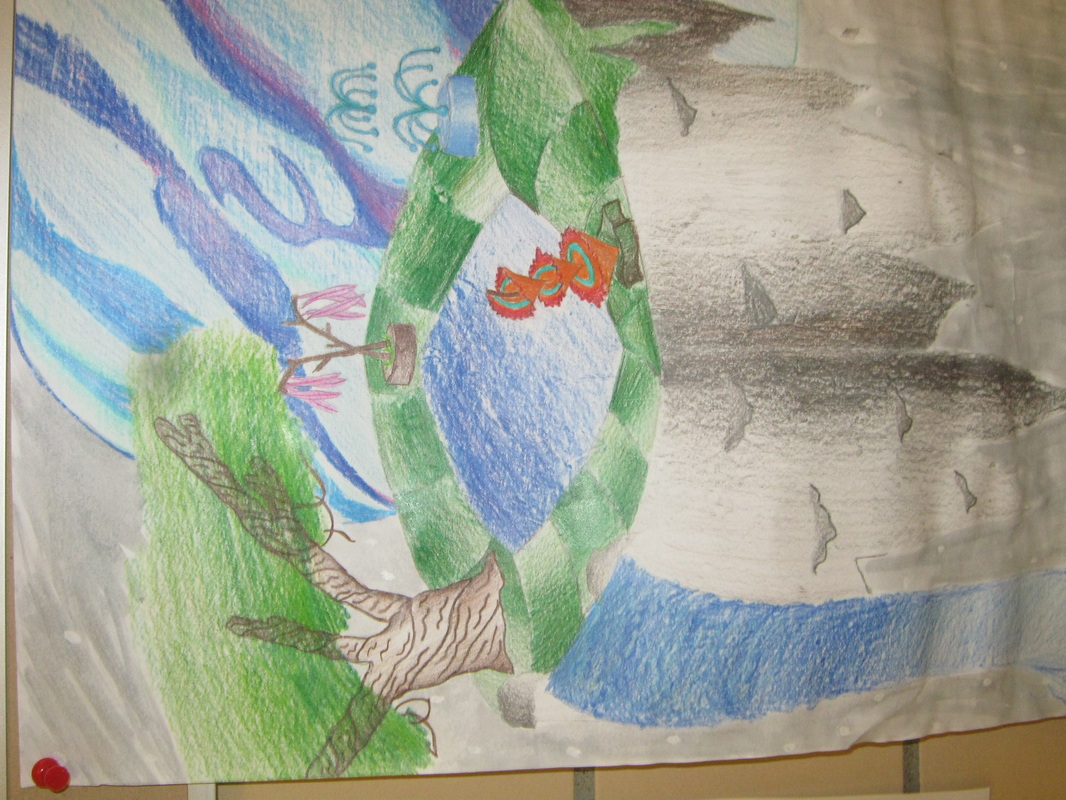
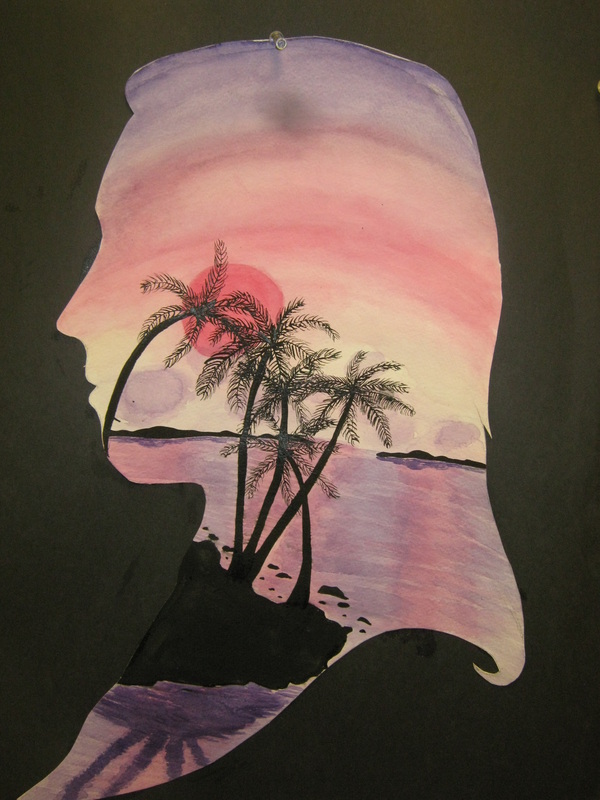
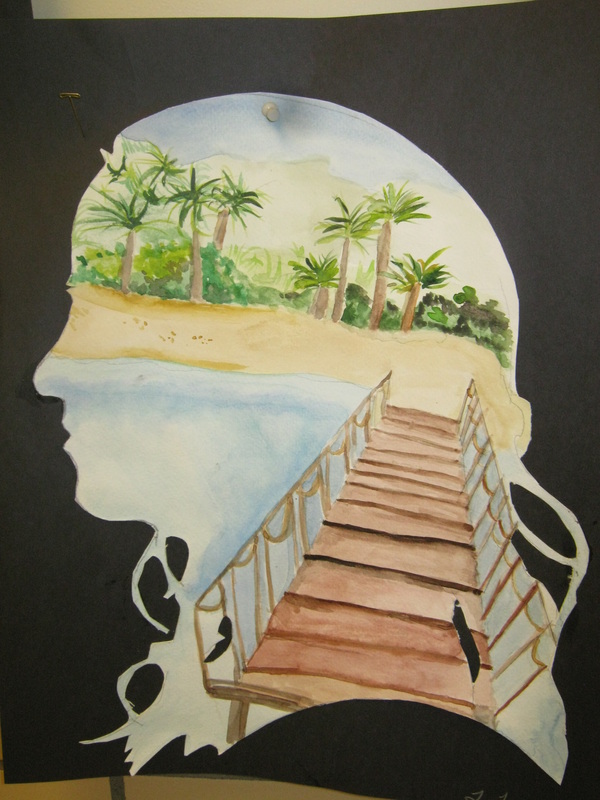
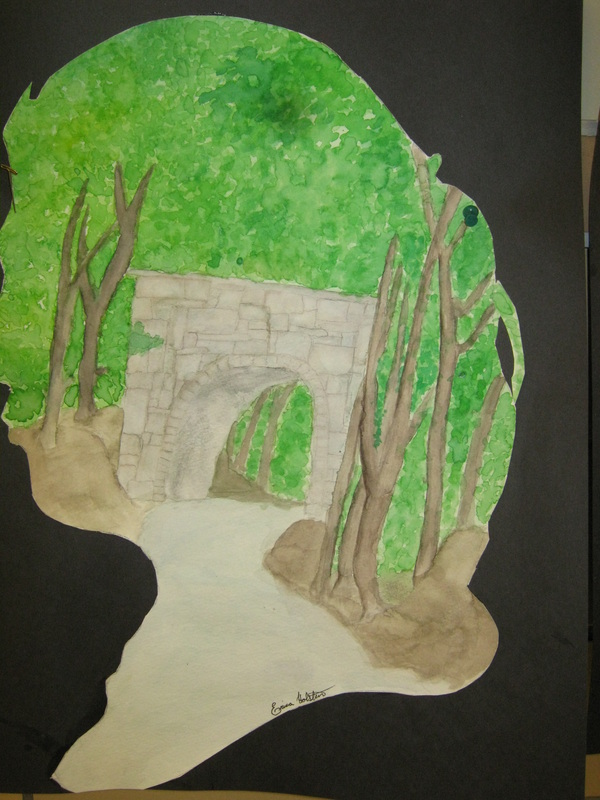
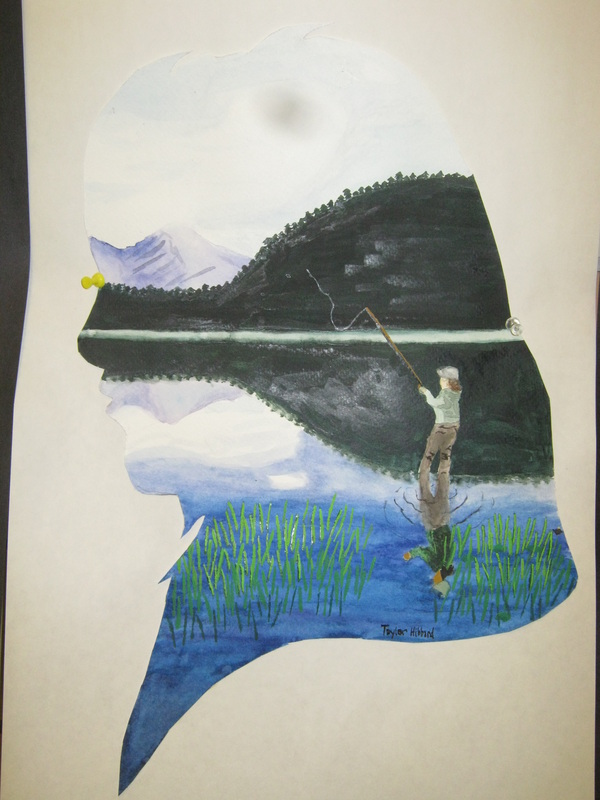
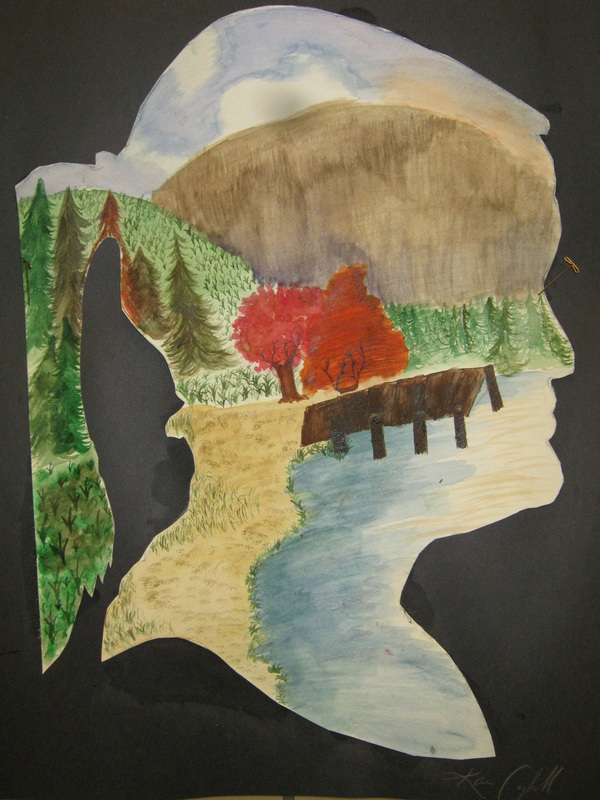
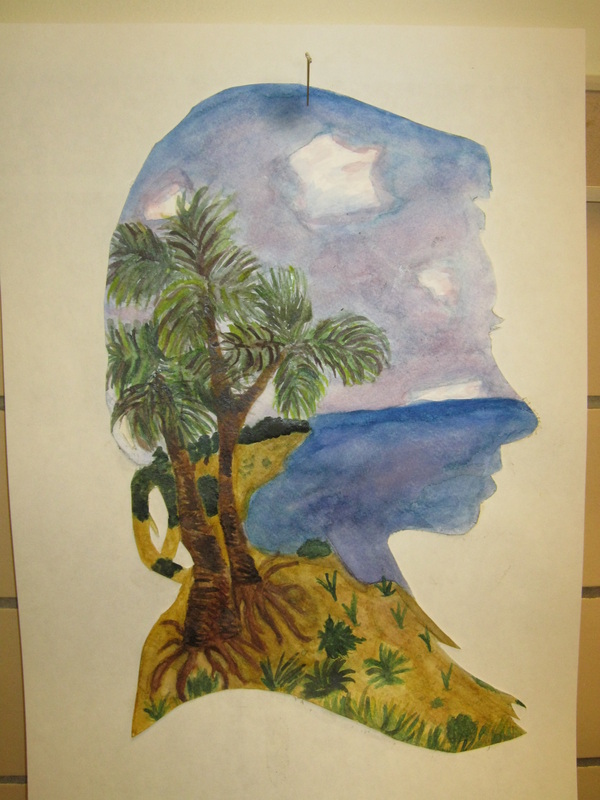
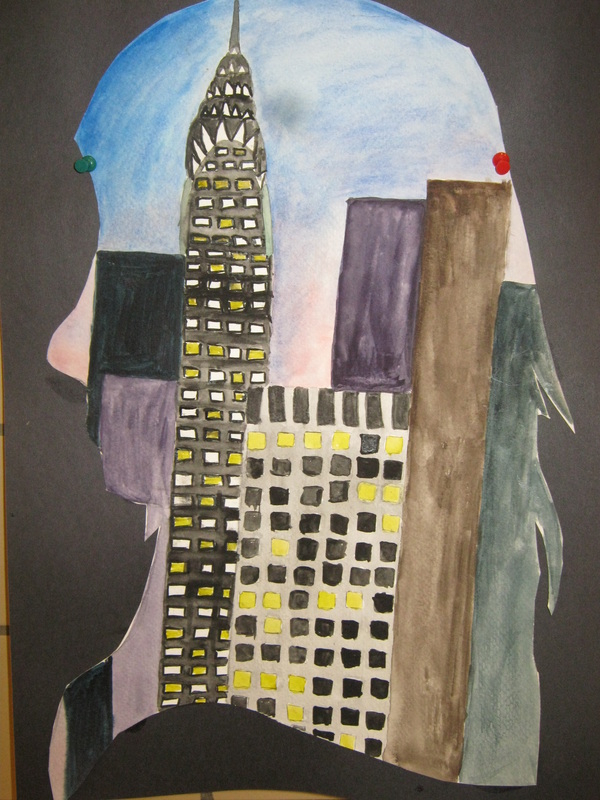
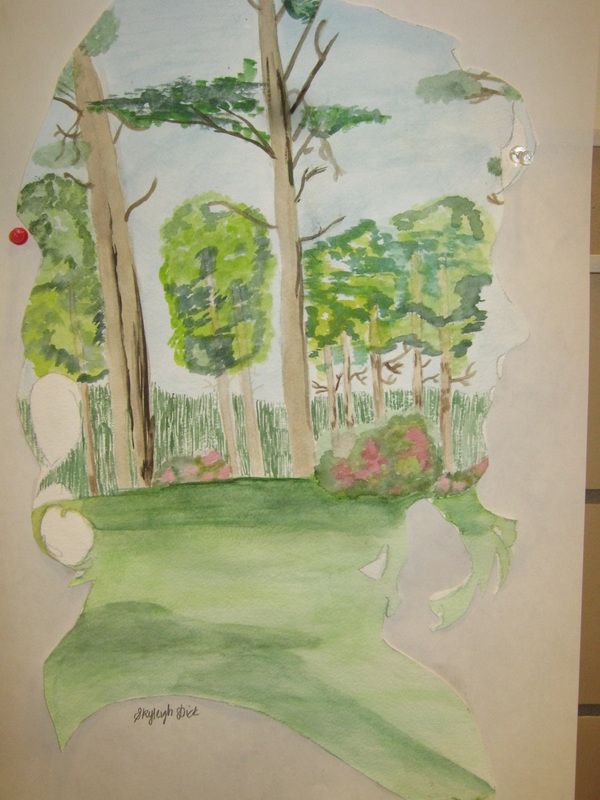
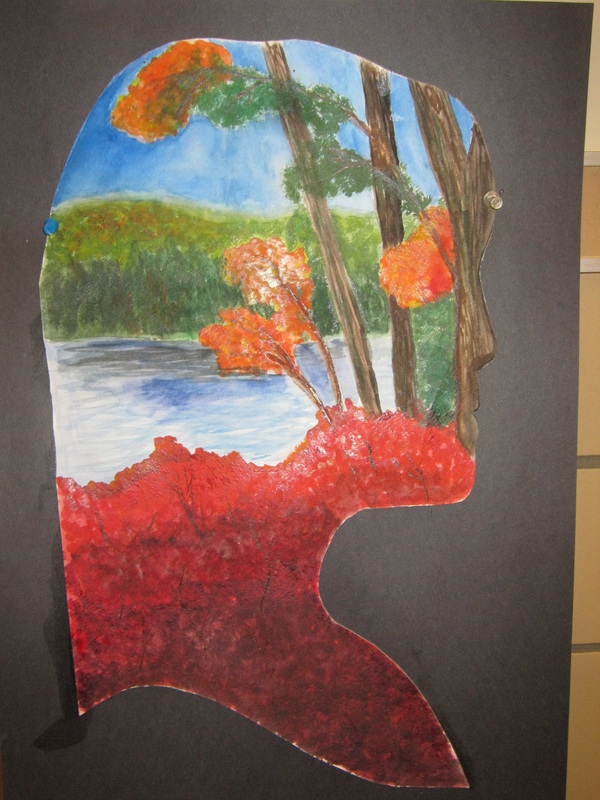
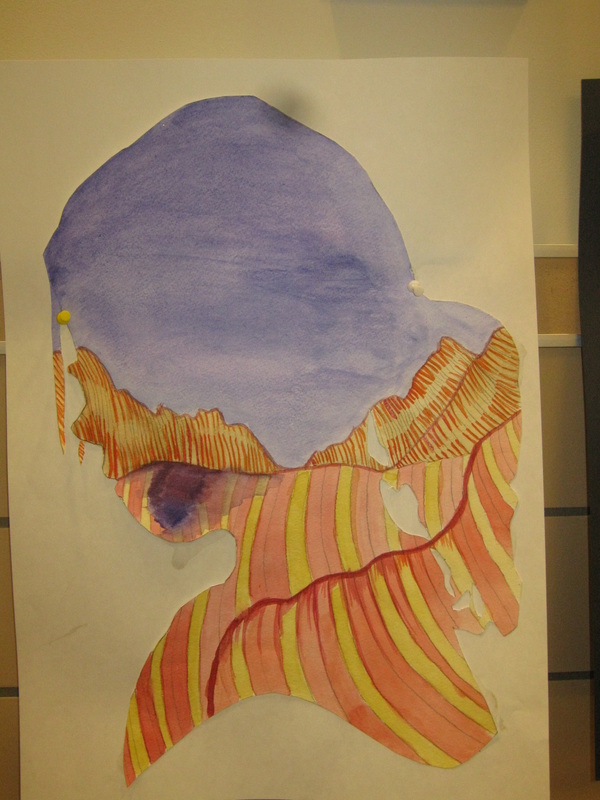
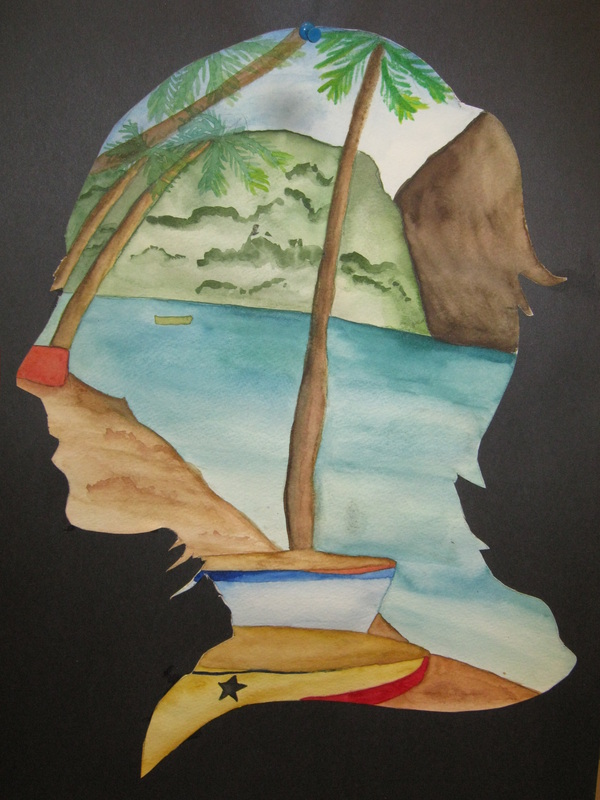
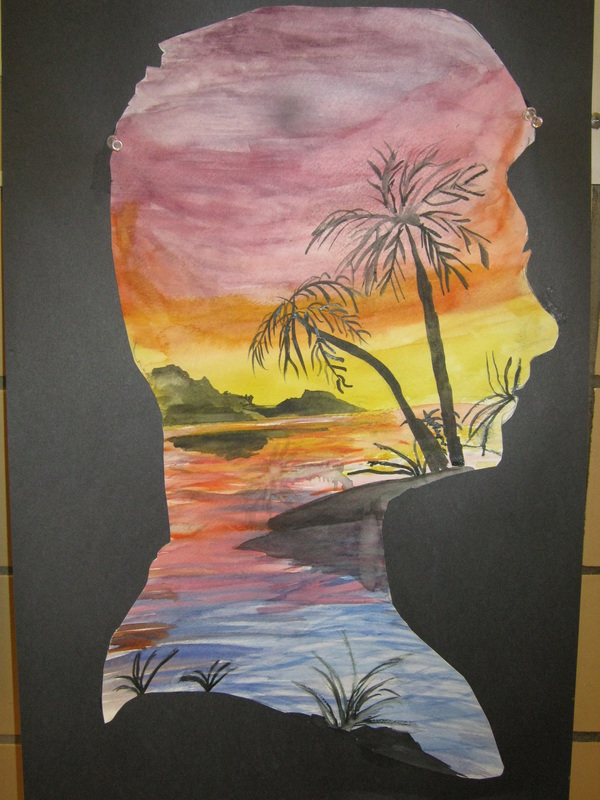
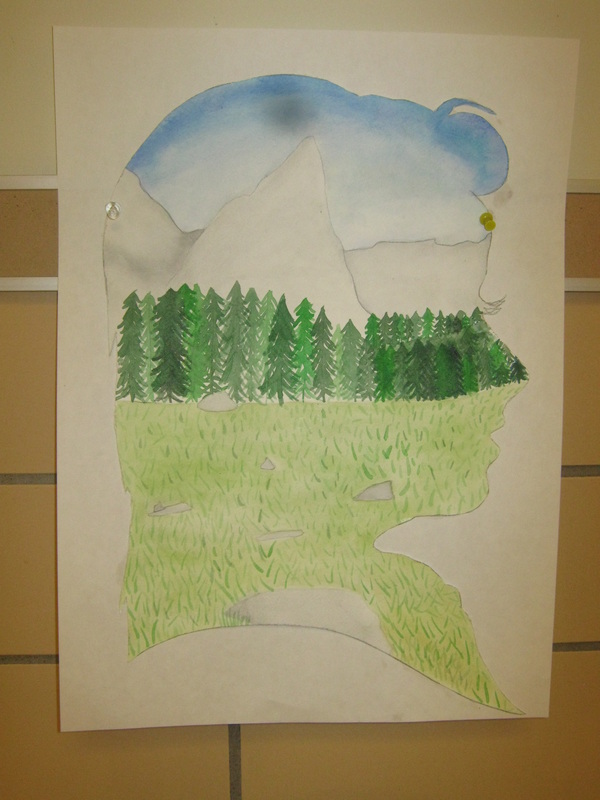
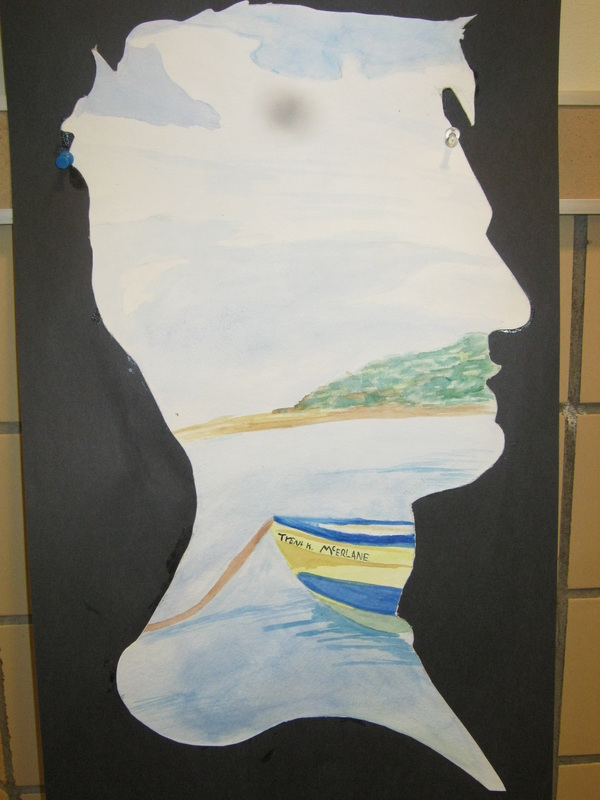
Watercolor Silhouette Landscapes
Students, its cold, and maybe your daydreaming of vacation already...so lets illustrate your daydream! I want to you choose a place you'd like to be and show that in a watercolor painting inscribed in your own silhouette


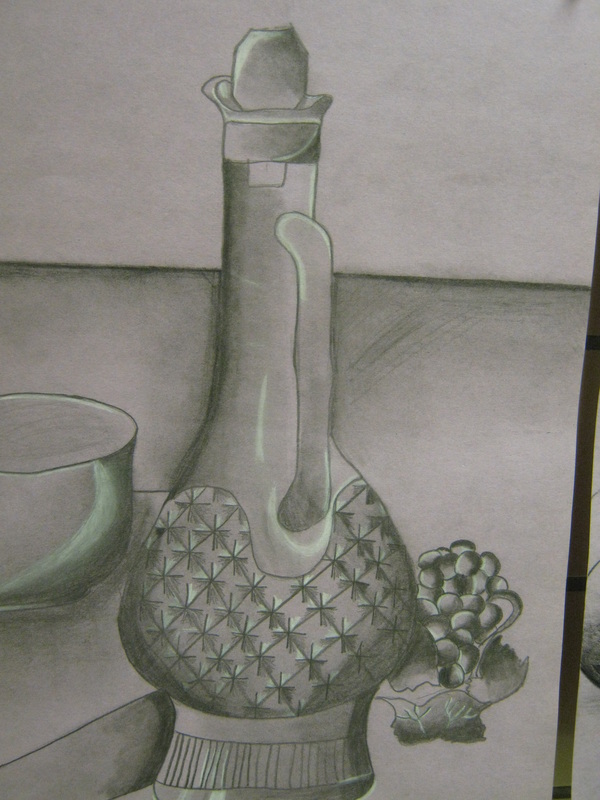
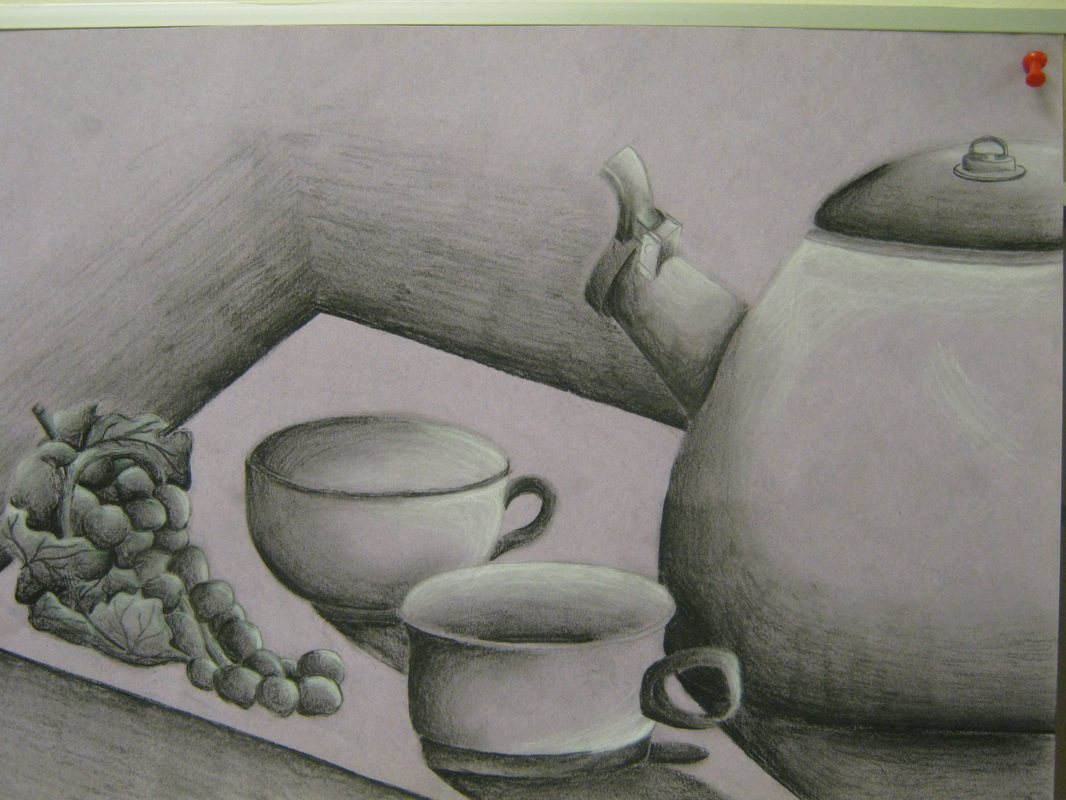
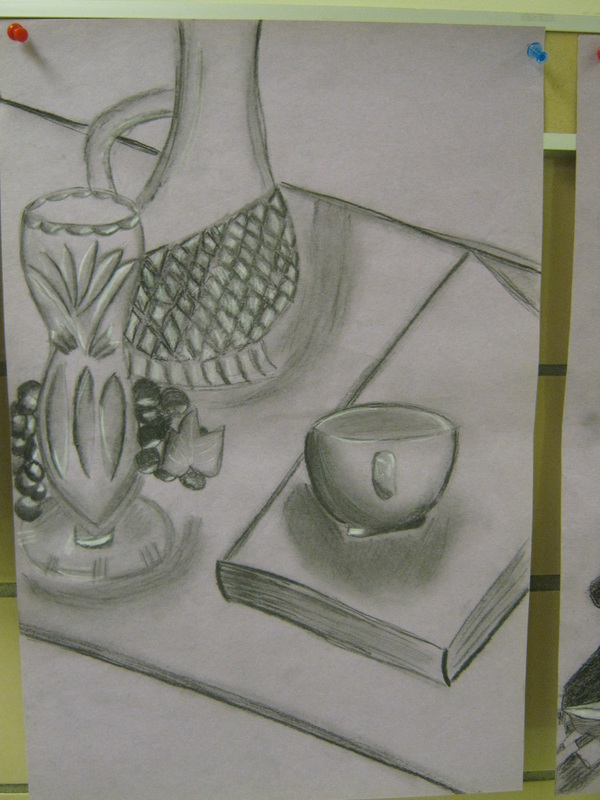
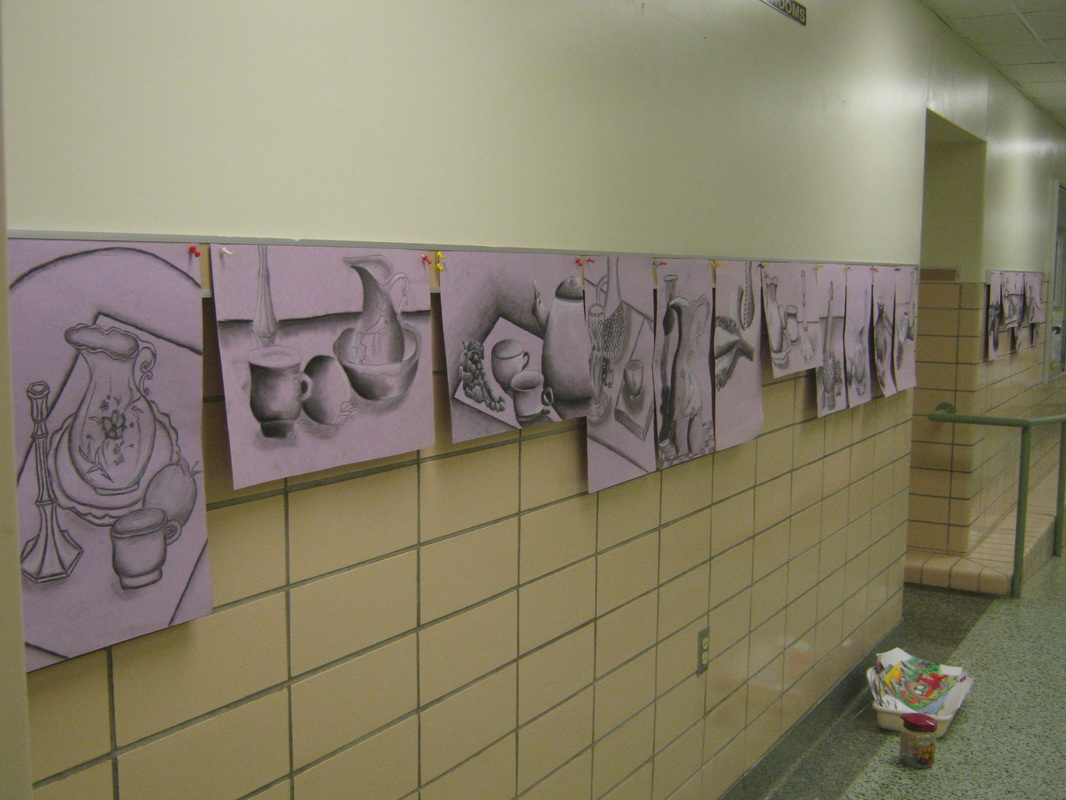
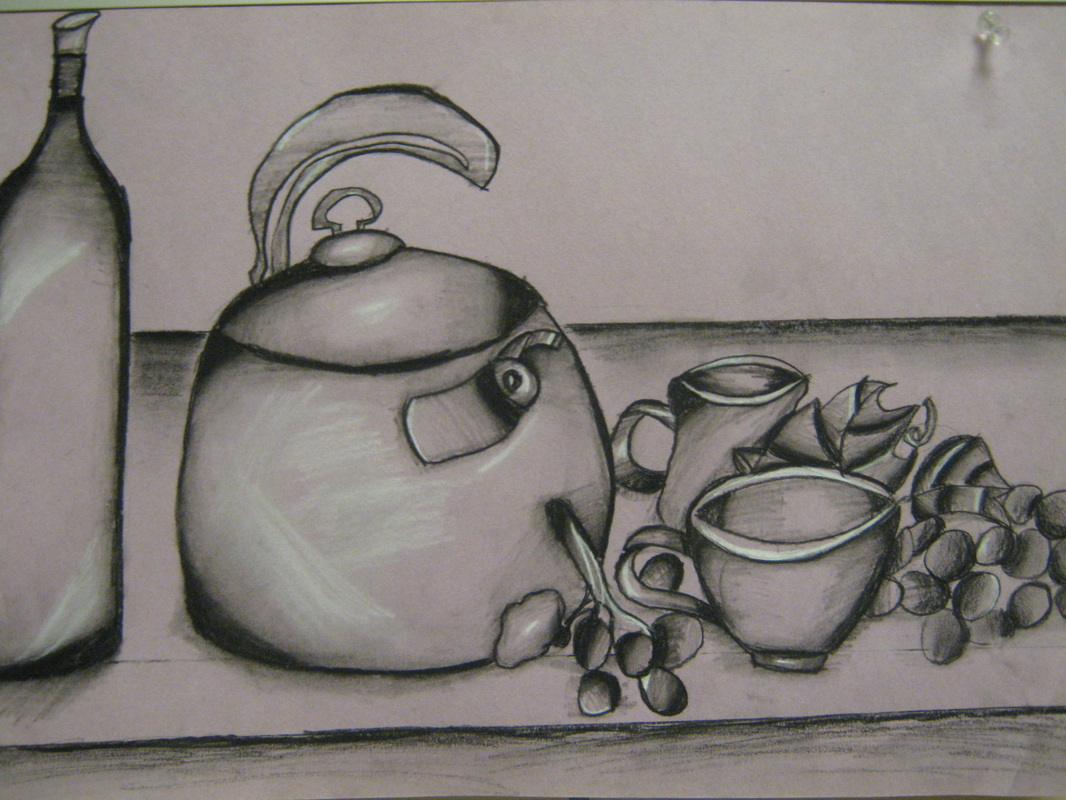
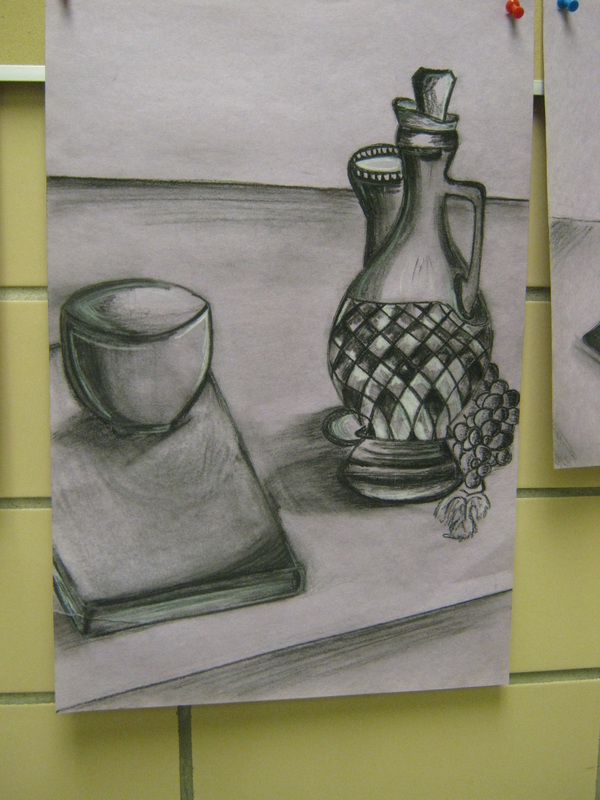
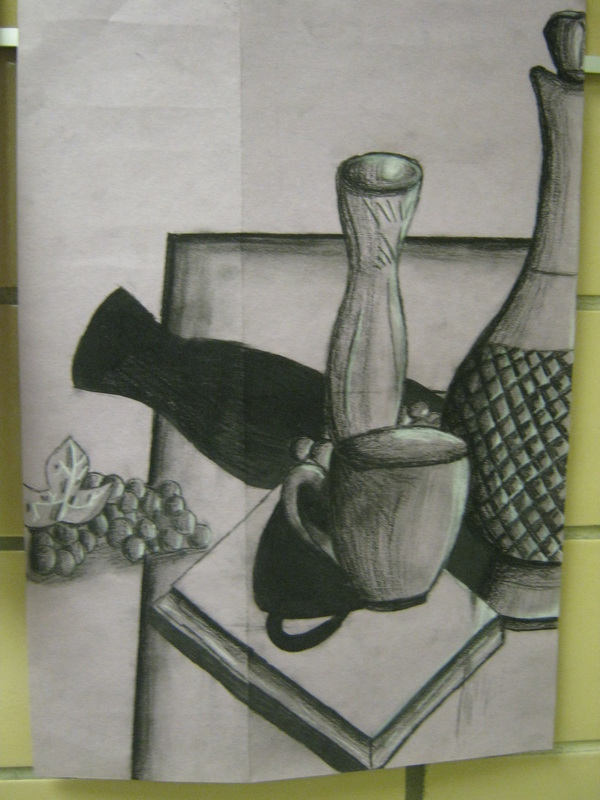
Still Life With Charcoal
Students took a close look at old and contemporary European Art to compose thier own still life using charcoal and white conte crayon.
| still_life_handout.docx |


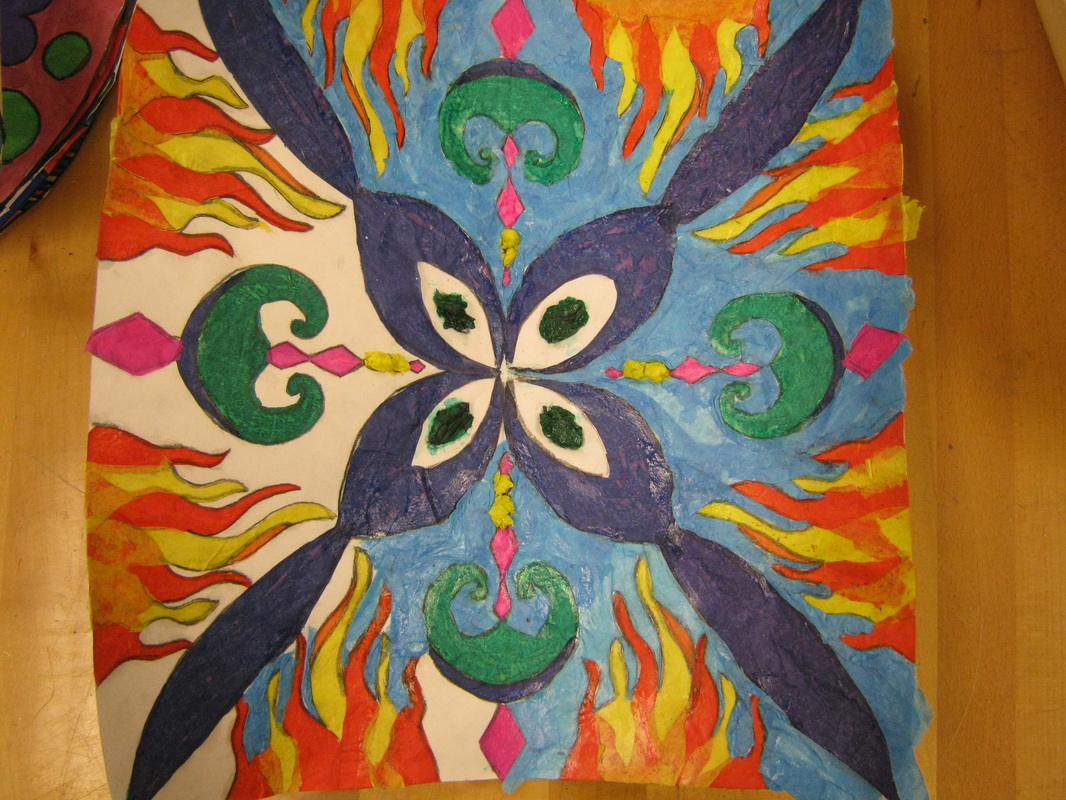
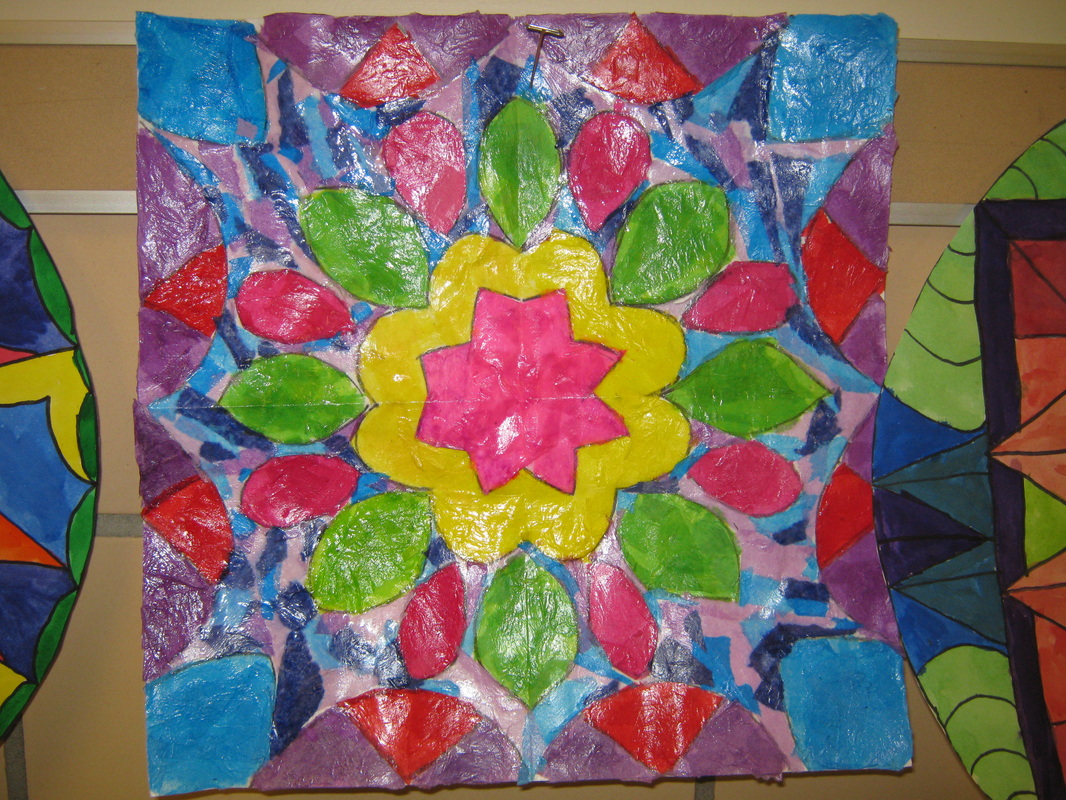
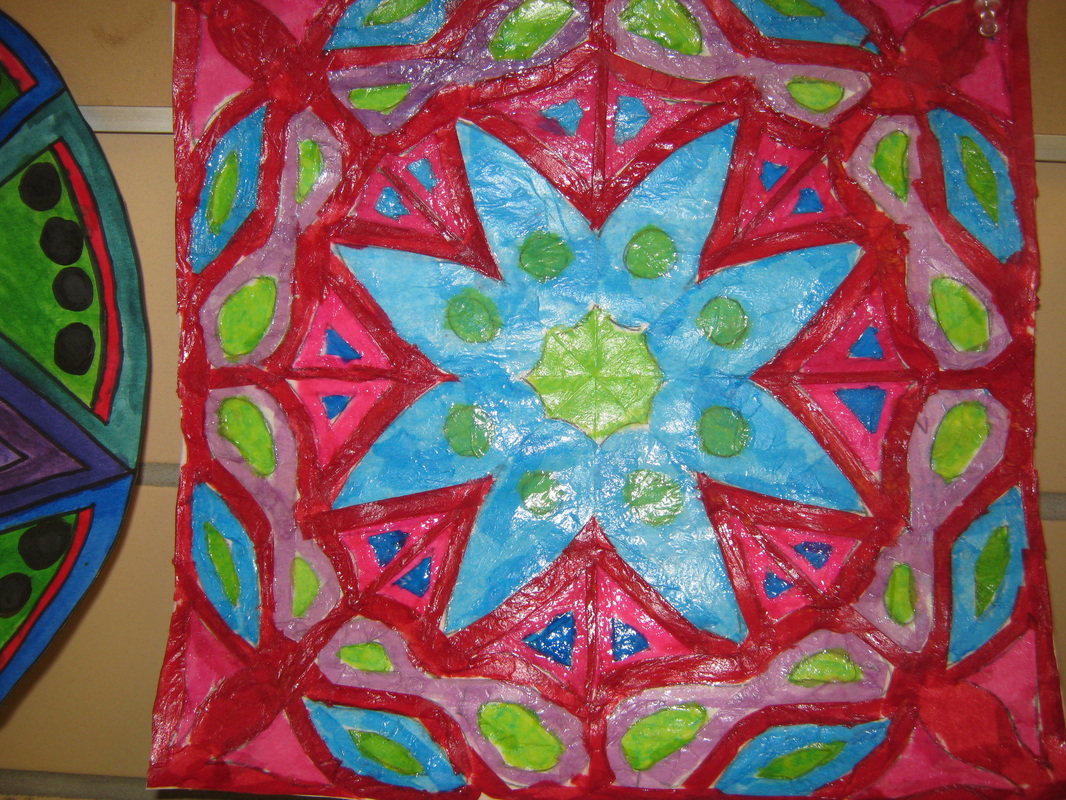
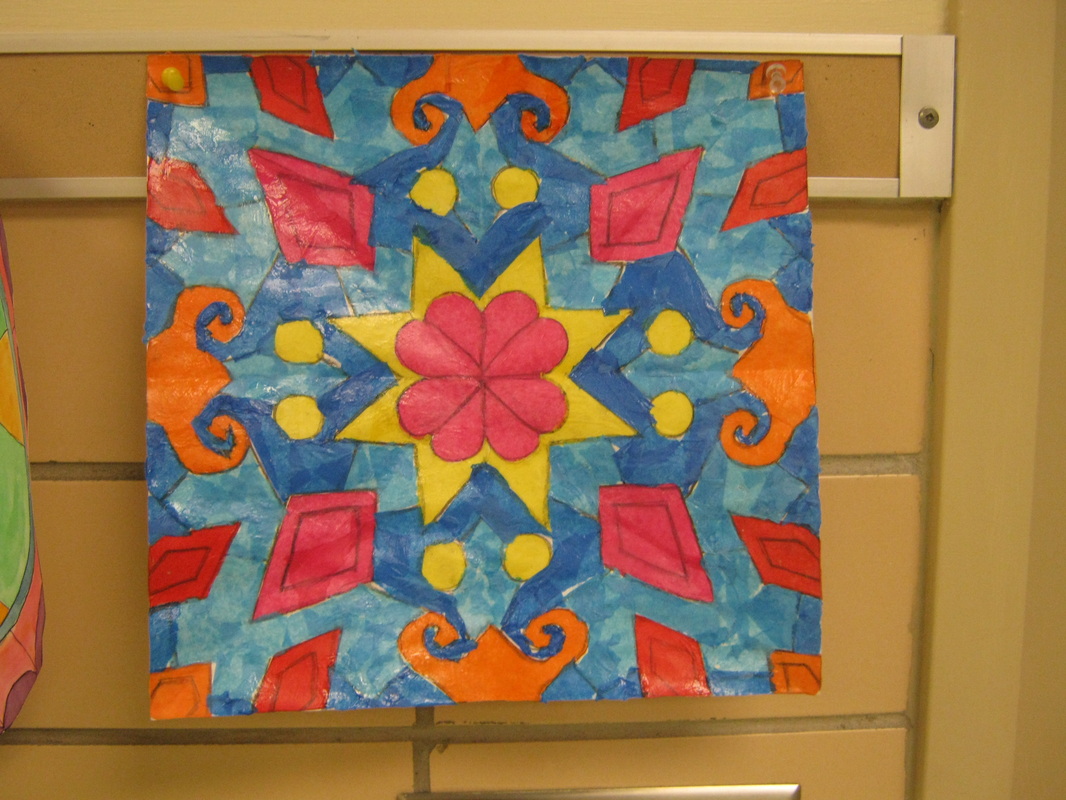
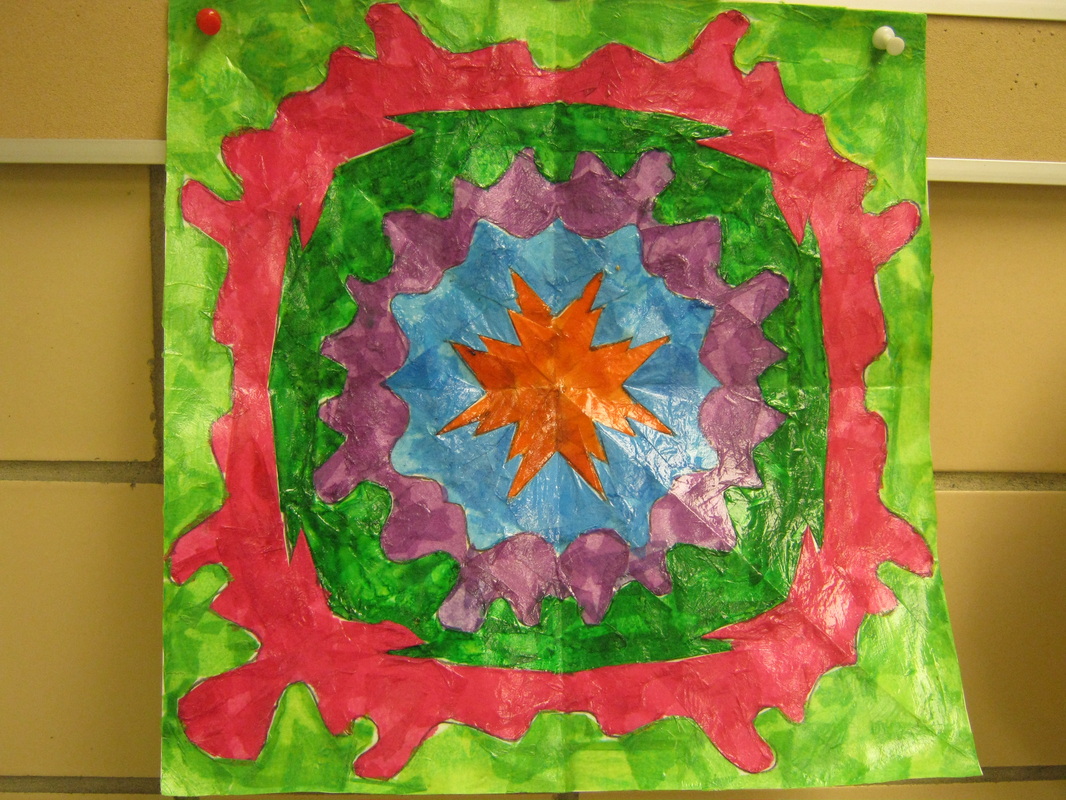
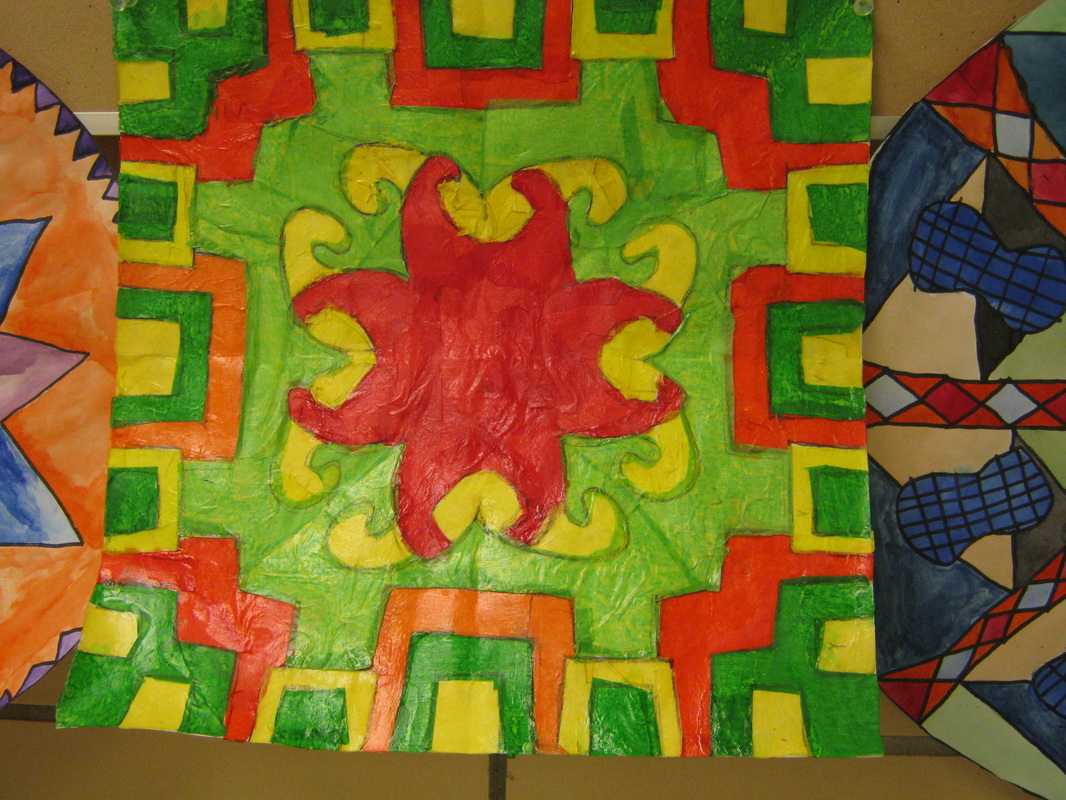
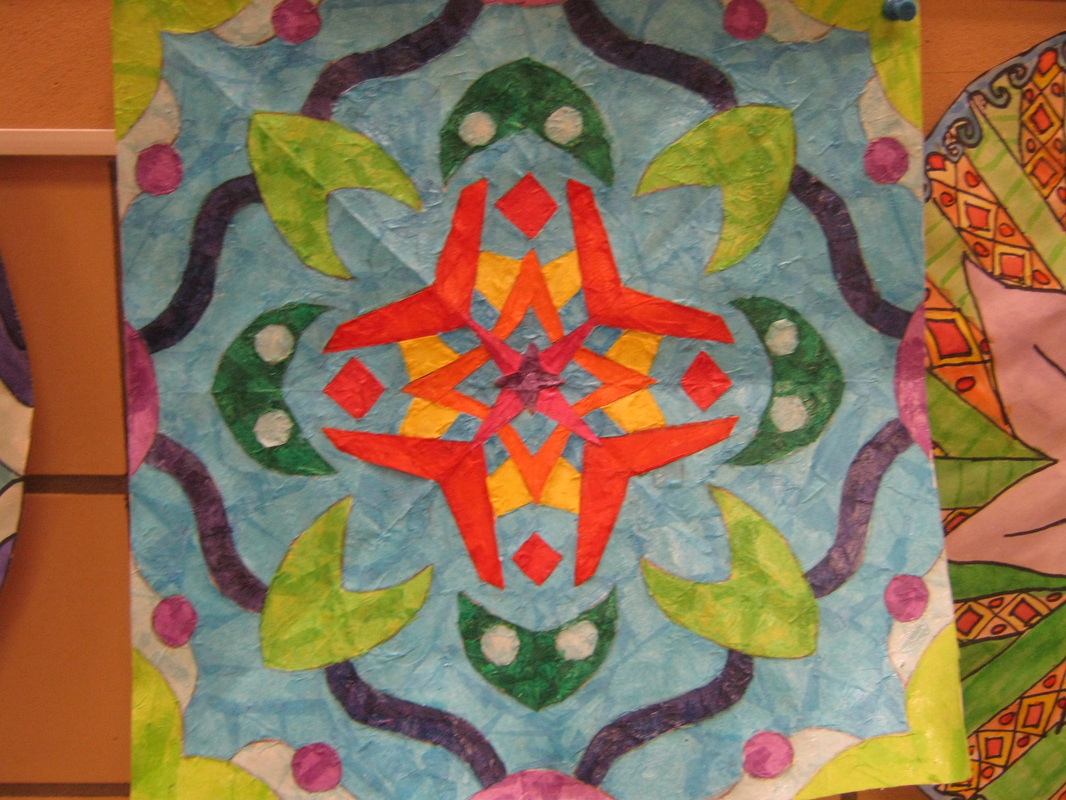
Kaleidoscopic Tissue Collage
Students focused on the grid coordinate system and radial symmetry to create their own kaleidoscopic design. By folding and transferring the design like a tessellation, each student could fill each area with tissue paper and acrylic gloss medium.
| kalediscope_collage.docx |


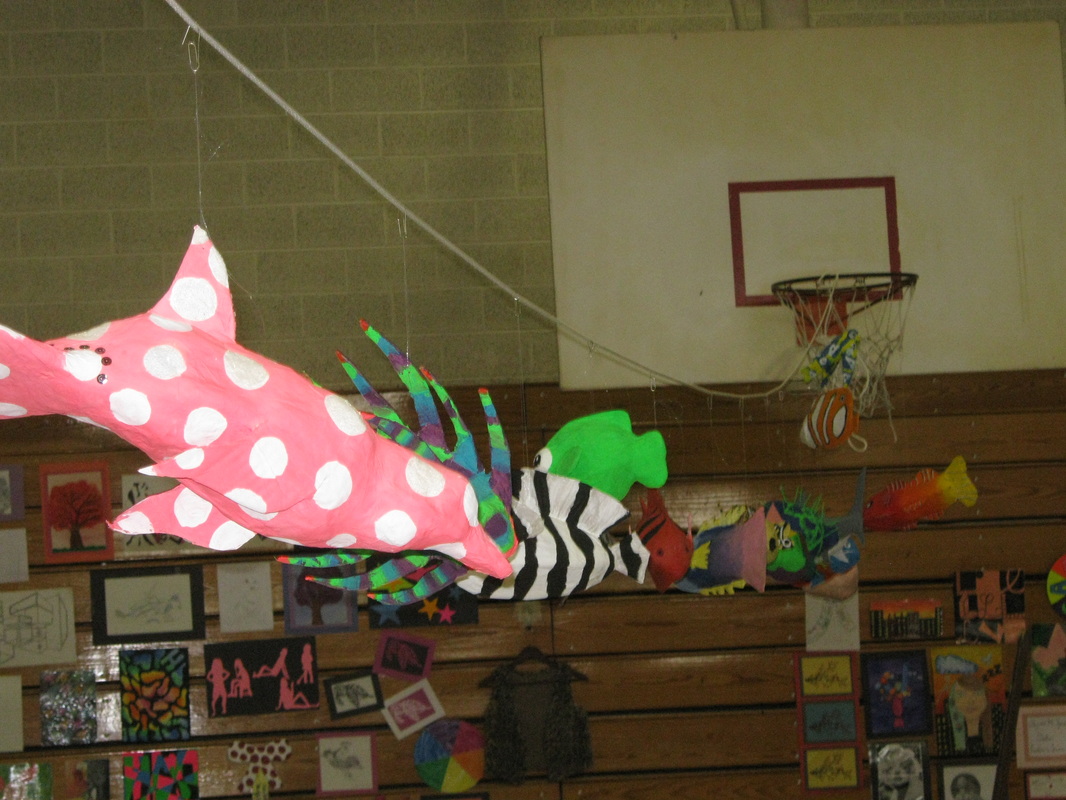
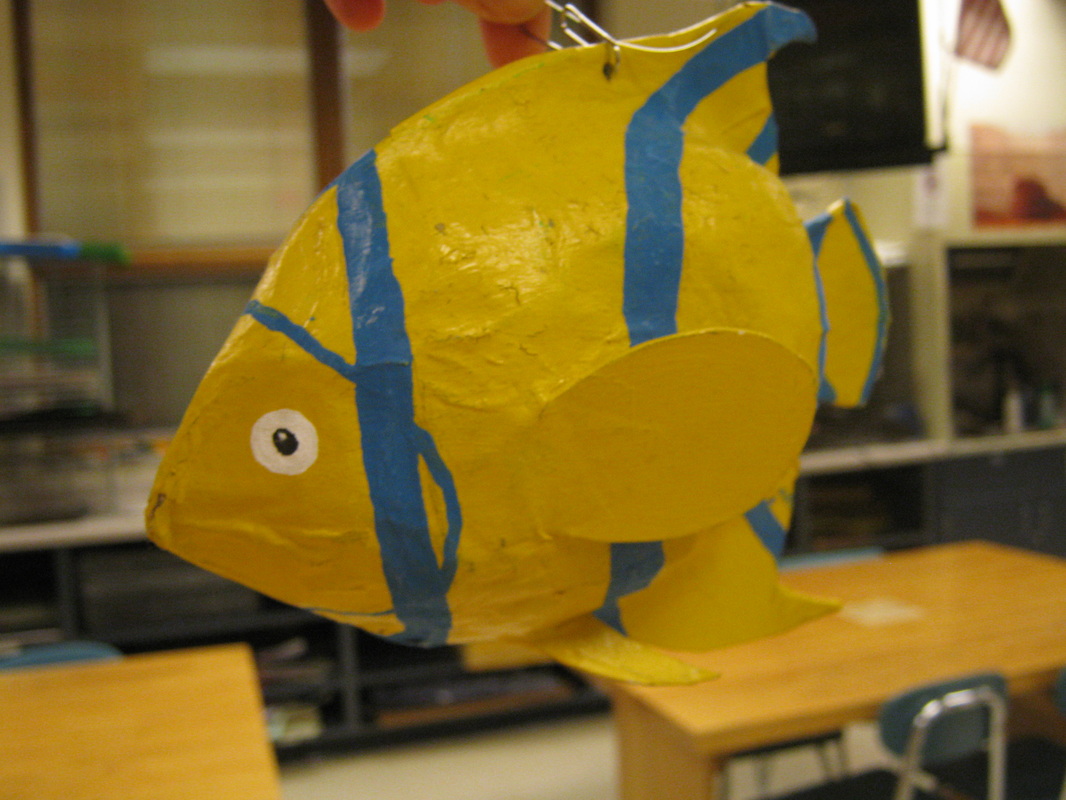
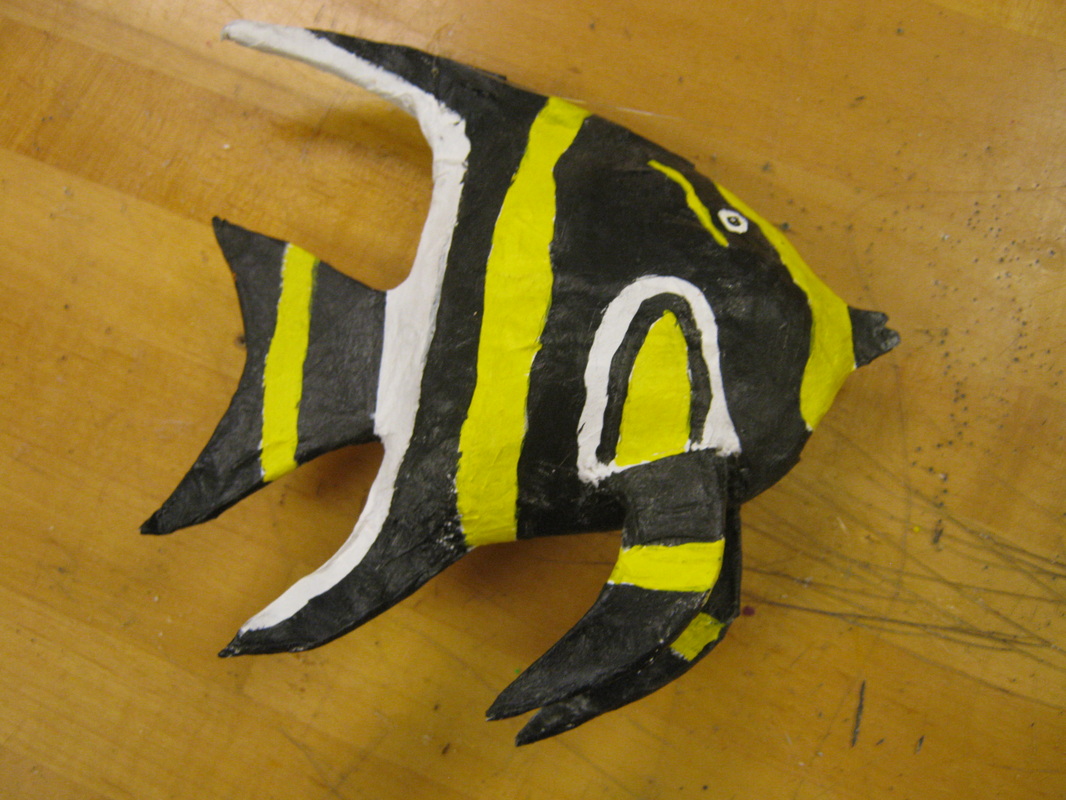
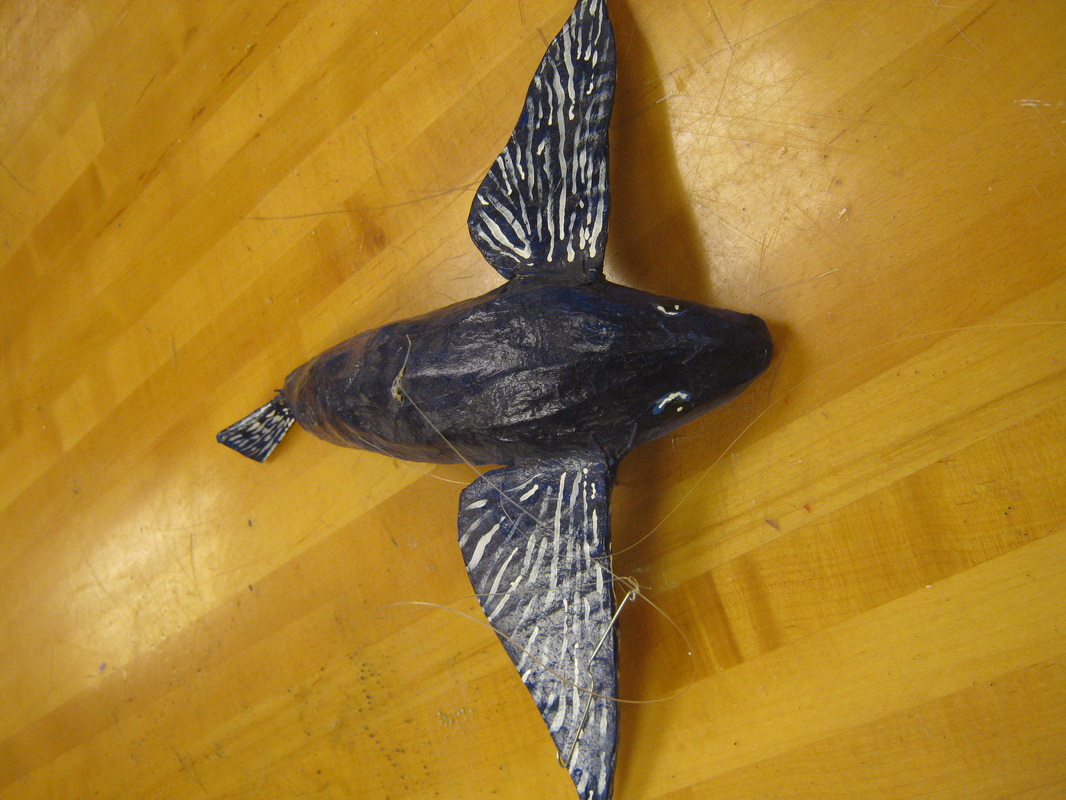
Fish Witch
Students make a cardboard armature and create an imaginary fish sculpture! Check it out as we hung them from the basketball hoops in the gym for the Art Show.
| paper_mache_fish.docx |


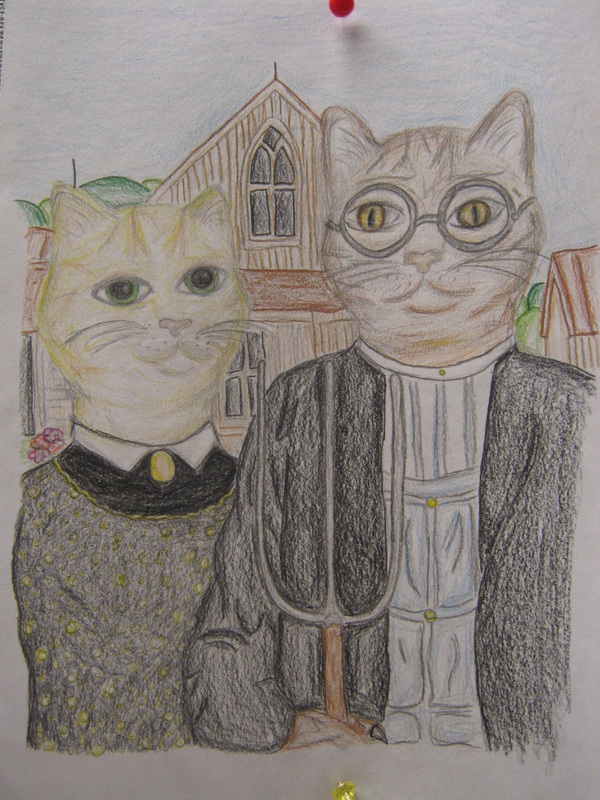
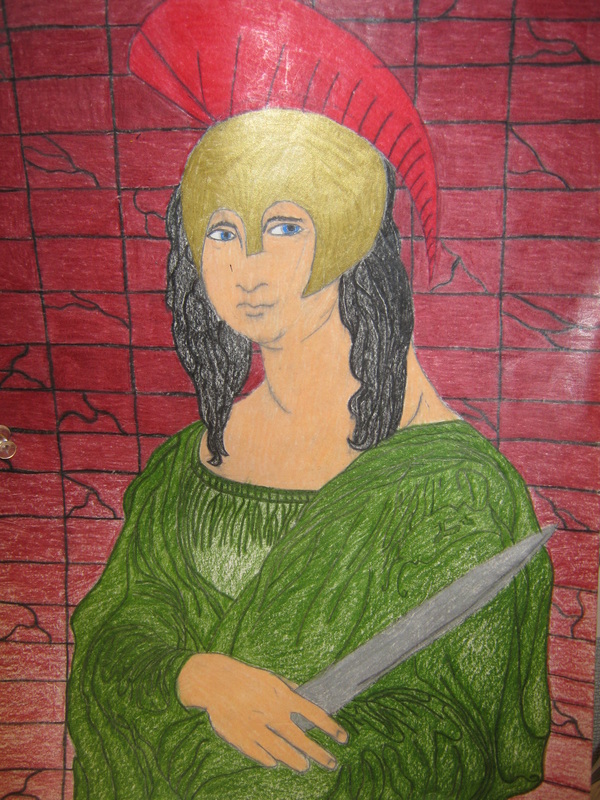
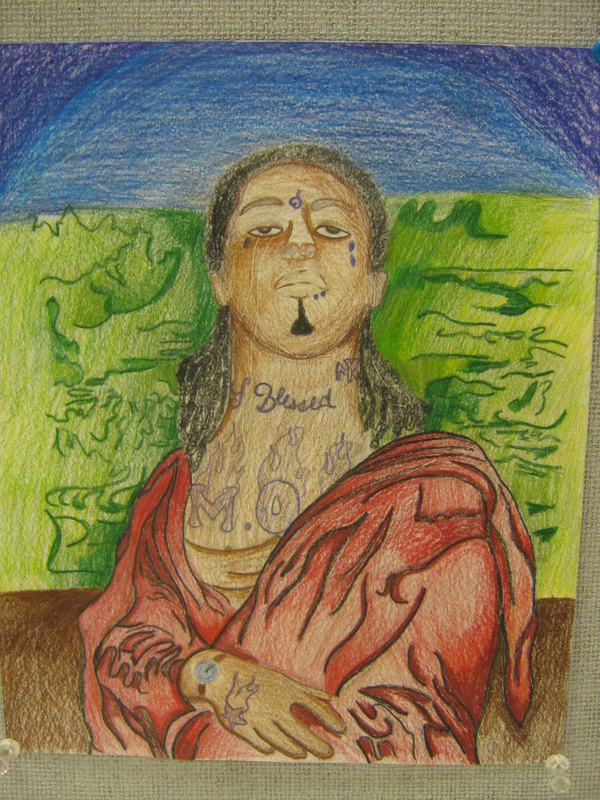
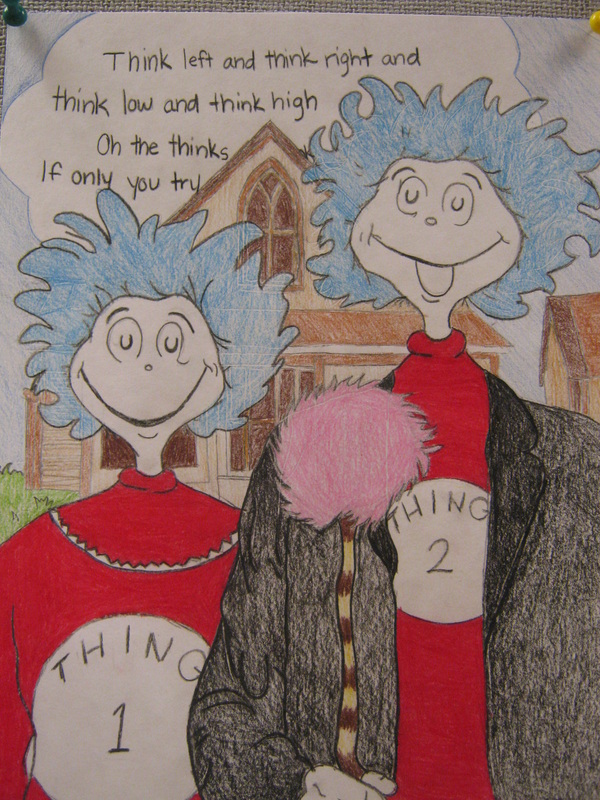
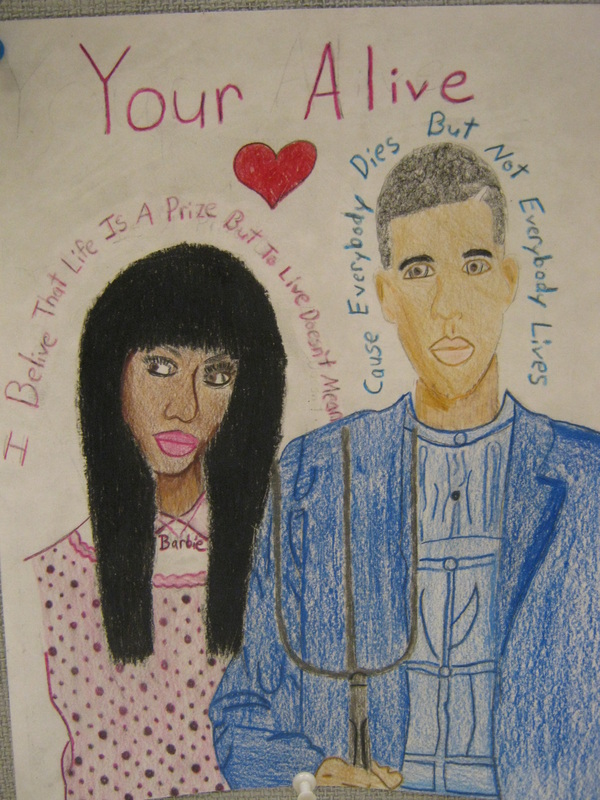
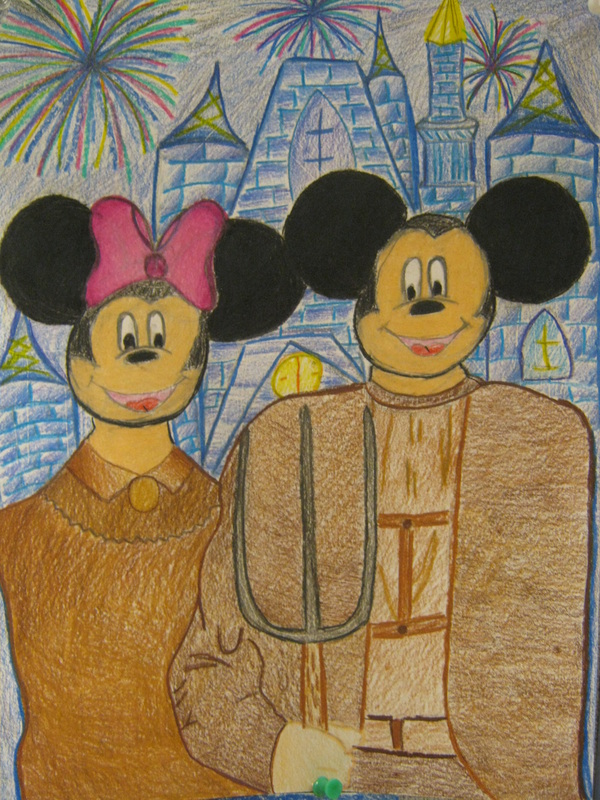
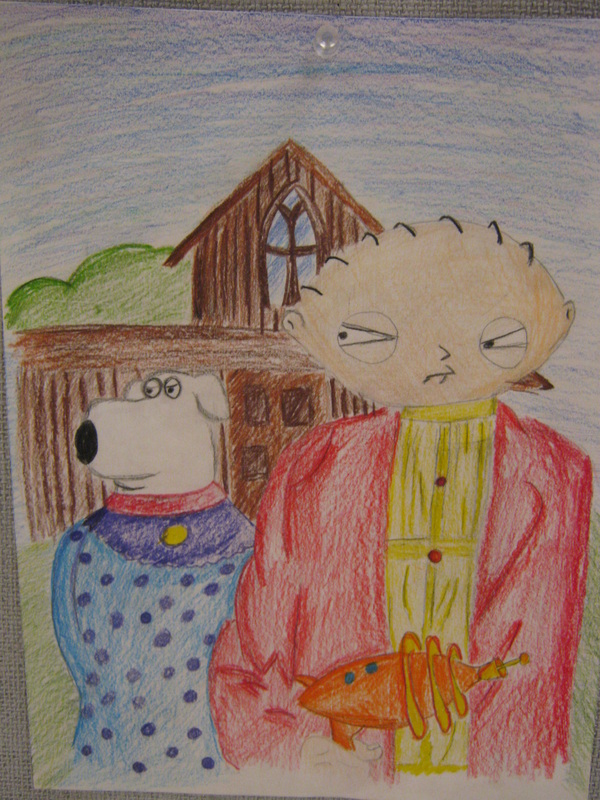
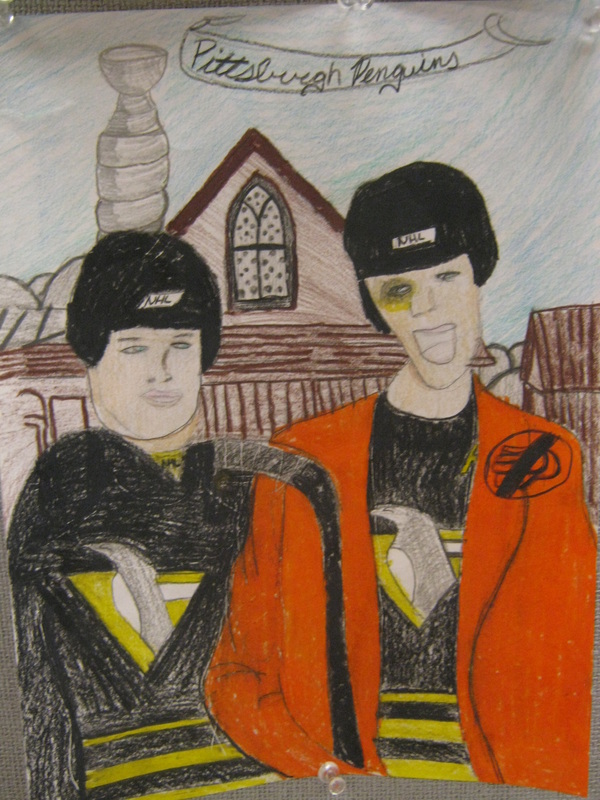
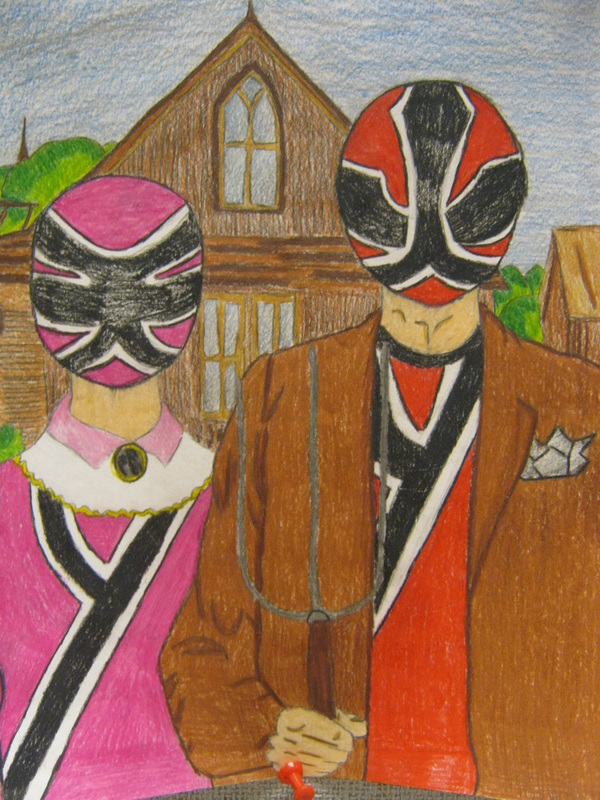
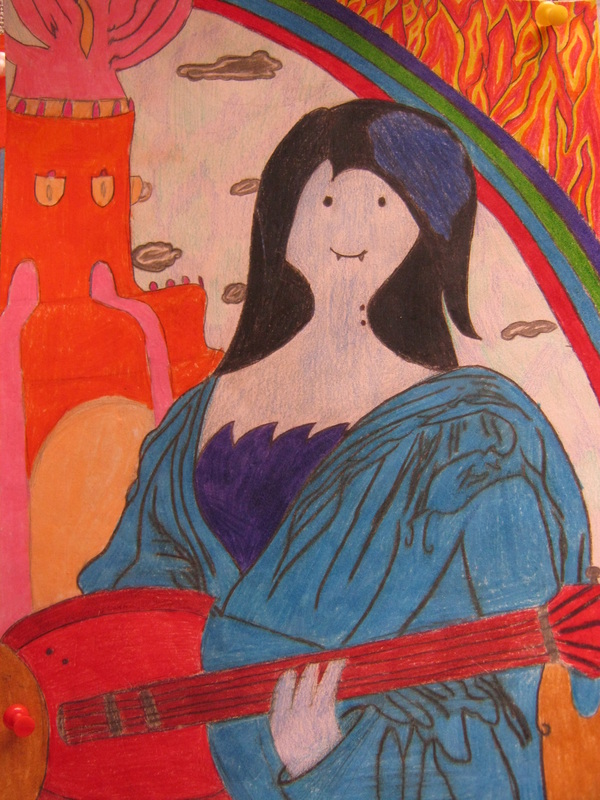
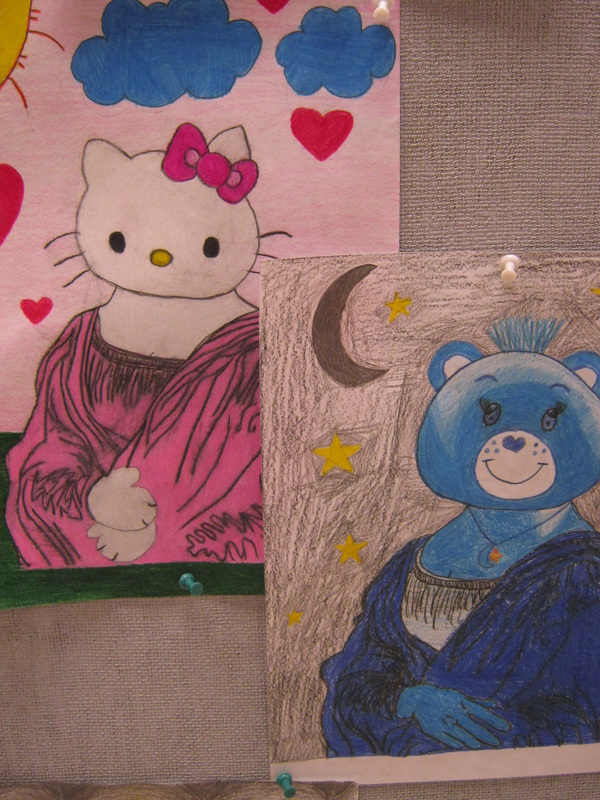
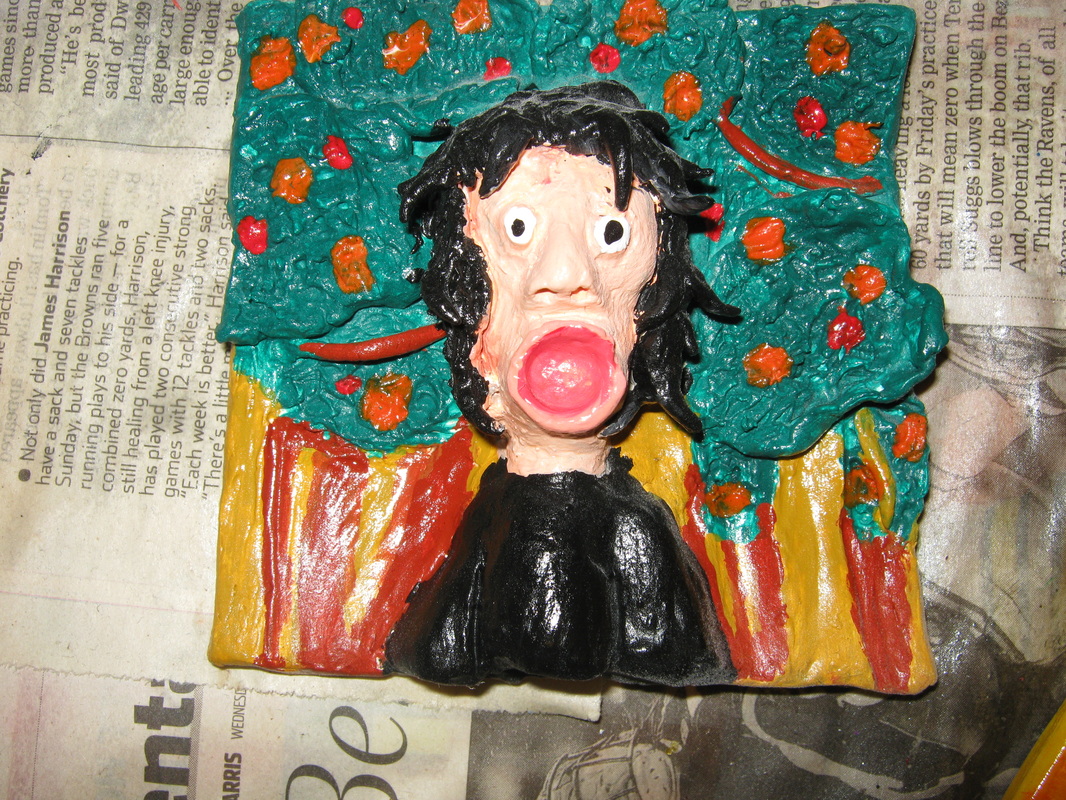
Parody Drawing
Students studied paintings Mona Lisa and American Gothic and were instructed to make a parody, a funny spin, on the artwork. Check out the results!


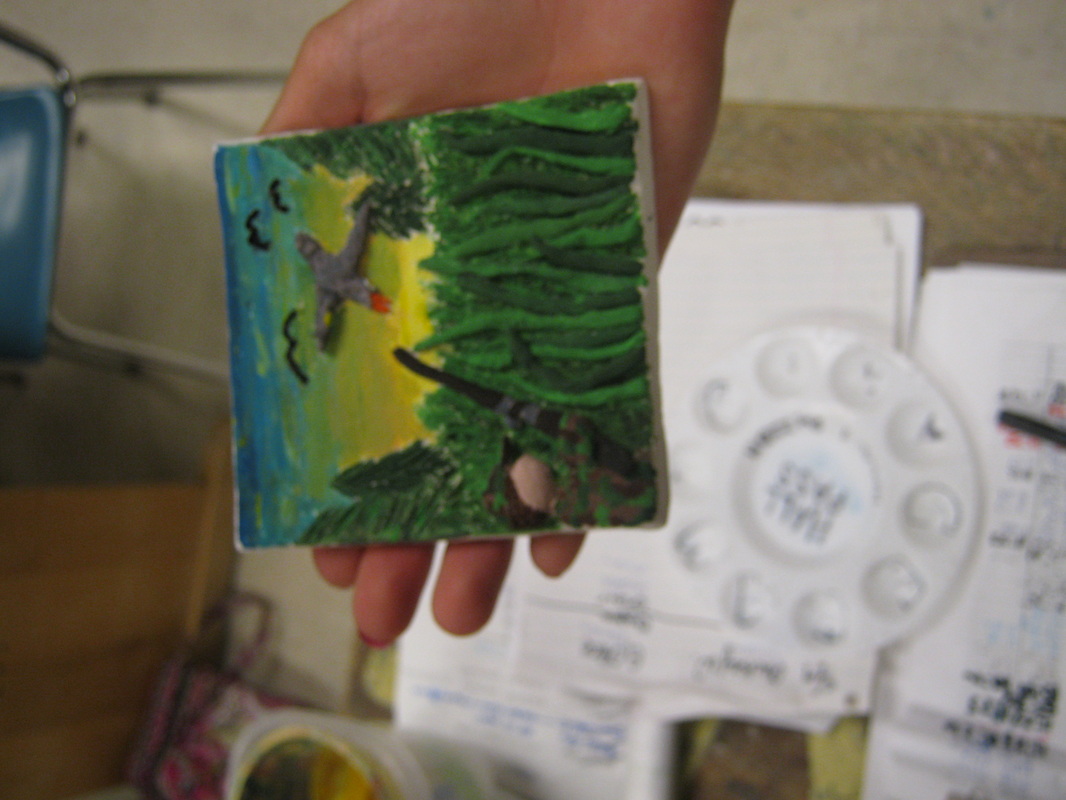
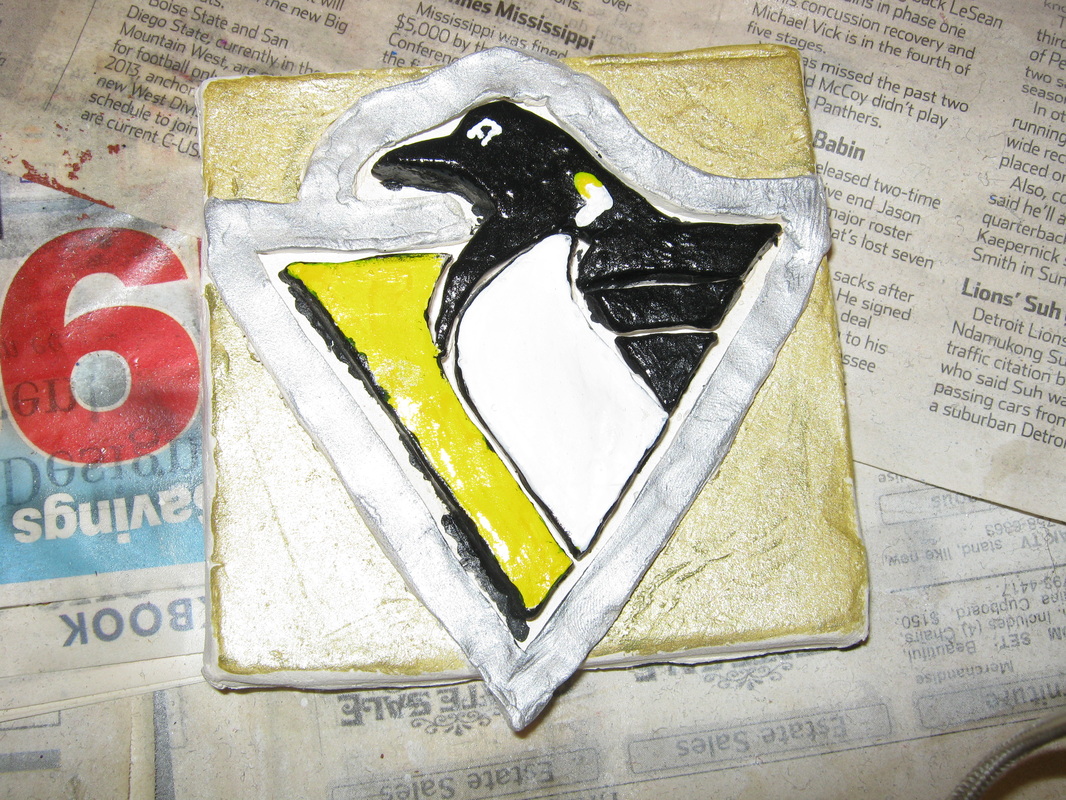
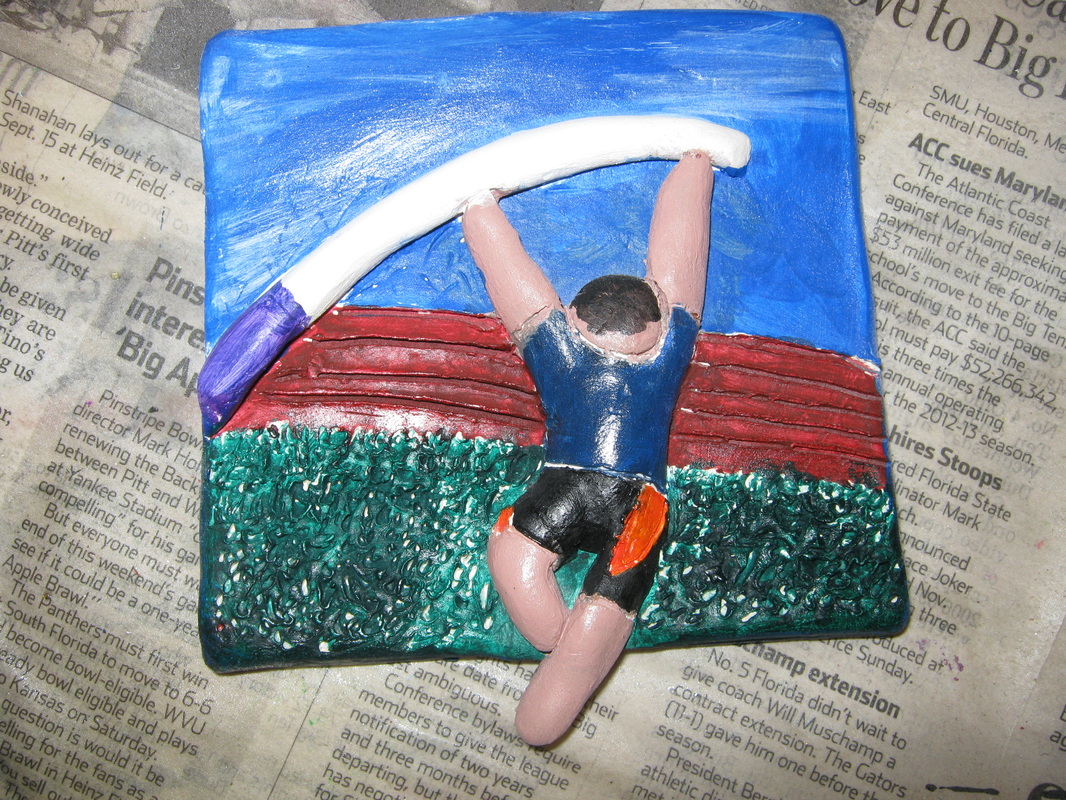
Ceramic Tile
Students used basic clay form to create a 4x4 ceramic tile


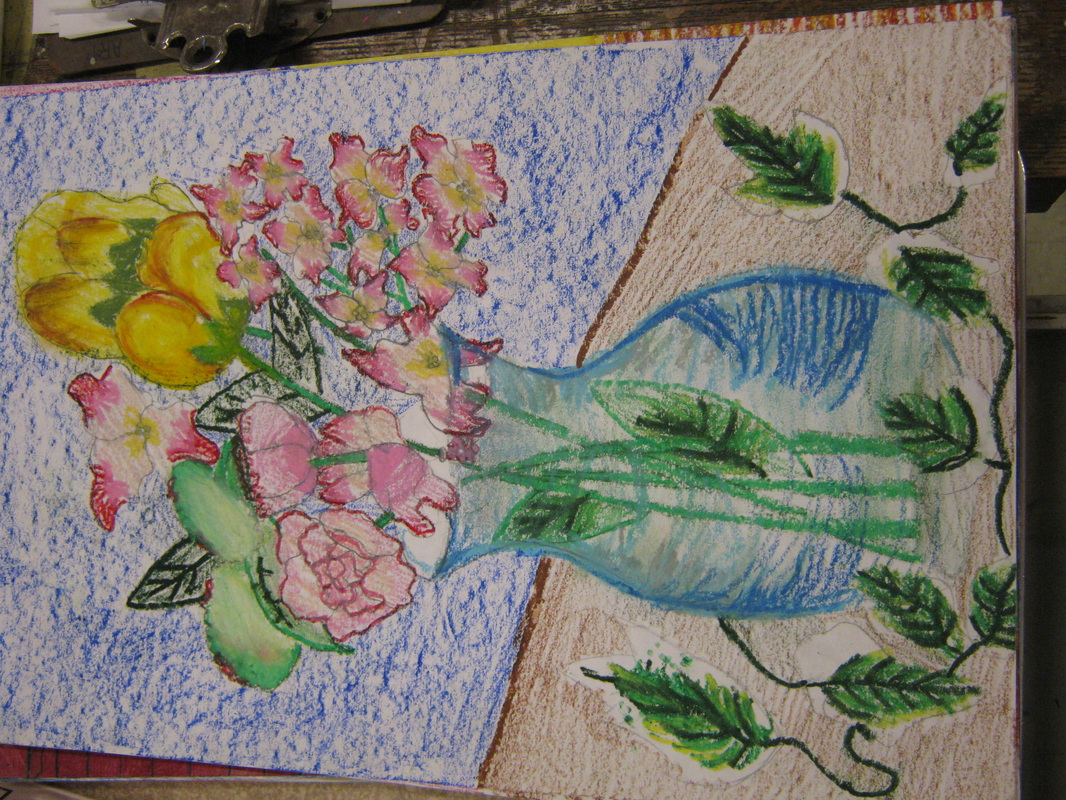
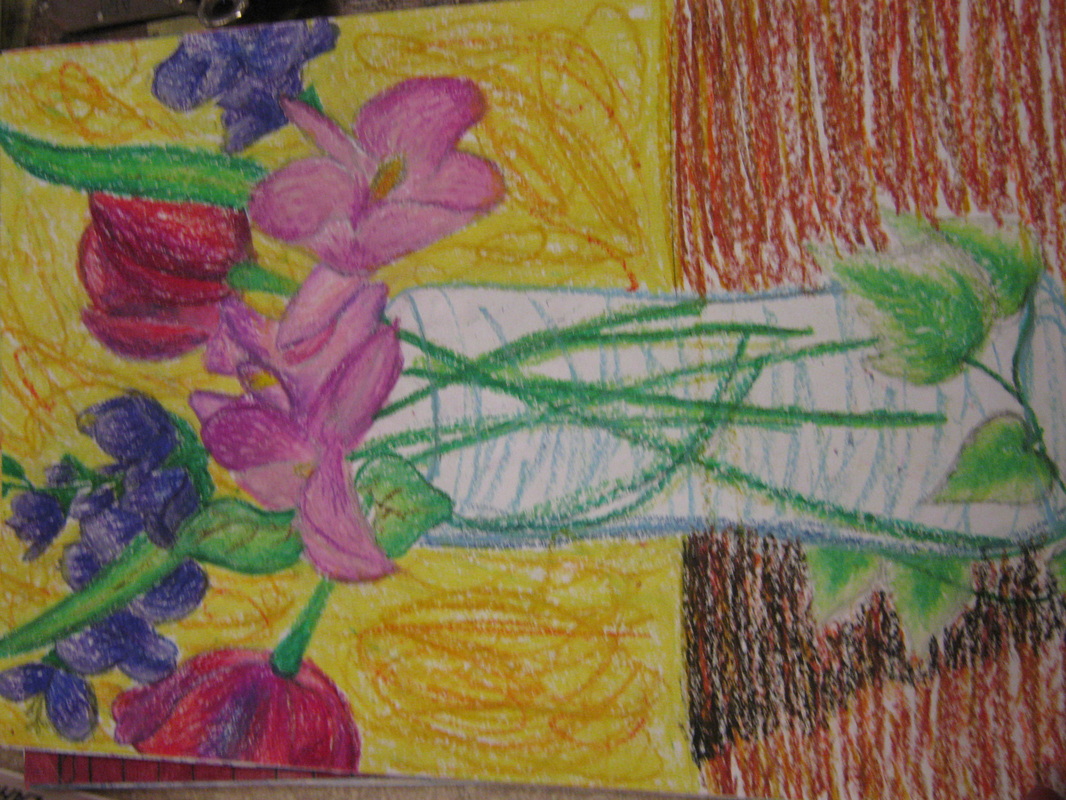
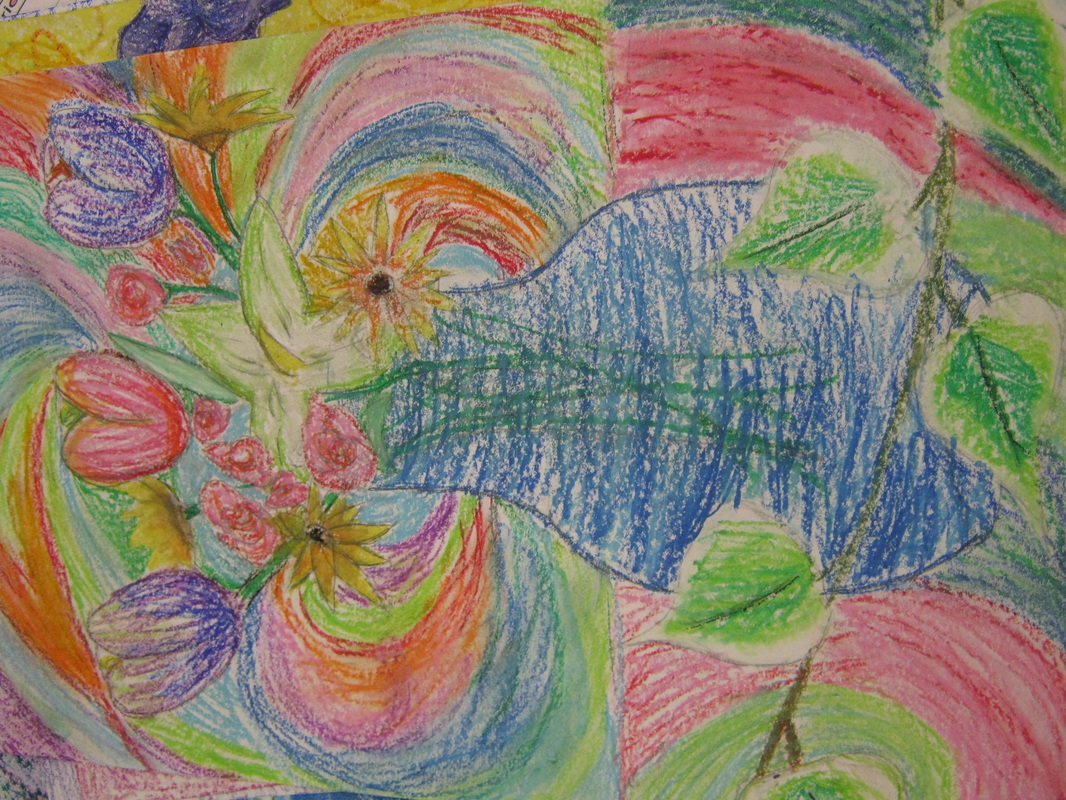
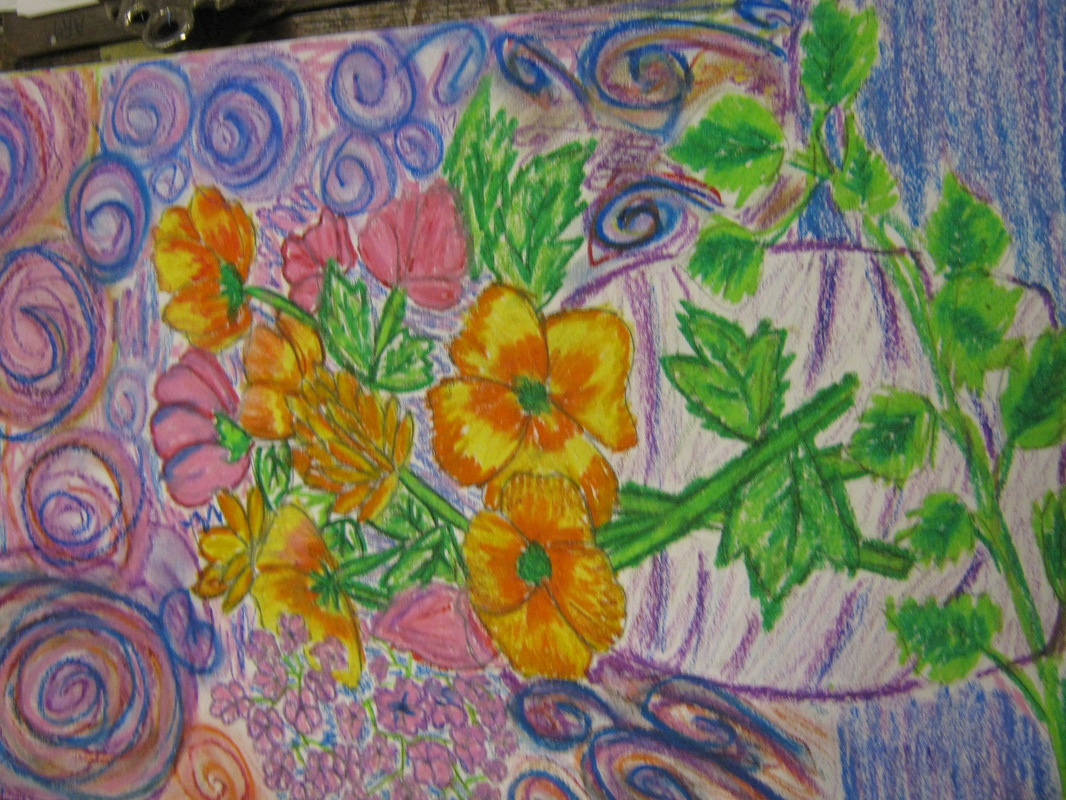
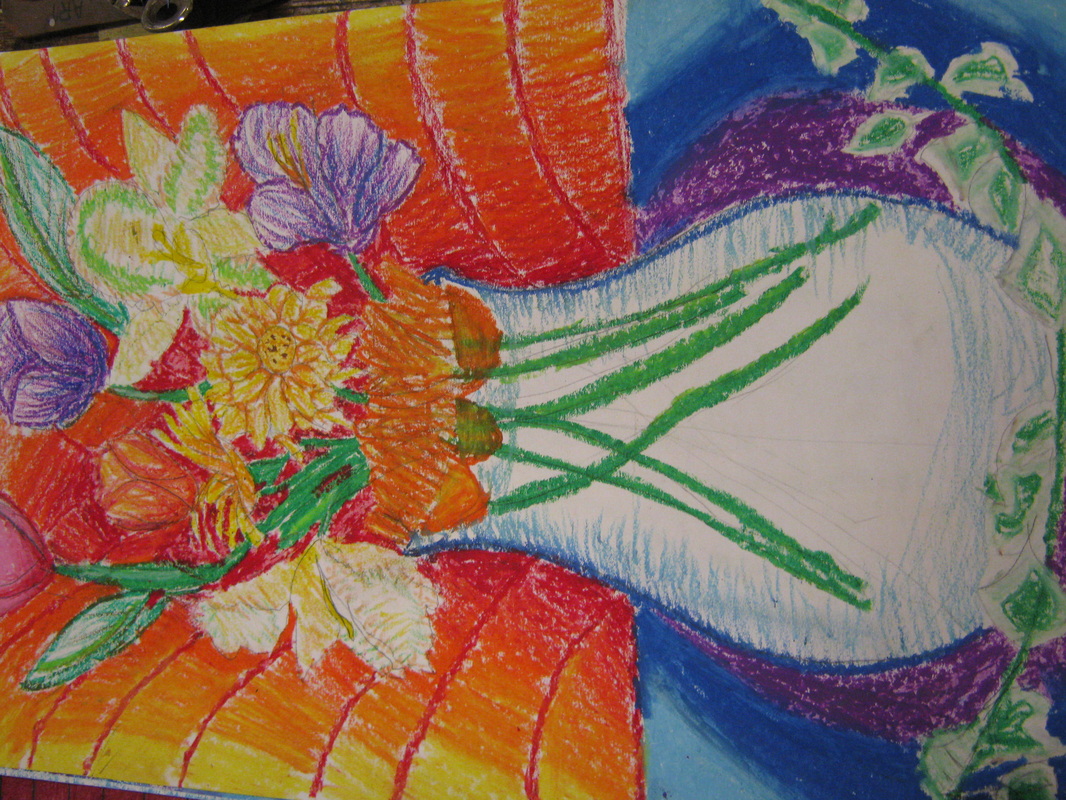
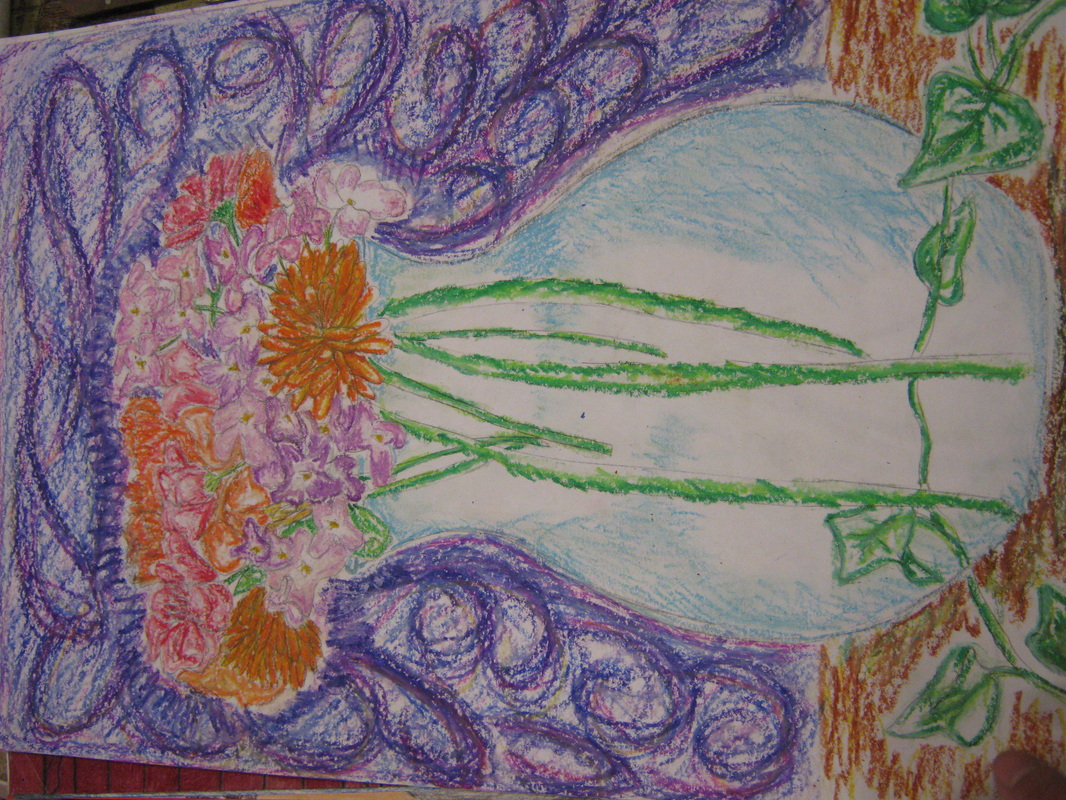
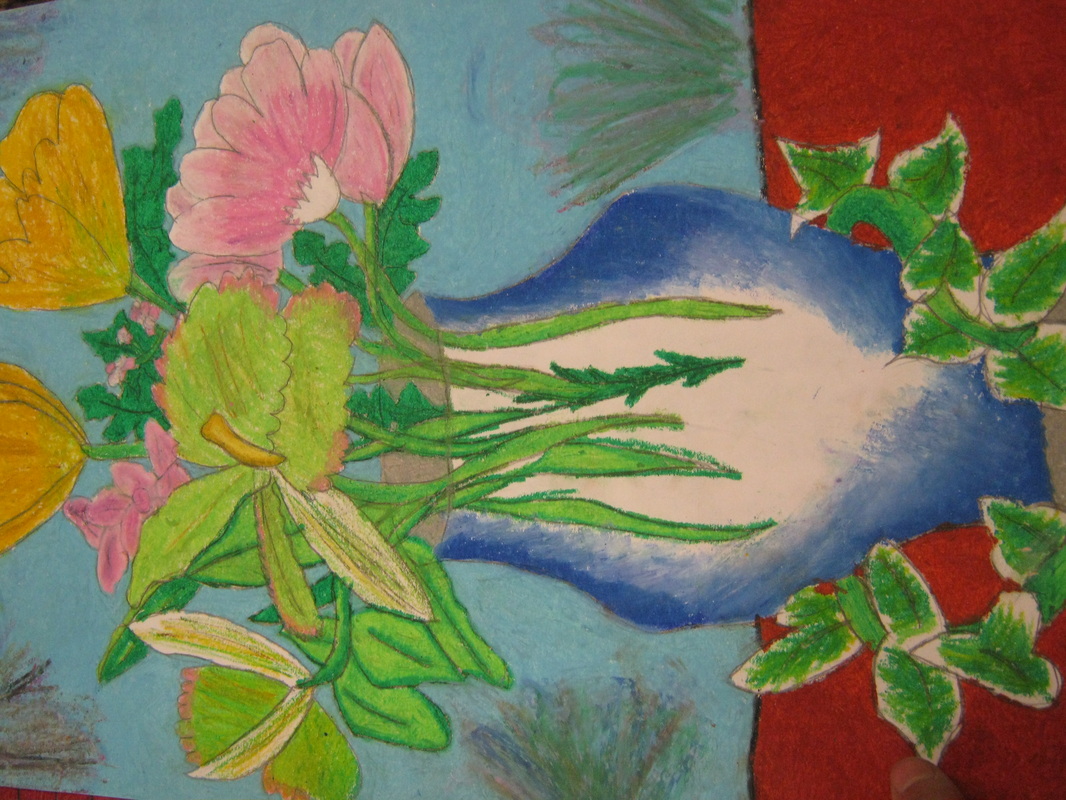
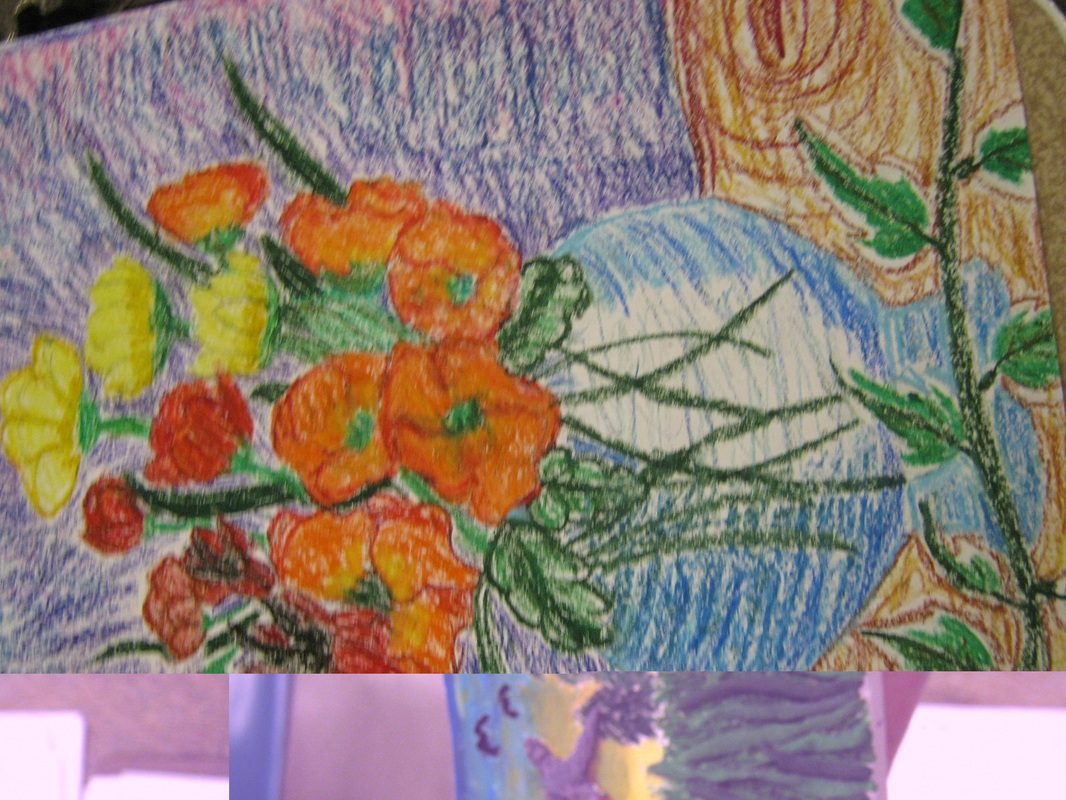
Vincent Van Gogh Still Life
| vangoh_still_life_lesson.doc |


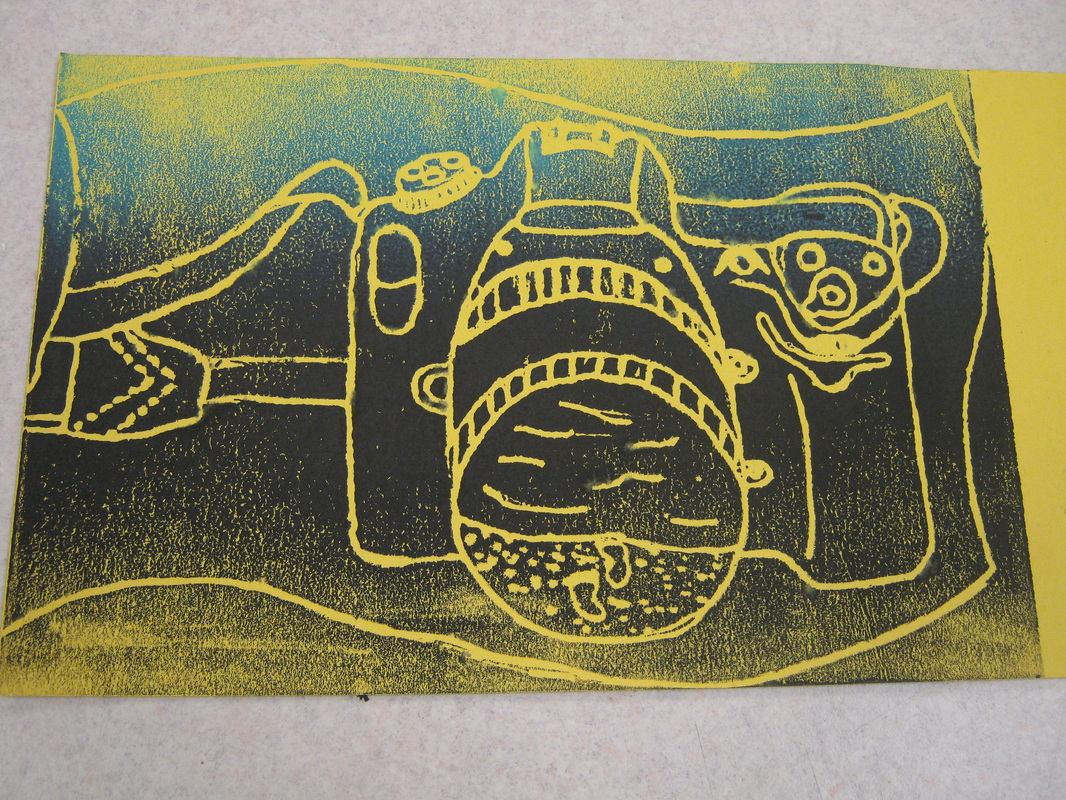
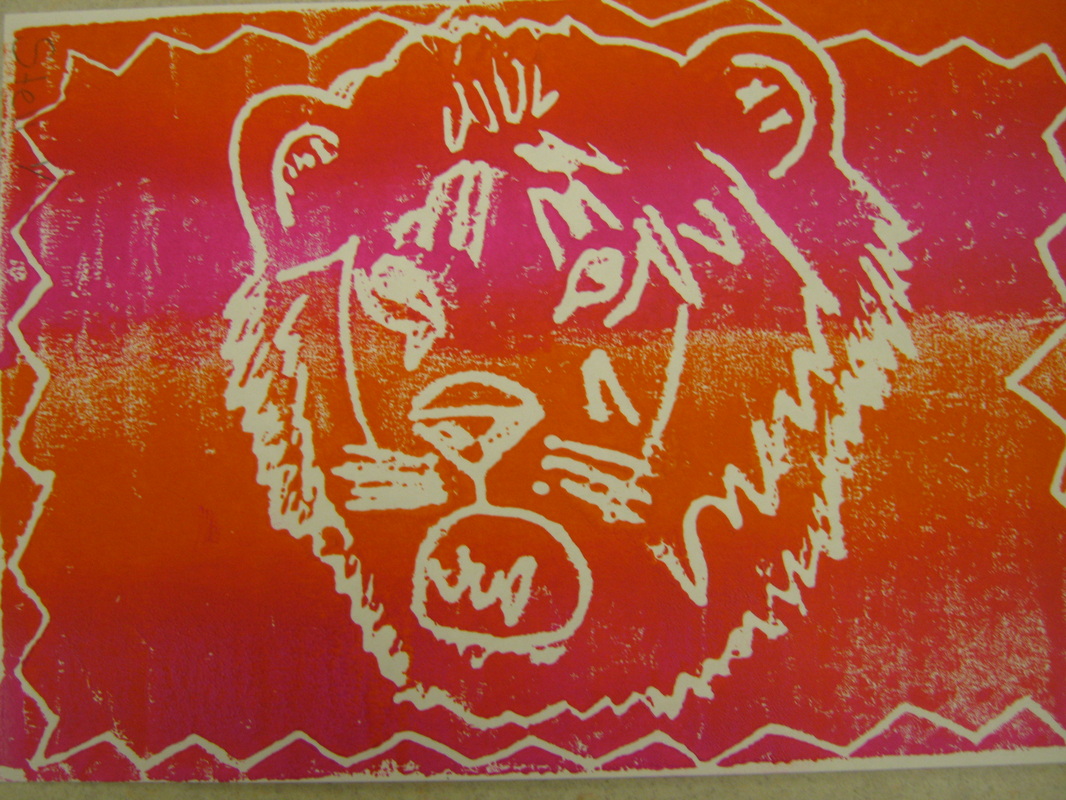
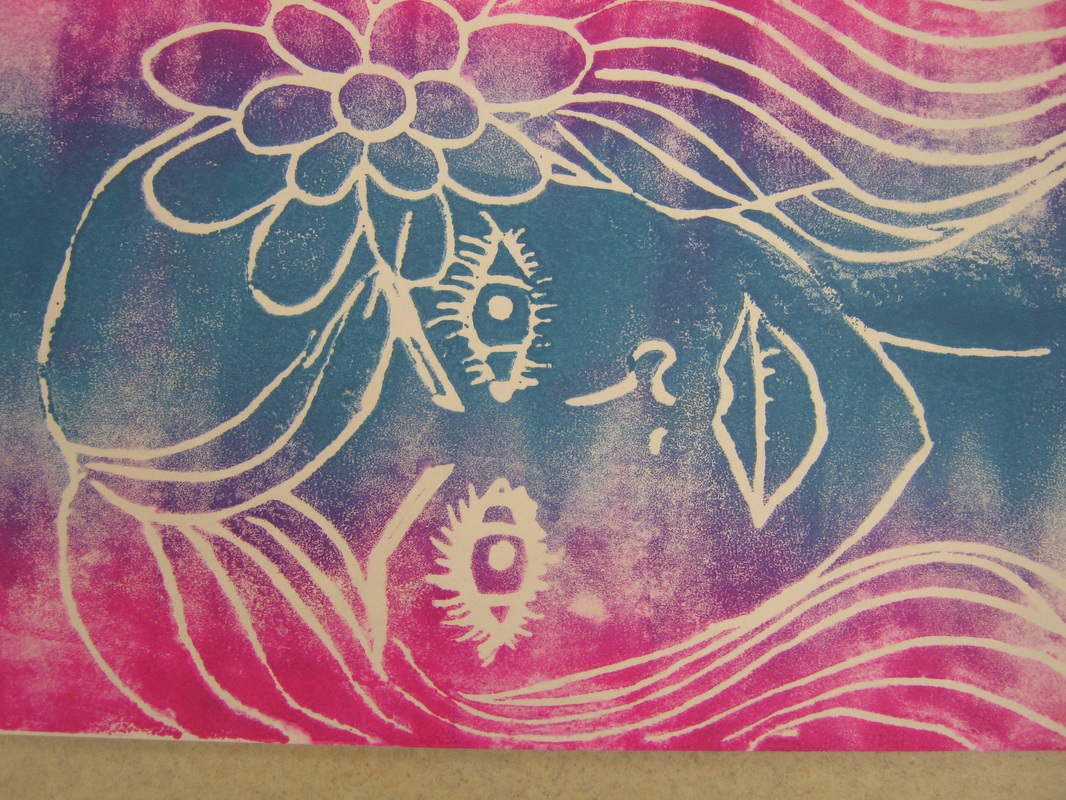
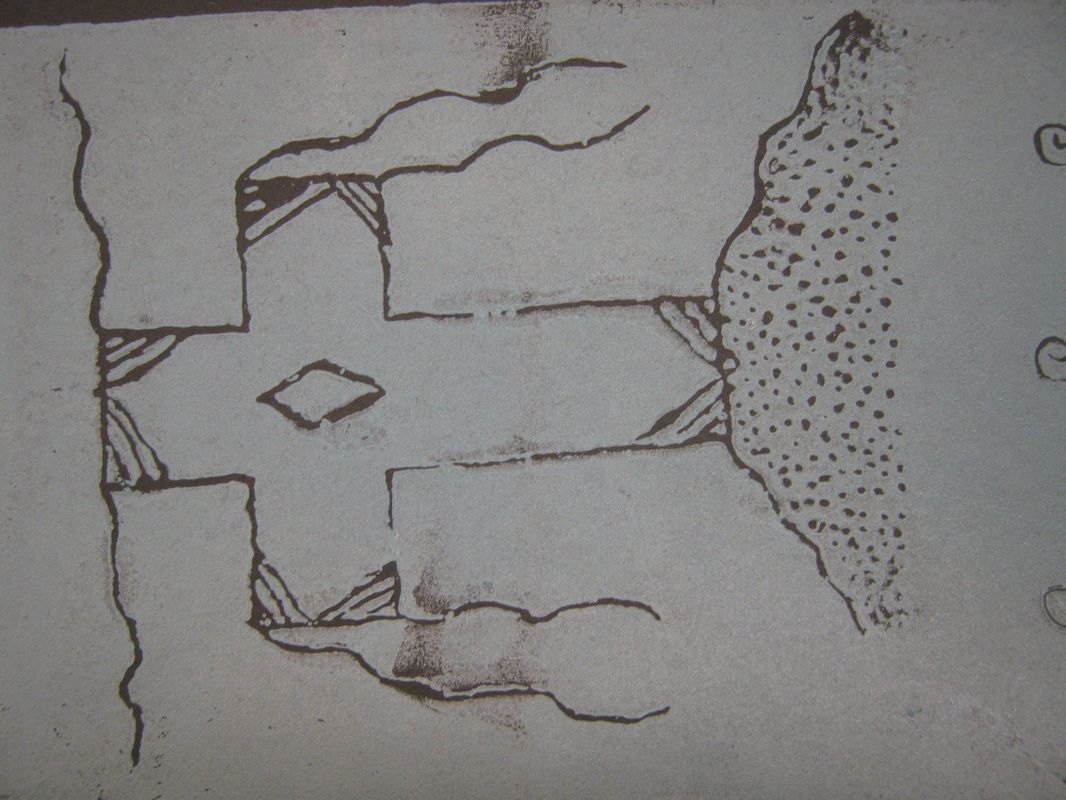
Printmaking
Students learned about the process of embossing and created their own one of a kind foam print editions.
| foam_printing_handout.docx |


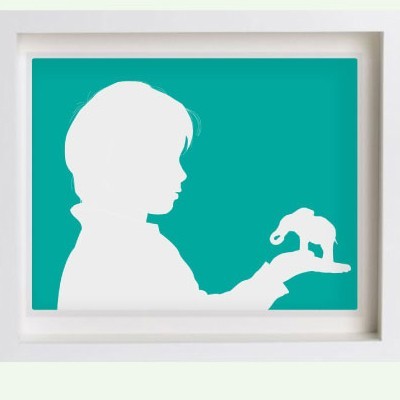
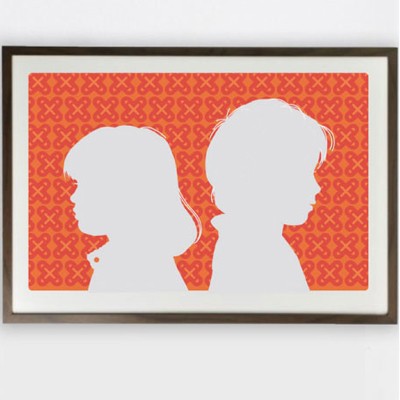
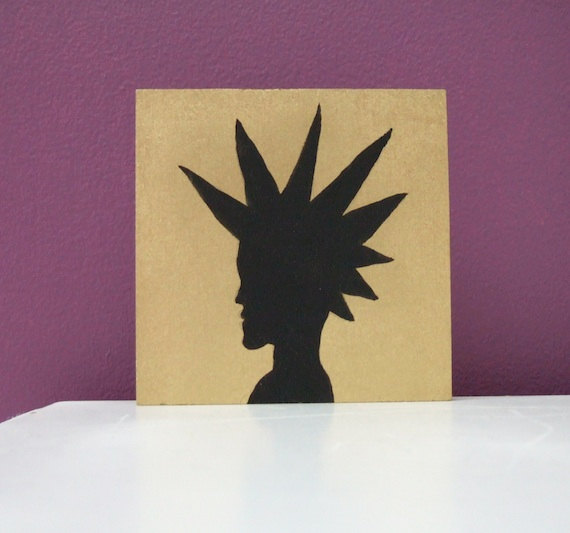
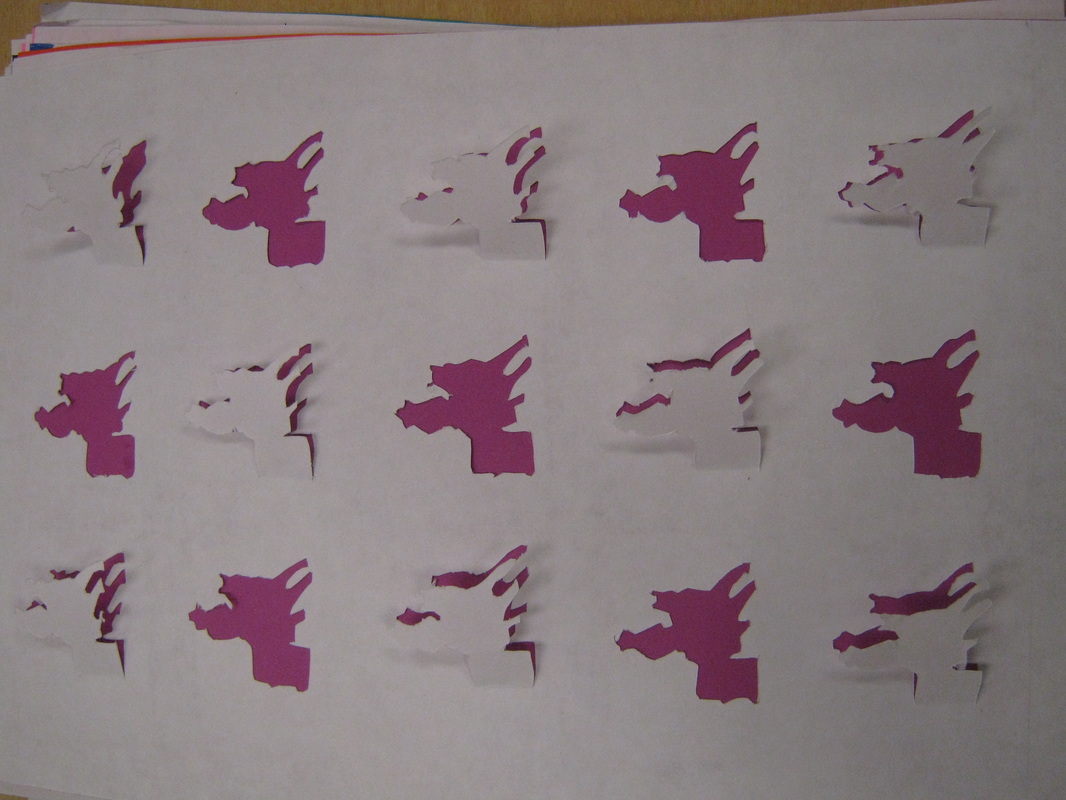
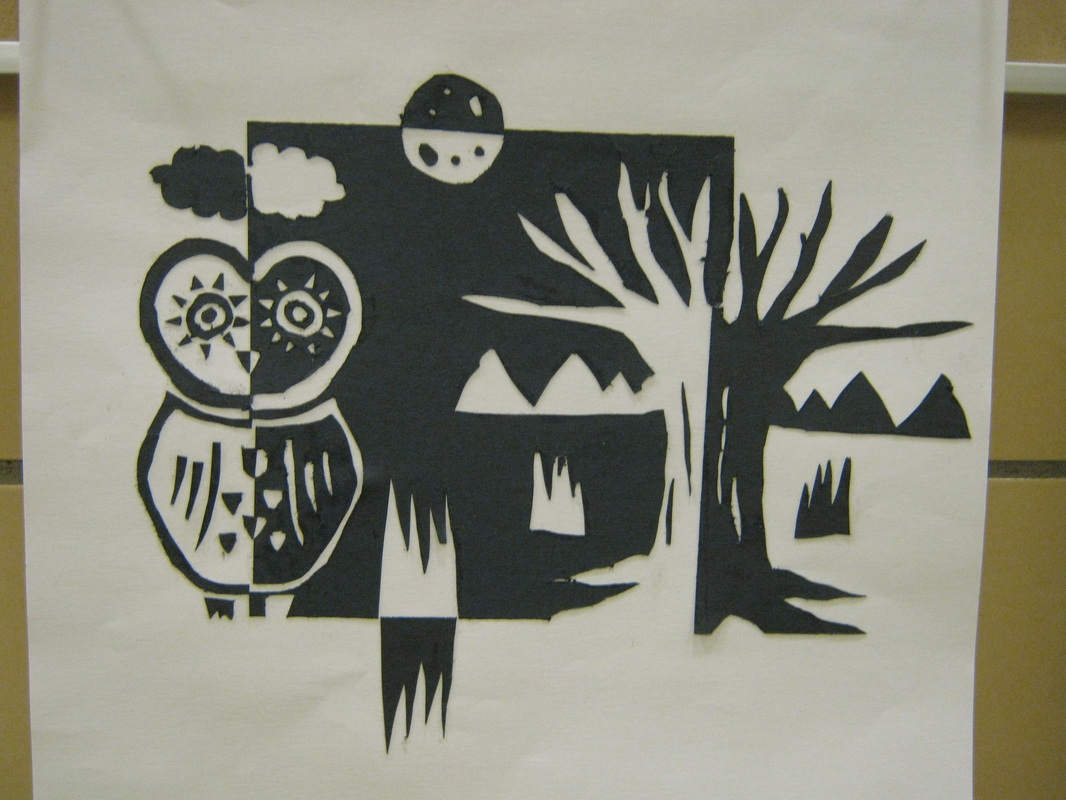
The Silhouette
Students will explore the concept of positive and negative space by creating some kind of silhouette with the use of a partner, projector light, and thier imagination! Each silhouette cutout will have elements added in silhouette to covey a message. Students can pose with a prop if they choose.
|
|
|
| silhouettes_lesson.docx |